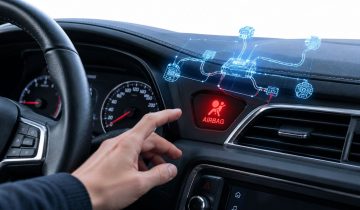
You've just had a front-end collision, and the seat belt clicks into place but won't pull out. Or the car's back from the shop, one retractor is still locked, and the airbag warning lamp has come back on. The belt may be mechanically jammed, its pretensioner may have fired, the webbing may be damaged, or the SRS may have an electrical fault. Each cause calls for a different fix, and forcing the belt or clearing the light won't tell you which one you have.
A safe seat belt tensioner fix starts with diagnosis, then ends with a documented check of the installed restraint system. Don't open a pyrotechnic pretensioner or treat a warning-light reset as proof that the belt is ready for another crash.
Table of Contents
- Why a Seat Belt Tensioner Locks After a Crash
- Tell a Mechanical Lock from a Fired Tensioner
- How to Remove and Reinstall the Seat Belt
- Mail In a Tensioner for Professional Repair
- Prove the Fix Before You Call It Safe
- Send the Original Belt or Replace It
Why a Seat Belt Tensioner Locks After a Crash
After a front impact, a belt that won't extend can look like a simple retractor problem. But the restraint system may have fired its pretensioner, which uses crash-sensor input to pull slack out of the belt quickly and help position the occupant. The retractor, pretensioner, load limiter, airbags, wiring, and SRS control module work together. A locked belt is a symptom, not a diagnosis.
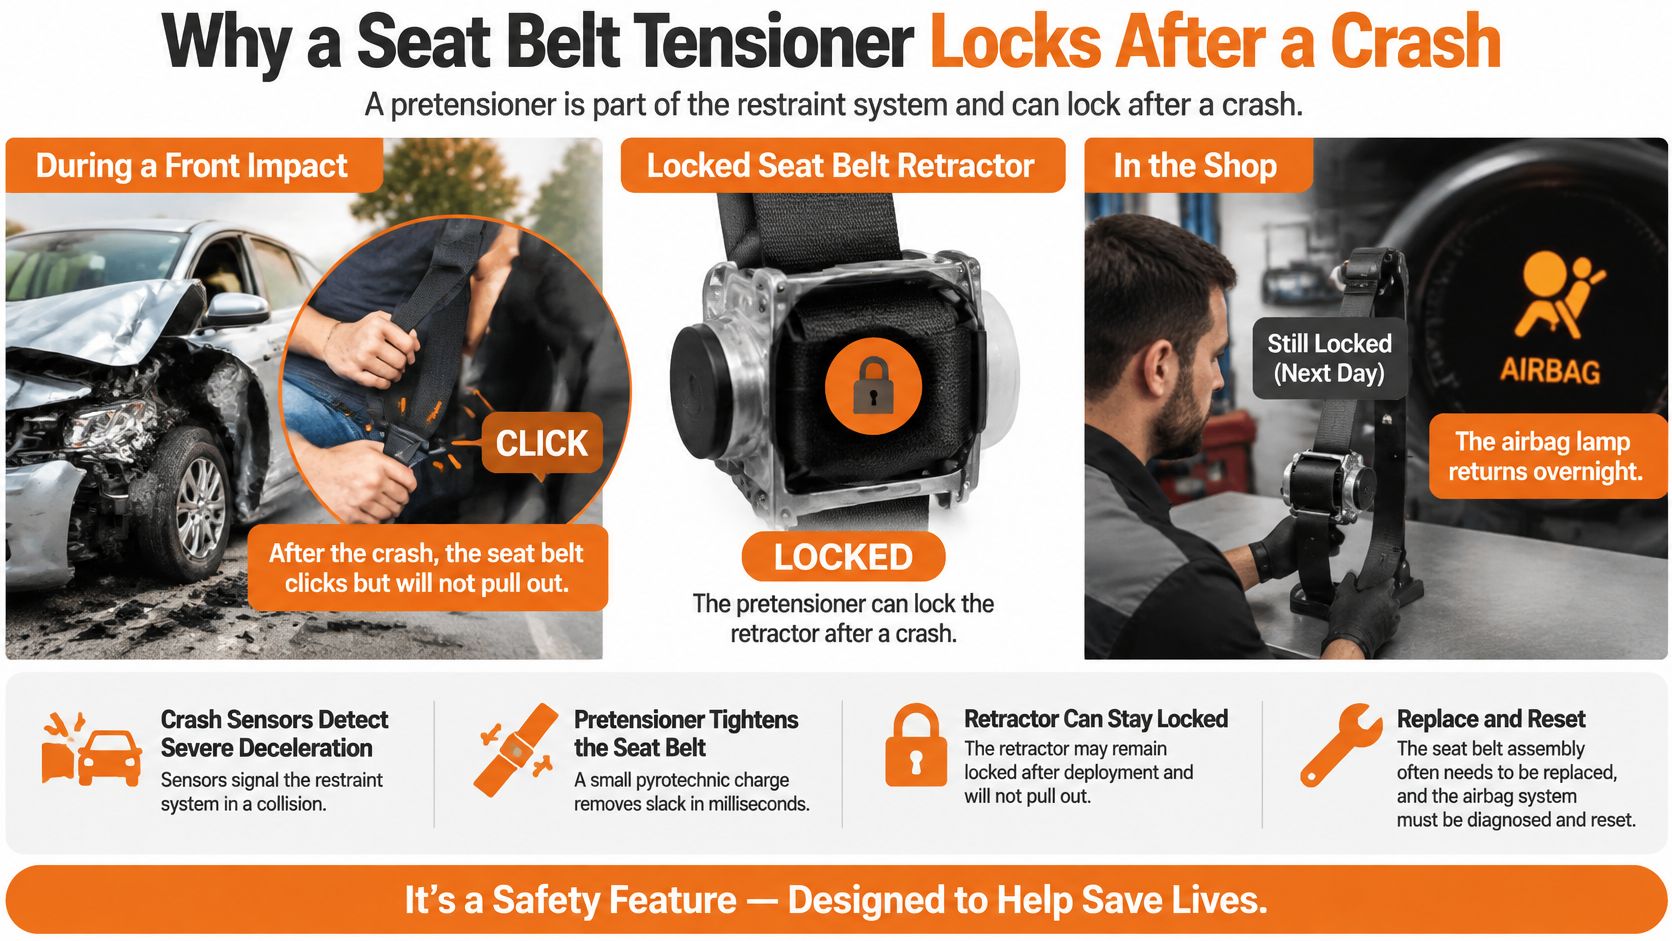
That distinction matters because the pretensioner has a safety function beyond making the belt retract. In a study using crash data from passenger cars, crossover utility vehicles, and minivans, NHTSA estimated a 12.8% lower fatality risk for belted drivers and right-front passengers when both pretensioners and load limiters were present, compared with belts with neither technology. The agency also reported average reductions in Head Injury Criterion, chest acceleration, and chest deflection for vehicles with the newer belt systems.
Those findings are a practical reason not to bypass a locked or spent unit. A belt that can be pulled out after someone forces the mechanism may still lack its intended crash performance. Nor does a dark airbag lamp by itself establish that the belt, its sensors, or the rest of the SRS are functioning correctly.
Four possible causes
A shop should sort the complaint into one of four broad categories:
- Mechanical lock: The emergency locking retractor may have engaged, or the belt may be twisted, jammed, or contaminated.
- Fired pretensioner: A pyrotechnic event may have locked or altered the retractor or buckle mechanism.
- Damaged webbing: Cuts, fraying, chewing, or other damage can make the belt unserviceable even if it still moves.
- Electronic SRS fault: A connector, circuit, sensor, or stored fault may keep the warning lamp on while the belt appears to operate.
A typical case illustrates why the categories matter. If airbags deployed and the belt won't extend, a locked retractor plus a deployment code points toward a fired pretensioner, not an ordinary jam. If there was no collision and the belt locks only when the vehicle is tilted, the emergency locking mechanism may be responding normally. The repair choice follows the diagnosis, not the appearance of the belt.
Tell a Mechanical Lock from a Fired Tensioner
| What you see | Usual meaning | Safe next step |
|---|---|---|
| Locks only on a slope, no crash, lamp normal | Emergency locking retractor working as designed | Park level, buckle and unbuckle, and don't force the webbing |
| Won't extend or retract, no deployment codes | Mechanical lock, twist, or contamination | Inspect routing and webbing; stop if the housing shows deployment damage |
| Locked after airbags fired or deployment code stored | Fired retractor pretensioner, single-use | Don't rebuild the charge; repair or replace the original assembly |
| Shoulder belt moves, buckle side spent | Buckle pretensioner fired | Inspect the female buckle and connector; scan before condemning the retractor |
| Webbing cut, frayed, faded, or chewed | Webbing damage that can fail inspection | Replace the webbing on the original hardware; don't treat it as a tensioner rebuild |
| Belt moves, airbag lamp stays on | Circuit fault, connector, or stored crash data | Scan the SRS before removing the belt |
Start with the row that most often changes the repair decision: the belt is still locked after a collision, particularly when airbags deployed or the SRS scan shows a deployment fault. Manufacturer guidance treats a deployed pretensioner as single-use. Depending on the vehicle, the entire safety-belt system may need replacement rather than internal repair. A belt that looks intact isn't evidence that the pyrotechnic mechanism is reusable.
If there was no crash and the belt binds only when the car is parked on an incline, level the vehicle and try the belt gently. Don't yank it. A sudden pull can engage the emergency locking mechanism, and forcing a stuck webbing spool can damage parts that were otherwise serviceable.
Diagnose the whole assembly before removing it
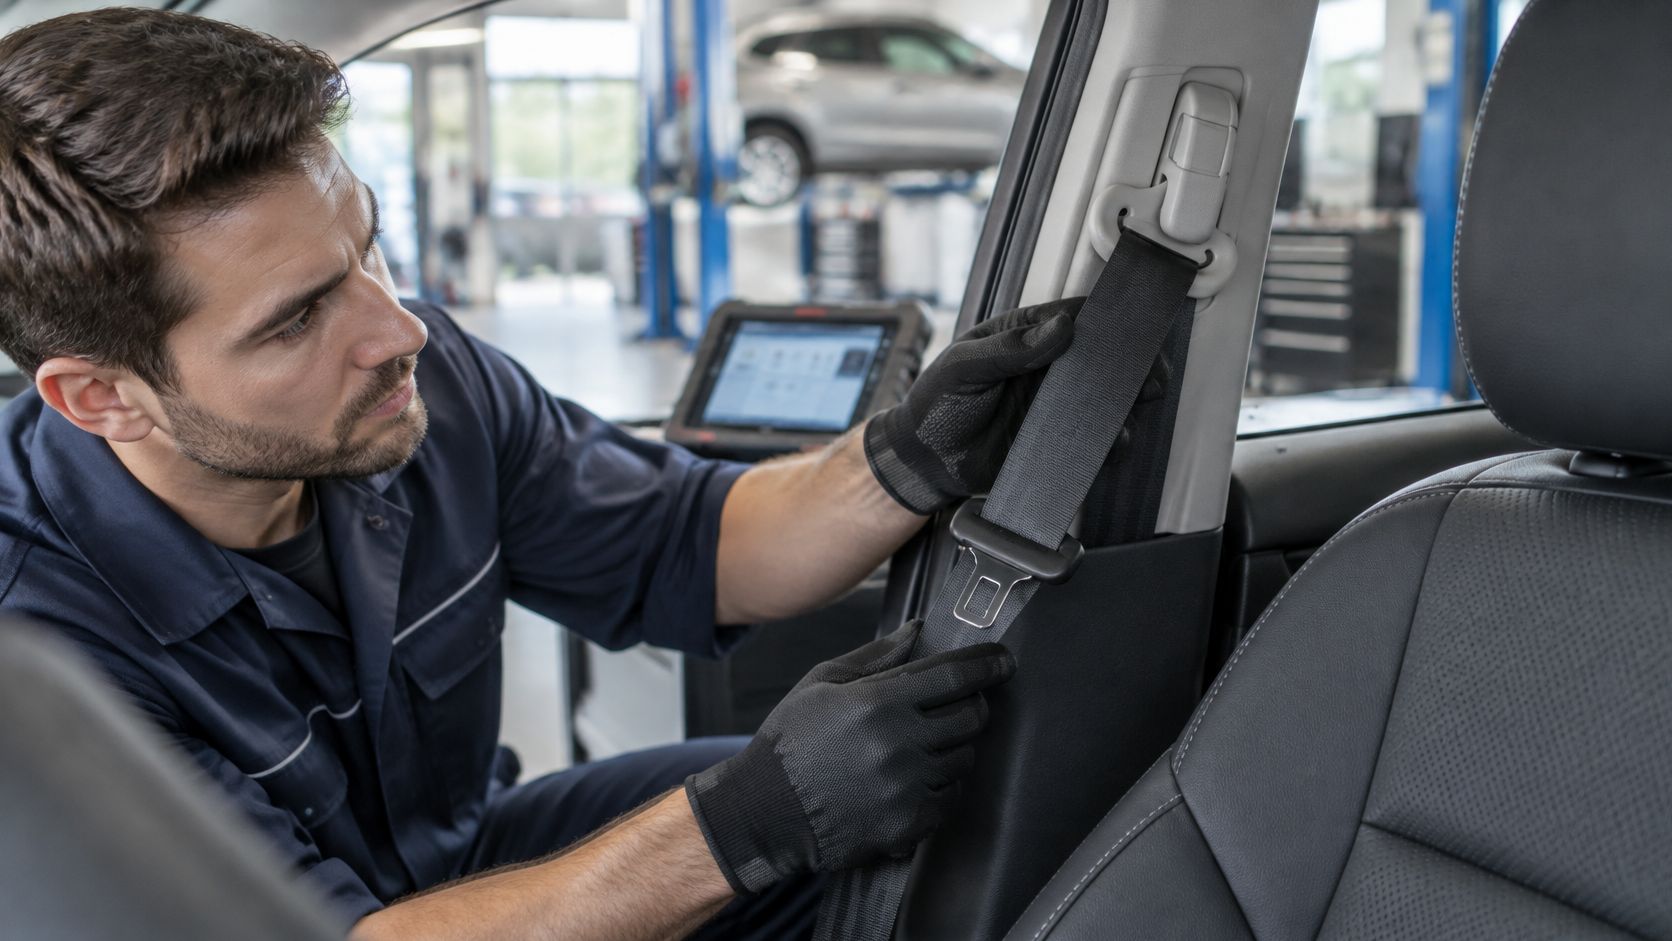
Follow the manufacturer's SRS disable procedure before touching connectors or fasteners. Disconnect the battery or 12-volt supply when specified, and observe the maker's reserve-power wait time. Then inspect the webbing, retractor, anchor, buckle, wiring, connectors, and pretensioner housing, and scan the SRS for deployment and circuit faults.
Don't test a pyrotechnic circuit with a test light or an unsuitable meter. Use the vehicle's service information and proper diagnostic equipment.
The scan helps distinguish a belt that is mechanically stuck from a pretensioner circuit fault or stored deployment status. It doesn't replace physical inspection. For example, a shoulder belt can still move while a buckle-side pretensioner has fired, so inspect the buckle and connector before condemning the retractor. When the retractor is locked but no deployment fault is present, check for twists, contamination, and damaged routing before deciding whether the original assembly needs professional service. A seat belt retractor repair service may be relevant when the fault has been identified as a retractor issue, but don't open a pyrotechnic housing yourself.
How to Remove and Reinstall the Seat Belt
Removing and reinstalling a removable belt assembly means handling its mounting points and connectors, not opening a pyrotechnic canister or rebuilding a pretensioner. Seat belts operate within a coordinated restraint system. UN Regulation No. 16 covers requirements for belt design, installation, testing, aging resistance, and interaction with other occupant-protection technologies.
Record the starting condition. Note the VIN, seat position, complaint, and SRS codes. Photograph the belt path, guides, and trim so you can restore the original routing rather than guess during reassembly.
Disable the SRS according to the vehicle procedure. Disconnect the battery or specified 12-volt supply only as directed, and observe the manufacturer's reserve-power interval. Handling a live restraint-system circuit risks accidental activation.
Remove only the trim needed for access. Expose the lower anchor, retractor, and buckle without disturbing unrelated panels or wiring. Keep track of clips and fasteners to prevent trim from pinching a harness later.
Support the assembly as you unbolt it. If the service manual marks a bolt as single-use, set it aside for disposal and use a new one during reassembly.
Disconnect the pretensioner connector with the unit supported. Follow the vehicle procedure's connector sequence. Never probe squib pins with a test light or unsuitable meter.
Keep assemblies identified by seat and position. Bag and label driver, passenger, front, and rear parts separately. This reduces the chance of fitting a buckle pretensioner or a belt with a different stage configuration in the wrong seat.
Leave internal rebuilding to qualified personnel. Do not open the canister, handle the gas charge, or attempt sensor replacement at home. A deployed unit is single-use. Any replacement or serviced component must match the original assembly and the vehicle's airbag and sensor layout.
Mount the assembly in its original path. Use your photographs, check that the webbing is not twisted, and fully mount the pretensioner before reconnecting its connector. Incorrect positioning can strain wiring or misroute the belt.
Use the vehicle's specified torque values. Do not transfer a value from another model. One NHTSA-published procedure gives examples of 39 N·m for a pretensioner fastener and 41 N·m for a seat bolt, plus a 30 kgf (about 70 lb) pull-force check; these values apply to that procedure, not universally.
Finish the mechanical installation before restoring power. Confirm that the assembly is secure, connectors are seated, and the work area is clear. Replace any fastener the manufacturer specifies as single-use.
The supplied video shows an example of seat-belt assembly handling. Use the procedure for the specific vehicle for connector sequence, fasteners, torque, and testing.
Mail In a Tensioner for Professional Repair
Once diagnosis points to a locked retractor or a fired pretensioner, keep the assembly intact and arrange professional repair. The original unit must be identified correctly so the repair matches its seat position and vehicle.
Prepare the right part
Record the vehicle identification number (VIN), seat location, and whether the part being sent is the retractor or buckle assembly. Driver- and passenger-side parts may differ, so label each item clearly and order the service for the correct quantity and position.
Safety Restore repairs locked or blown seat belts, including assemblies from vehicles involved in accidents where airbags deployed. Its retractor service rebuilds the mechanism, replaces the gas charge, and installs a new sensor. The company also repairs seat belt pretensioners, including buckle pretensioners. See its Seat Belt Repair After Accident service details when selecting the repair.
Pack and document the assembly
Before packing, take a photo of the belt assembly and its labels. Put each belt or component in a separate bag, and mark the bag with the VIN, seat position, and part type. If sending a buckle pretensioner, identify it as the buckle assembly; label a retractor separately. Protect electrical connectors and the housing from impact, and keep loose hardware with the part it belongs to. Do not include unrelated SRS components in an unlabeled package.
Keep trim and vehicle mounting bolts unless the service instructions request them. Send only the parts required for the ordered repair, and include the receipt with the belt or belts.
Safety Restore's mail-in process requires placing the order online, then mailing in the seat belt assembly with the receipt. Repair is completed within 24 hours of receipt, after which the parts are shipped back. Transit time is separate from the repair turnaround.
When the repaired assembly returns, use the vehicle-specific service procedure for reinstallation. The repair order and returned part identify what was serviced; the vehicle still needs its own post-install checks before it is considered ready.
Prove the Fix Before You Call It Safe
Verify the belt before returning the vehicle to service. Confirm the correct assembly is installed, the belt follows its original path, the anchors are secure, and the SRS completes its indicator check. A lamp that goes out is only one part of the proof. NHTSA recall procedures outline controlled handling, battery precautions, correct mounting and torque, connector sequencing, and a final SRS-indicator check.
Use the vehicle's service procedure throughout installation. Before reconnecting the battery, check that the connector is fully seated and routed without pinching, the webbing follows its original path, and the anchors and surrounding hardware are intact. Apply the specified torque and replace any fasteners identified as single-use.
| Check | When | Pass looks like |
|---|---|---|
| Connector and routing | Before battery reconnect | Fully seated, original path, no pinched wire |
| Mounting torque | During install | Vehicle-specific specification; examples include 39 N·m and 41 N·m, as cited in the NHTSA procedure |
| Single-use fasteners | During install | Specified bolts replaced, not reused |
| Pull check | Only if the service procedure requires it | Use the specified force; one example is 30 kgf (about 70 lb), as cited in the NHTSA procedure |
| SRS indicator | Ignition cycle after install | Lamp proves out, then goes out |
| Full SRS scan | After the lamp check | No active resistance, short, or deployment-status faults |
Clear stored codes only after correcting the faulty or fired component. Cycle the ignition and observe the SRS indicator's prove-out, then run a full scan for active resistance, short, or deployment-status faults. A lamp that goes out does not confirm that the SRS has no remaining faults.
Keep an auditable repair record
For a shop, dealer, rebuilder, or fleet, record the VIN and configuration, recall check, original symptoms, diagnostic codes, inspection findings, photographs, torque notes, scan result, and repair invoice. The record should show what was identified, what work was performed, and how the installation was checked.
Reject a unit with a cracked housing, damaged connector, incorrect configuration, or webbing that still fails inspection. If the airbag lamp returns, check the connector and seat position, then investigate whether crash data remains in the module or another SRS fault is active. An airbag module reset service can address crash data and hard codes in the SRS module, but it does not repair a fired pretensioner or damaged belt.
Handoff rule: Do not road-test or release the vehicle until the scan is clean and the belt extends, retracts, and locks on a firm tug.
Send the Original Belt or Replace It
A serviceable original assembly may be repairable when its retractor is locked or its pretensioner has fired. Send the belt for assessment if the housing, connector, and webbing remain suitable. Replace the complete assembly if the housing is crushed, the connector is destroyed, or the correct configuration cannot be matched.
Repairing the original can preserve fitment when a replacement assembly is difficult to source. Safety Restore repairs locked or blown belts, including belts from vehicles involved in accidents where airbags deployed. Its OEM seat belt repair service for locked or blown pretensioners is $99.99.
Match the service to the failed part
| Component or condition | Matching service |
|---|---|
| Locked or blown retractor pretensioner | Seat belt repair service |
| Fired female buckle pretensioner | Buckle pretensioner repair service |
| Frayed, cut, or otherwise damaged webbing | Seat belt webbing replacement |
Specify which part needs repair when ordering, and include more than one component if the assembly has multiple issues. Webbing replacement addresses worn or damaged belt material, while a fired pretensioner requires service for that mechanism.
Safety Restore lists OEM seat belt and buckle repair, dual-stage and triple-stage belt repair, airbag module reset, webbing replacement, custom-color webbing, and dog-chewed belt replacement at $99 each. The OEM pretensioner repair price is $99.99. Match the service to the diagnosed part, then follow the vehicle's installation procedure and verify the SRS before returning the car to service. If crash data remains in the airbag module, address it after the belt fault is corrected. Clearing module data alone does not restore a fired pretensioner.
Once you've identified the part that needs attention, use the matching mail-in service from Safety Restore. Reinstall the repaired component according to the vehicle procedure and confirm the SRS system is ready before the car returns to the road.