
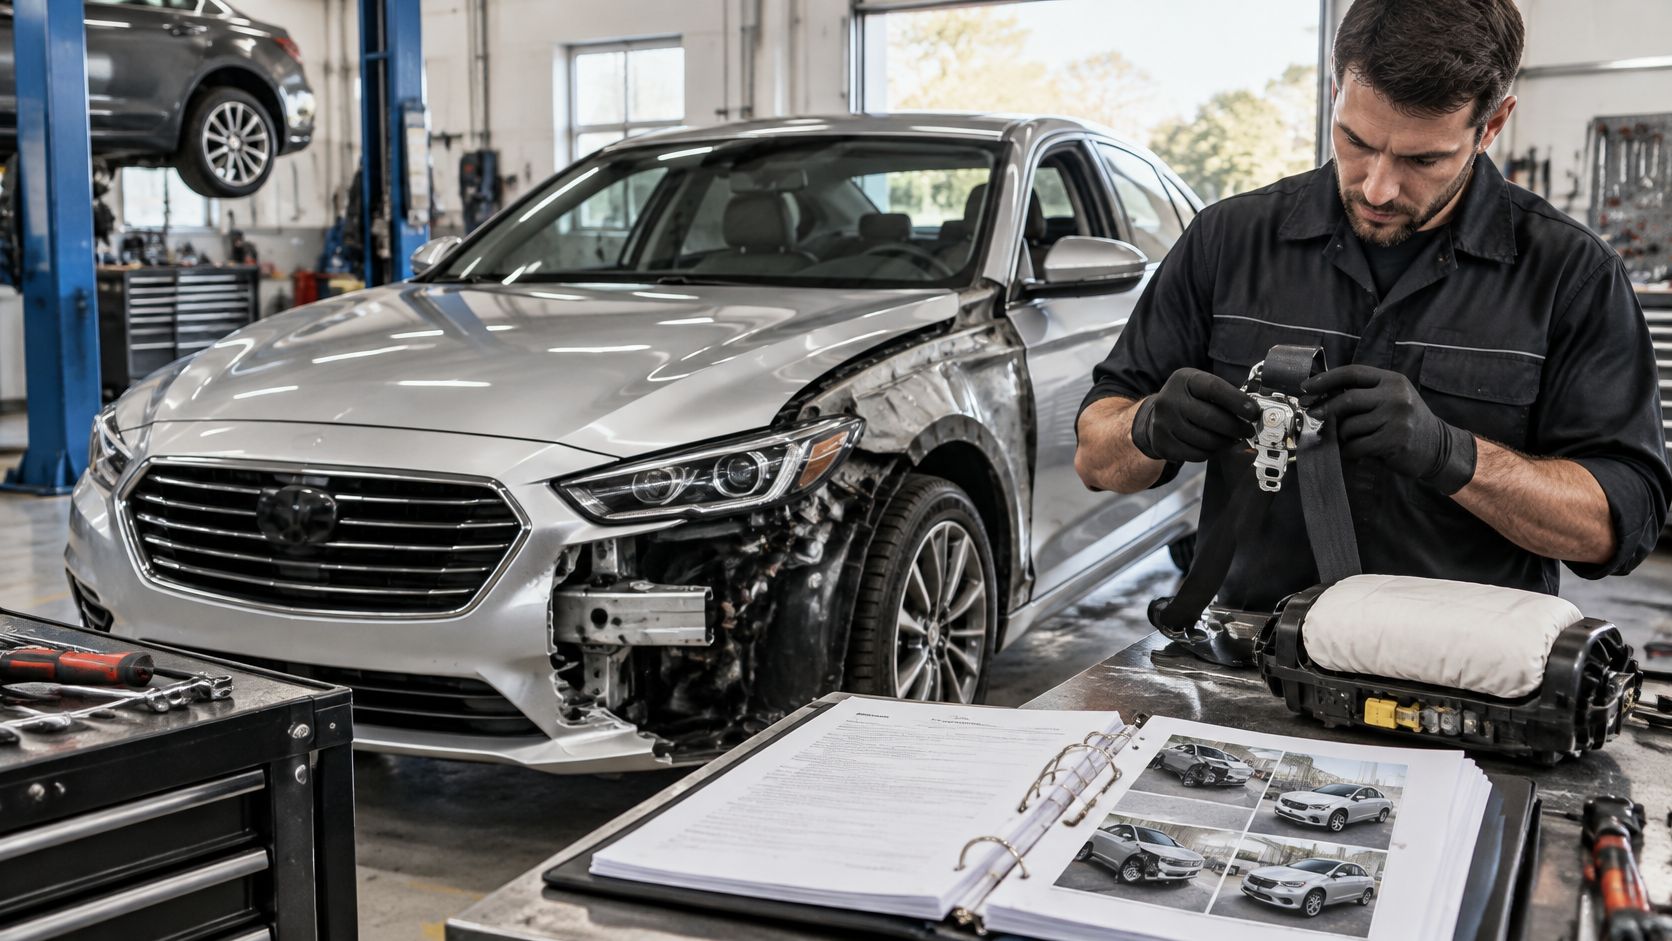
Rebuilding Salvage Cars is about more than fresh paint and new panels. It's repairing the damage right, proving the work, and clearing your state's inspection, title, and registration process — especially when seat belts or the airbag control module are still on the to-do list.
What Rebuilding Salvage Cars Really Takes
Dealers, shops, and DIY guys pull cars from Copart and IAAI every day. Almost all of them will need a safety or salvage inspection before they ever touch public roads again. Learn about salvage repair support from Safety Restore.
Before you order a single part, nail down three things:
- Damage scope — frame, mechanical, and restraint system needs
- Repair responsibility — who is actually qualified to fix each system
- Required paperwork — confirmed directly with your state motor vehicle agency
Take a typical front-hit sedan. The bodywork looks straightforward, but the belt pretensioners are blown and the SRS light won't clear. That restraint work belongs in the budget right next to the bumper, headlights, and paint — not as an afterthought.
Map the Repairs and Legal Checkpoints
This visual lays out the six stages from first assessment to plates in hand.
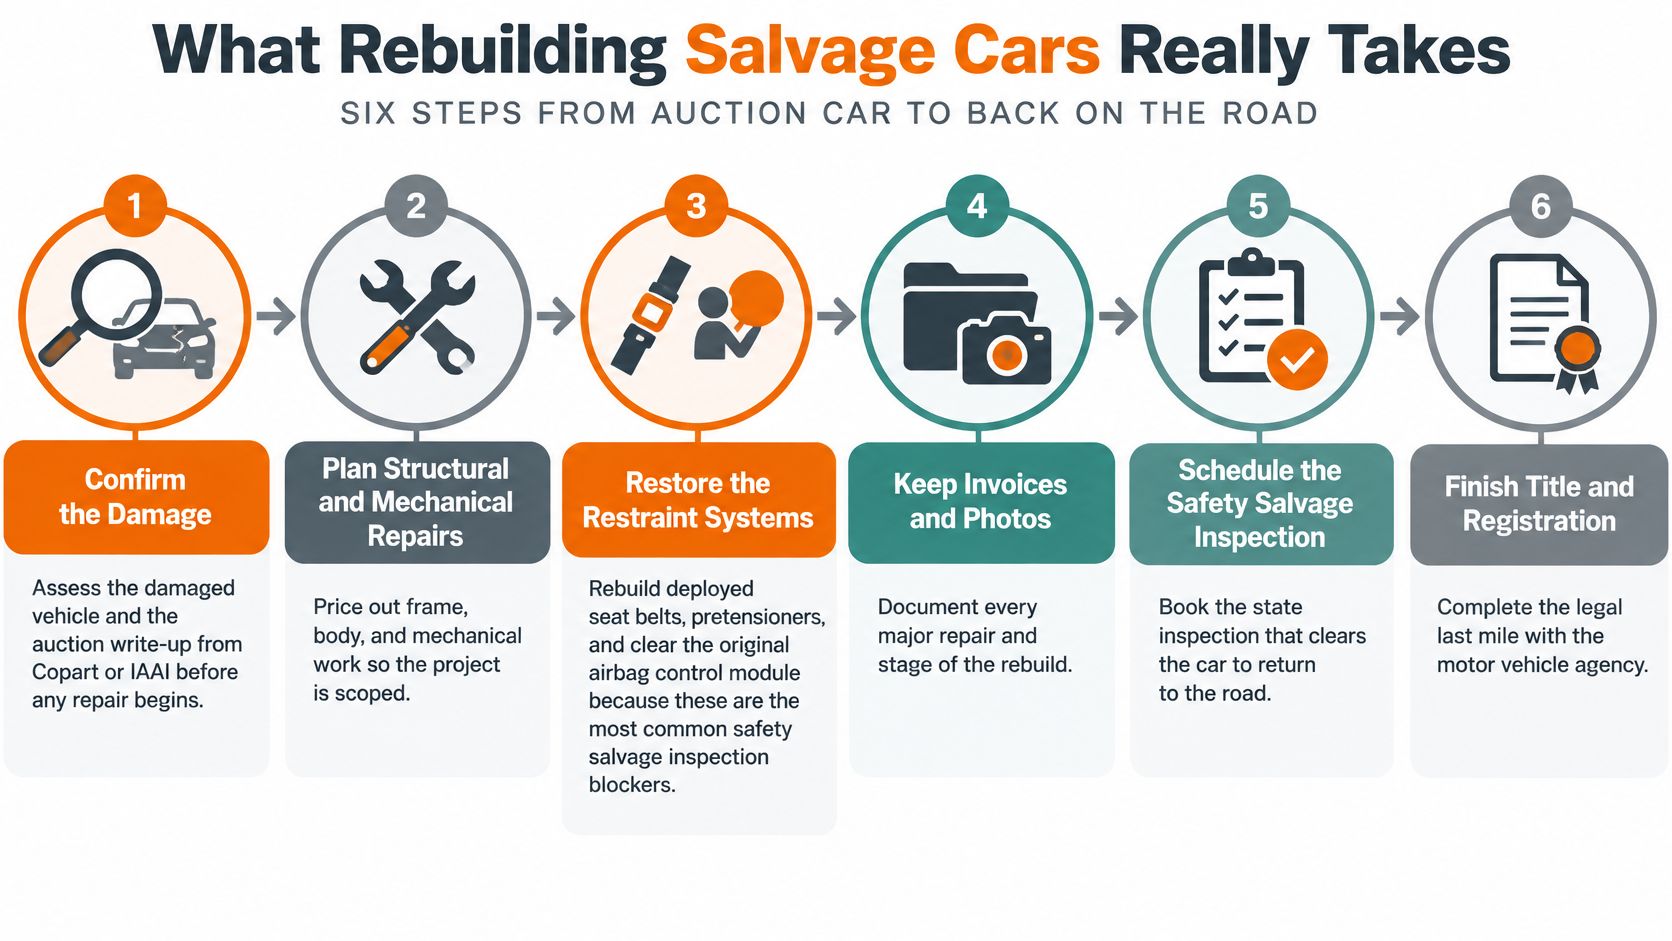
Sequencing is everything here. Repairs and records come first, legal paperwork comes last.
| Job | Responsible Party | Completion Evidence |
|---|---|---|
| Assess damage | Qualified repairer | Written repair scope |
| Repair structure and mechanics | Repair shop | Repair records |
| Restore restraints | Qualified SRS technician | Documented repairs |
| Collect records | Owner or shop | Invoices and photos |
| Complete inspections | Authorized inspector | Required certificates |
| Finalize paperwork | Owner and agency | Title and registration |
Treat this as a practical sequence, not a universal legal checklist.
Every state does it a little different. Illinois separates its safety inspection from its rebuilt examination, and what you need can depend on vehicle age.
So before you bid at auction, call your motor vehicle agency. Ask for the exact inspection order and document list. Then assign every repair, start a photo folder on day one, and price out the restraint work before you set a finish date.
Before you place that bid, stop thinking like a shopper and start thinking like an estimator. That auction listing isn't a deal — it's a to-do list.
Table of Contents
- What Rebuilding Salvage Cars Really Takes
- Map the Repairs and Legal Checkpoints
- Assessing a Salvage Car Before You Buy
- Controlling Cost, Time, and Paperwork
- Avoiding Pitfalls That Stall a Rebuild
Assessing a Salvage Car Before You Buy
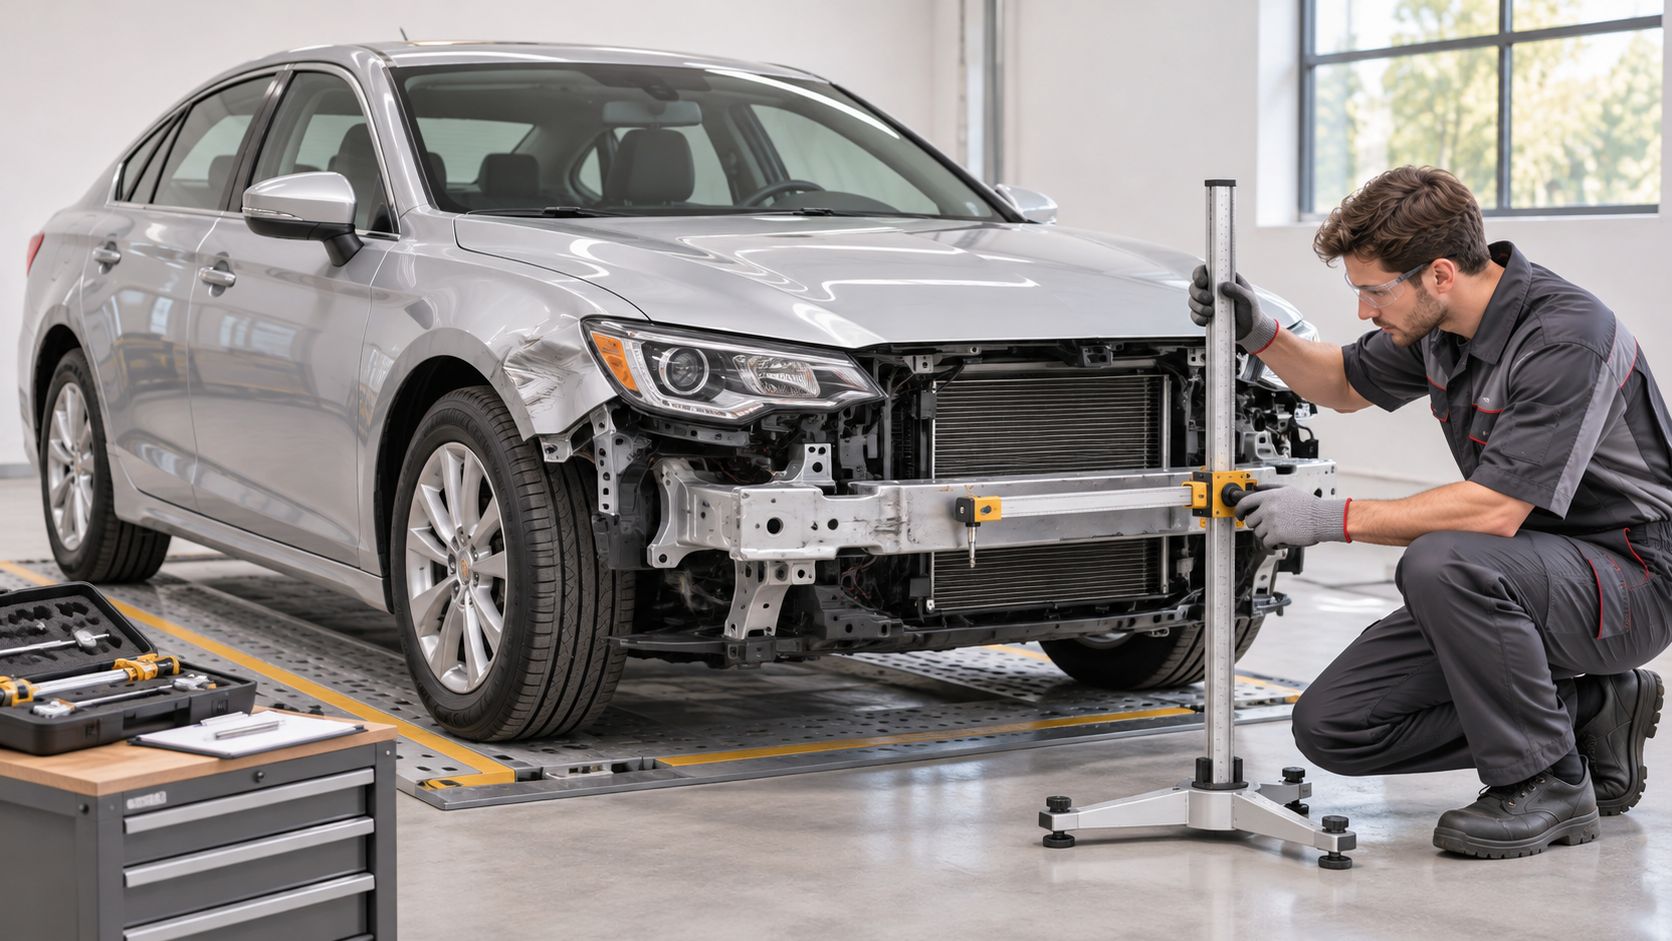
Line up the auction photos against the actual damage description. Be honest about what you're seeing.
A dented fender is one thing. Suspected frame damage, flood exposure, or fire damage is something else entirely. Nice paint can hide a lot of expensive problems.
Got an older car with some rust? The APEX Nano surface rust walkthrough is a solid starting point for surface corrosion, but anything that looks like structural rust needs eyes from a qualified repairer. No guessing there.
Here's what I'd zero in on:
- Structure: Don't eyeball panel gaps and call it straight. Ask for real frame or unibody measurements.
- Restraints: Deployed bags, cut or locked belts, airbag lights on the dash, a missing SRS module — all red flags.
- Hidden damage: Look for waterlines, burnt wiring, missing parts, and signs of old repairs.
That last point matters. You can have perfectly fixable sheet metal and still fail inspection because of a missing module or blown belts. When you're rebuilding salvage cars, get a price on those parts before you decide your max bid.
If you can't identify the damage, put it in the risk column. Not the savings column.
Set Your Go or No-Go Criteria
Work up your written estimate in this order:
- Structural integrity and must-do mechanical work first
- Airbags, belts, sensors, wiring, and module work second
- Cosmetics last, with parts availability, labor, and downtime listed separately
Real-world example: front-hit sedan, deployed belts, airbag light on. That car needs a proper diagnosis and an itemized quote before you bid. Same with a flood car with mystery electronics — investigate it, don't just pad the budget and hope.
Don't panic if your exact model isn't listed. Safety Restore states there's a 99% chance it can reset an unlisted vehicle's module — just confirm compatibility with Safety Restore.
And before you commit to anything, document everything. Photo the VIN, the damage, the dash warnings, the belts, and the module tags. Keep the listing, your notes, and the written estimates in one folder. That's day one of your inspection file.
When rebuilding salvage cars, restraint repairs deserve real attention. This isn't just about clearing a light on the dash.
A locked belt and an airbag warning are two different problems. They need to be diagnosed separately.
Restoring Seat Belts and Airbag Modules
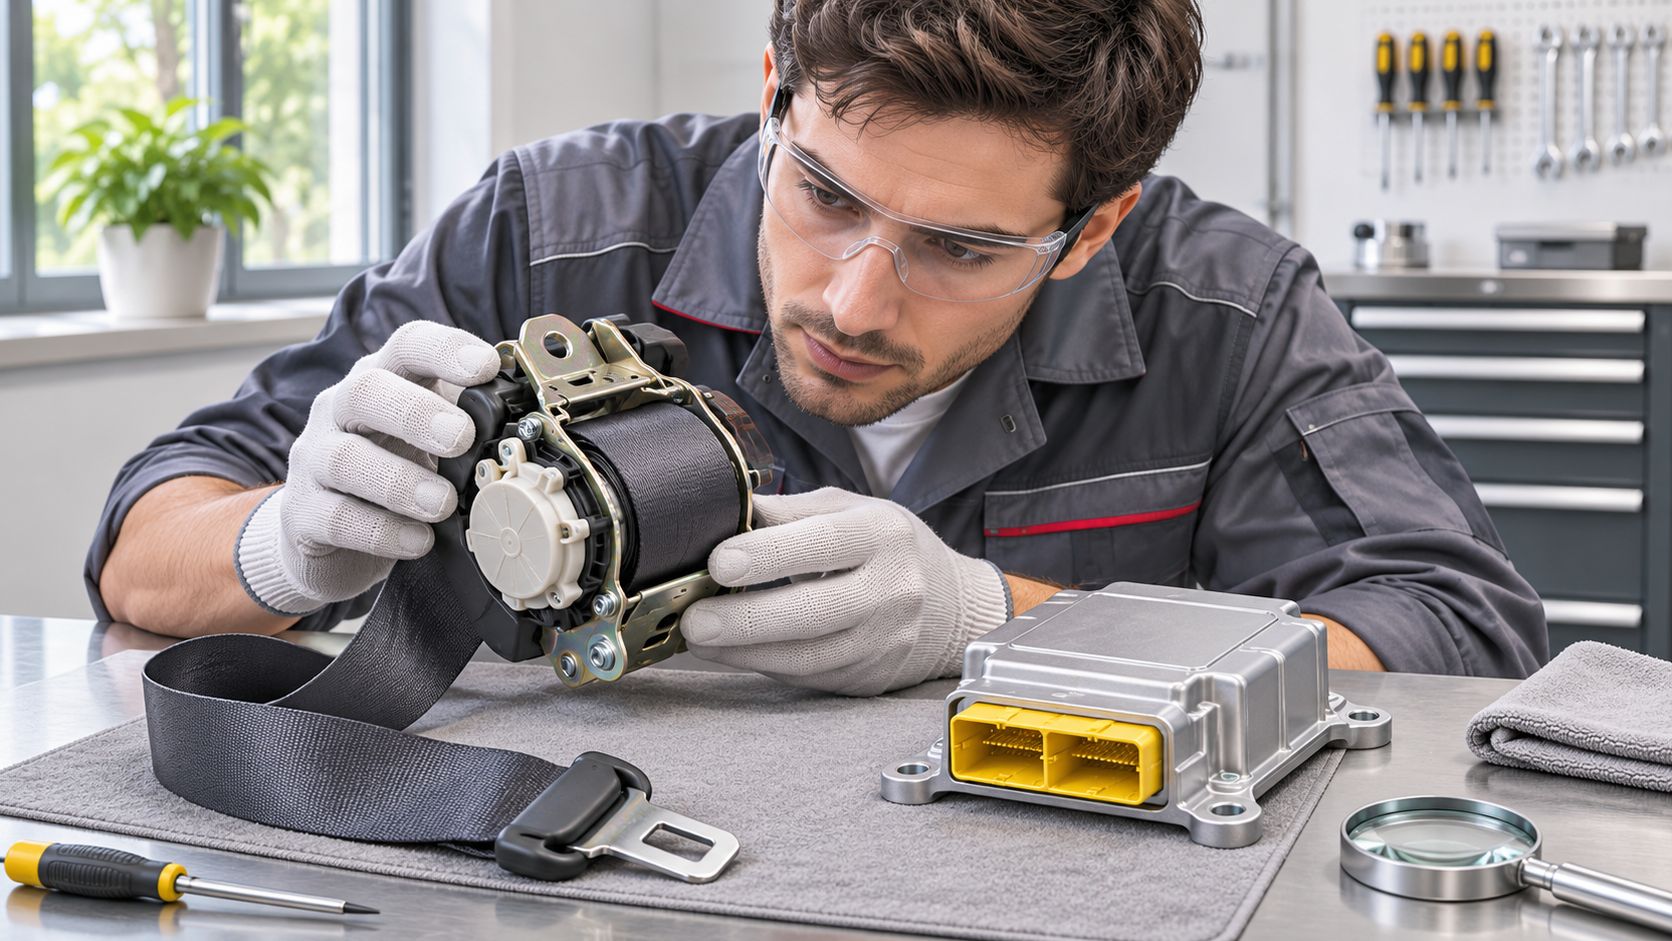
Start with the belts themselves. Look closely at your retractors and pretensioners for any signs of locking, firing, or physical damage.
That includes single-stage, dual-stage, triple-stage, and buckle pretensioners. Then check the webbing — ripped, cut, torn, worn, frayed, or even chewed spots all count.
Your SRS airbag control module is another story. After an impact it can hold onto crash data and hard codes, which keeps that warning light stuck on.
Clearing that stored data won't fix deployed airbags, broken wiring, bad sensors, or damaged belts. The hardware still has to be addressed.
A reset isn't a substitute for restoring the entire restraint system.
Take a common rebuild scenario. The bodywork is straight and painted, but the sedan still has locked belts and a locked module.
Keeping those original assemblies is a big plus. You maintain OEM fitment, which really helps when replacements are discontinued or hard to find.
Safety Restore repairs your original parts instead of swapping them out. So you're not paying, shipping, or waiting twice.
Their $99 per item service typically includes a 24-hour turnaround and a lifetime warranty. Seat belts are rebuilt to factory condition using 100% OEM parts. Check out their airbag module reset service.
Repair the Original Part or Replace It
When you're on a budget and a timeline, this decision matters. Here's how repairing your original belt or SRS module stacks up against hunting down another assembly.
| Factor | Repair Original Part | Replace with Another Assembly |
|---|---|---|
| Price certainty | Published flat rate | Confirm supplier quote |
| Turnaround | Repair plus shipping | Depends on availability |
| Fitment | Retains original assembly | Verify compatibility |
| Warranty | Provider coverage | Check seller terms |
For most rebuilders, repair wins on simplicity. You get the same unit back, ready to bolt in.
Whether you're a body shop, mechanic, dealer, fleet manager, or owner, the goal is the same. Get that original unit back ready for installation.
Just confirm the repair is suitable per manufacturer procedures before you pull anything.
- Prepare safely. Disconnect the battery and follow manufacturer discharge waiting times. Use a qualified technician.
- Remove the component. Modules are often beneath the center console or front seat.
- Place the order. Order online or call 855-552-7233. Prepay or include payment.
- Ship with identification. Include year, make, model, return address, and phone number.
Send parts to 40 MAIN ST., WESTFIELD, MA 01085. Finish all other vehicle repairs before reinstalling, then get professional SRS verification before you book inspection.
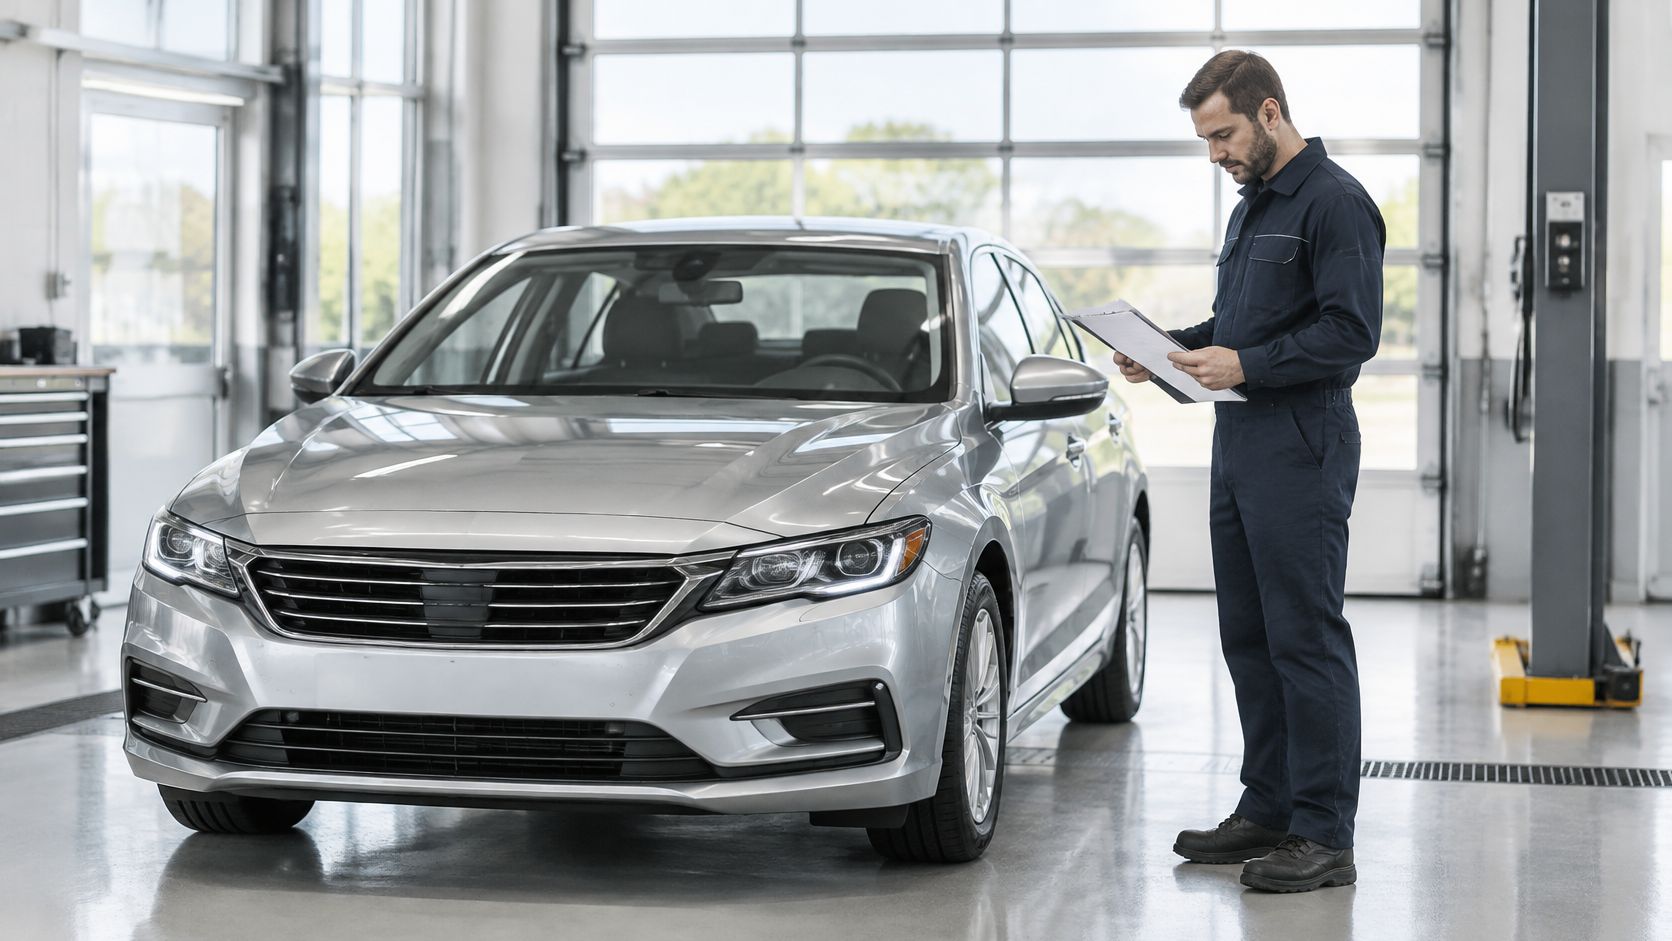
Think of inspection day as a checkpoint you prep for, not a surprise test. The inspector really only cares about one thing — is this car safe to drive — not how shiny the paint is.
And the stuff that trips up rebuilders? It's almost always the same short list:
- Structural repairs that line up with the original damage report
- Lights, glass, steering, and brakes all working like they should
- Restraint systems functioning exactly as designed
I've watched this play out in shops more times than I can count. A rebuilt sedan pulls in looking finished. Fresh paint, new bumper, detailed interior. Then it fails in ten minutes because one belt is still locked and the airbag light never went off.
That's a second appointment, another fee, and another week sitting idle. All of it preventable. Get those items sorted before you book, and inspection is usually just a formality.
A reset is not a substitute for repairing deployed airbags, sensors, wiring, or belts.
Clearing crash data and hard codes only gets the original airbag control module ready for reuse after the actual repairs are done right. Safety Restore clears stored crash data and hard fault codes from original modules, so they're ready to go back in once the vehicle is properly fixed. Learn more about airbag module resets at safetyrestore.com.
Preparing the Car and the Paperwork
Your paperwork has to tell the full story of the rebuild. Keep it organized in a folder, not wadded up on the passenger seat.
- Repair invoices and parts receipts
- Before-and-after photos showing the damage and the completed fix
- Notes on what was repaired versus what was replaced outright
If a belt was rebuilt instead of swapped for new, be upfront about it and have the invoice handy. Inspectors appreciate a clean paper trail. Check out our guide on seat belt repair after an accident for the restraint side of that documentation.
One last heads-up. Title branding, inspection names, and registration steps differ by state. Double-check the exact sequence with your local motor vehicle agency, and use this section as your practical prep checklist.
When you're rebuilding salvage cars, don't budget them all the same. Every auction buy is different, and so is the money and calendar time it will take.
Controlling Cost, Time, and Paperwork
Split your numbers up early. Keep structural and mechanical estimates separate from restraint work that's priced per piece. Then put shipping, install labor, inspections, and those surprise finds on their own lines. Otherwise a predictable parts price can hide a very unpredictable total budget.
- Damage-dependent work gets an itemized estimate and a sign-off before you green-light anything extra.
- Restraint work gets an exact component count, confirmed eligibility for service, plus room for shipping.
- Calendar planning gets real dispatch dates, expected return dates, and install time blocked out before inspection.
Safety Restore offers wholesale shop pricing for body shops, automotive mechanics, and used-auto sales. That includes locked or blown retractors after accidents in the Ford Special Service Police Sedan. Confirm seat belt repair options.
If you're working fleet or service vehicles, put that return-to-service date right next to every component. Get the restraint repairs moving while the bodywork is still happening. You don't want a finished car just sitting there waiting on a belt or a module.
Short repair turnaround isn’t total downtime. Include shipping, installation, and verification.
Keep a Traceable Repair File
Make one folder per VIN. Auction paperwork, repair orders, shipping records, photos, inspection results — all of it lives there. Keep it clean enough that a buyer, an insurer, or the clerk at motor vehicles can follow it.
For every component you pull, write down:
- What it is and when you removed it
- Where you sent it and the tracking number
- When it came back plus the repair invoice
- Who installed it and when it was finished
For broader workflow planning, use this reconditioning guide to get trade-ins lot-ready faster.
Start that tracking sheet before you ship anything. At resale, those records let you explain what happened and what you fixed, without implying the paperwork erases a remaining salvage brand.
Most rebuilds don't fail in the shop. They stall on paperwork, backordered parts, or damage nobody caught early.
Avoiding Pitfalls That Stall a Rebuild
Photos lie. A straight-looking body can still hide deployed restraints and locked belts.
I've seen it plenty of times — a sedan with perfect paint sitting dead in the water for weeks waiting on one discontinued belt. No inspection, no title, nothing moves until that part is sorted.
Before you pay for another repair, rule out the usual blockers:
- Hidden fees: Get the full total in writing — repair, shipping, and what's not included
- Repeated failures: If a reset didn't take the first time, get a real diagnosis before paying again
- Parts delays: Confirm the part actually exists before you book an inspection date
And one big one: don't plug that airbag module back in until the rest of the SRS repairs are done. Disconnect the battery first, give it the manufacturer-recommended wait time, and let a qualified tech handle any restraint work.
Restraints are safety equipment, not cosmetic leftovers. A salvage rebuild isn't finished until it's safe — and you can prove it.
Mailing parts in? Ship only the removable component, not the car. Toss in the year, make, and model, plus your return address and phone number. It sounds basic, but missing info is what causes most delays.
Finish With a Documented Handoff
Run through this before you close out the repair order:
- Damage is fully understood and the repair quote is locked in
- Original belts and module are restored, or replaced the right way with the right procedures
- Photos, invoices, and verification records are filed together
- Required inspections are scheduled
- Title and registration are handled per your state's rules
If cost or availability is holding you up, take a look at Safety Restore's mail-in repair for locked seat belts and check if your original part qualifies for service. Then call your state motor vehicle agency for the exact legal sequence to finish it out.
When you're rebuilding a salvage car, a few last questions are worth sorting out before you book that pickup or file paperwork.
Questions People Ask About Salvage Rebuilds
Can I drive home from the auction?
Just because it starts doesn't mean it's street-legal. Every state handles this differently, so check with your motor vehicle agency on transport rules before you go get it.
For instance, the Illinois inspection guide walks through inspection first, then rebuilt title approval and registration — not driving it home right after repairs.
Does resetting the module fix deployed airbags?
No. A module reset clears stored crash data, it doesn't repair physical damage. Airbags, sensors, wiring, and belts still have to be fixed correctly per the factory procedures.
A cleared warning light isn't proof that the restraint system is safe.
What if my vehicle isn't listed?
No listing doesn't always mean no. Check with the provider on eligibility before you pull or mail anything.
Send them this info upfront:
- Vehicle identification, including year, make, and model.
- Component information, including part number and clear label photos.
- Damage evidence, including deployment photos and diagnostic findings.
Will The Salvage Brand Disappear?
A solid rebuild won't wipe the history clean. Branding rules, inspection names, and registration steps change state to state, and that brand can stick around even after good repairs.
Keep your photos, invoices, and inspection results in one folder, then ask your motor vehicle agency exactly what your new title will show.
Ready to confirm restraint repair eligibility? Send Safety Restore your vehicle and component details through its repair service website before shipping your original parts.

