One of the essential elements of a vehicle is a seat belt since it keeps the driver and passengers safe from the dangers of the road, or at least up to a certain extent that is enough to minimize the damages. However, just like any piece of equipment, seat belts are susceptible to wear and tear.
After a bunch of uses, seat belts can accumulate damages over time. And since they rely on an inertial system to lock the belt in place during a sudden stop, the mechanism must stay functional and in pristine condition all the time. If you’re experiencing pretty bad seat belt wear and tear, it’s best to replace your seat belts, so you’re adequately protected on the road.
Although replacing a seat belt is quite simple, it’s always best to have expert seat belt repair services to help you with this task. But again, it pays to know what goes on during a seat belt replacement session.
What Do You Need?
Here are the things you need when conducting seat belt repairs:
- Spanner or wrench
- Screwdriver
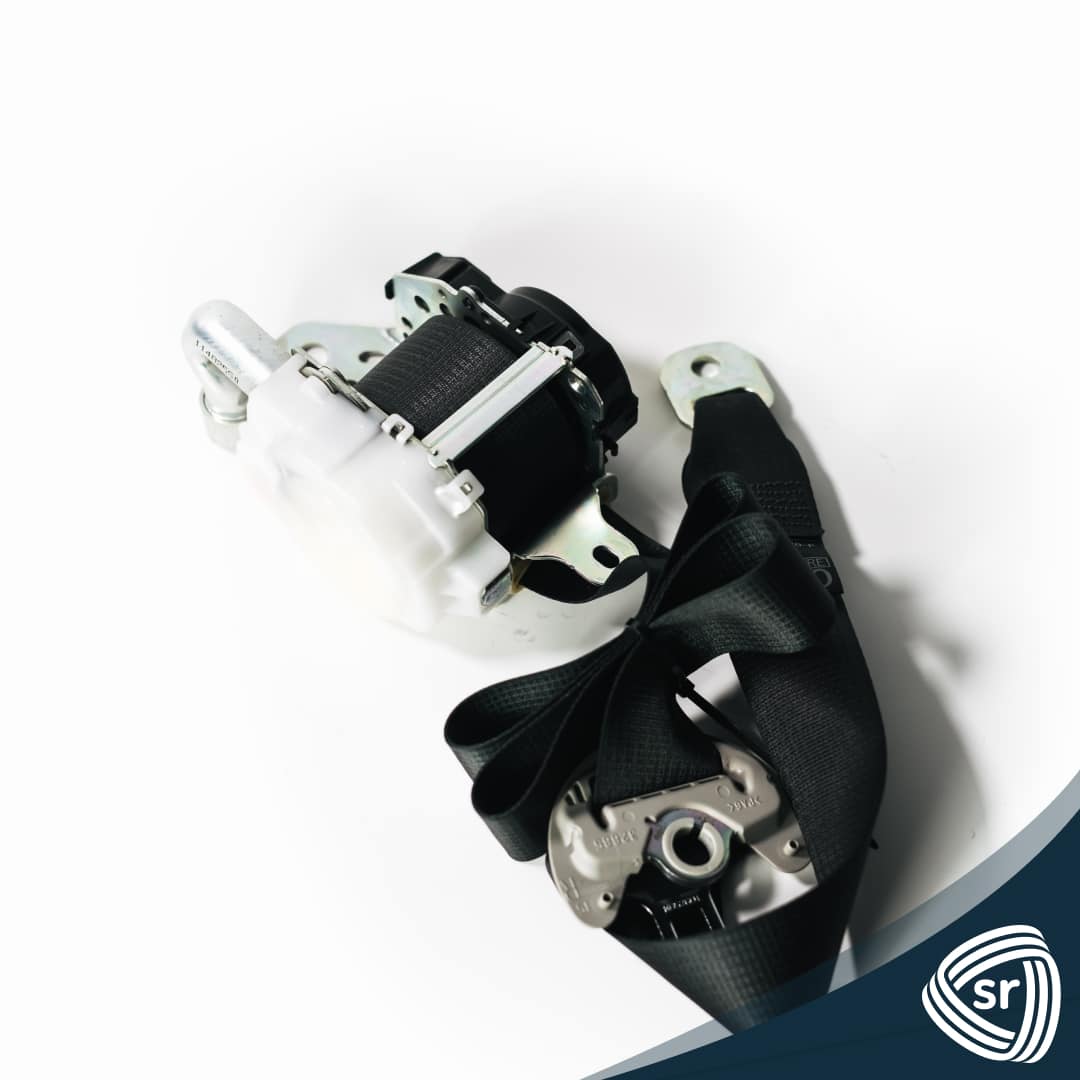
- New seat belt unit
Step #1: Detach the Belt and Buckle
To properly replace your seat belt, you need to completely detach the belt and buckle from your car.
If you’re dealing with a lap belt type seat belt, know that there is only one fixing point for the buckle and another one for the belt. And as for the shoulder strap, you’ll deal with two fixing points connected to the buckle.
In some cases, you may need to lift the seats or use bolts covers to reach and access the fixings. With the spanner, remove all the bolts around the retractor and the buckle. Now, you can safely remove the whole system from the car.
Step #2: Install the New Seat Belt Unit and Retractor
After removing your faulty seat belt, the next step is to install your new retractor and seat belt unit. This part requires you to be specific and meticulous since you need to take care of lining up the holes and screwing the bolts as tightly as possible.
Once you’ve done that, you can then fix any additional bolts that will hold the shoulder strap in place. After installing the pieces, make sure they’re working by pulling the belt and see if it retracts properly.
Step #3: Add the Buckle Unit
Now that you’ve installed the retractor and seatbelt, the next thing you’ll do is to put the buckle unit in place. While you’re at it, ensure that the unit lines up with the holes before using the spanner to tighten its bolts.
Once you’re adding the buckle unit, pull the seat belt out of the retractor, check if it lines up with the buckle, and slots safely into its new seating.
Step #4: Check the Seat Belt’s Functions
Now that you’re done with the replacement, push and pull the seat belt around if it’s placed securely and retracts properly. With considerable force, pull the belt out to check if the inertia stop function works as it should, which would cause the belt to lock in place as you simulate a “collision” or accident.
The Final Thought: If You’re Dealing With a Faulty Seat Belt, Have Professionals Replace the Unit
Although seat belt repairs seem like an easy task, it’s still best to have professionals deal with the replacements. This is because they understand how a seat belt must function, how tight the bolts need to be, where everything is placed, and how everything should be lined. This will ensure you and your passenger’s safety at all times.
Seat Belt Replacement Services in Westfield, MA
If you’re looking for seat belt replacement services in Westfield, MA, look no further because Safety Restore is here for you.
Our company is the world’s leader in post-accident restorations specializing in seat belt and airbag repairs, and many more. Learn more about our services today!