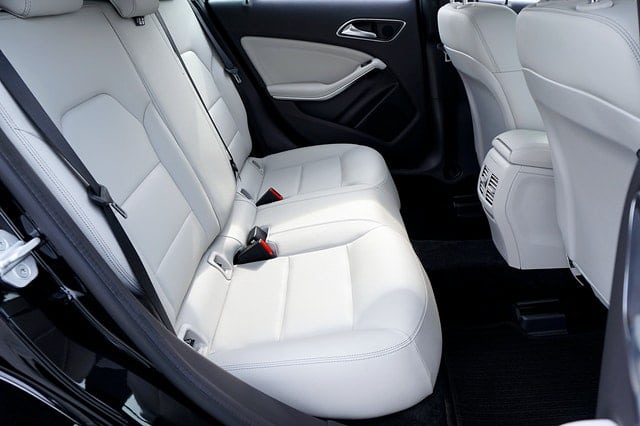
Many of us aren’t strangers to jammed or broken seat belt buckles. When getting into the car on your way to work, it can be incredibly inconvenient to discover your seat belt isn’t working as it should! Before you give up and get on the road anyways, remember that these components of your car are key safety features.
Riding in a car unrestrained can be deadly. Whether this is due to forgetting to strap yourself in or having a broken belt buckle makes no difference—the road does not discriminate! The seat belt is an essential component of your car, and no one should drive without it. If your buckle is stuck or not working correctly, it’s time to carry out a seat belt repair.
While the professionals will always be there for help, there might be a temporary solution that will get you back on the road safely strapped in until you can have your car examined. Get your a screwdriver and butter knife ready, and prepare to fix your seat belt buckle with these simple steps:
Step #1: Check Out the Belt
Examine the belt on the surface. Extend the belt to its full length and check for dirt, gum, cuts, or anything sticky trapped to the belt rather than the buckle.
Scan the male part of the buckle and check if anything is trapped or if it’s distorted. You might be able to clear any obstructions and fix the issue right then and there! If not, though, proceed to the next step.
Step #2: Examine the Female Part of the Buckle
In most cases, jammed buckles are due to something being stuck in the buckle’s female part (the section where the male part of the buckle goes in). Insert the butter knife (or something similar) into the female portion. If there is a minor impediment, you might be able to remove it. If the impediment is large, however, you may be unsuccessful.
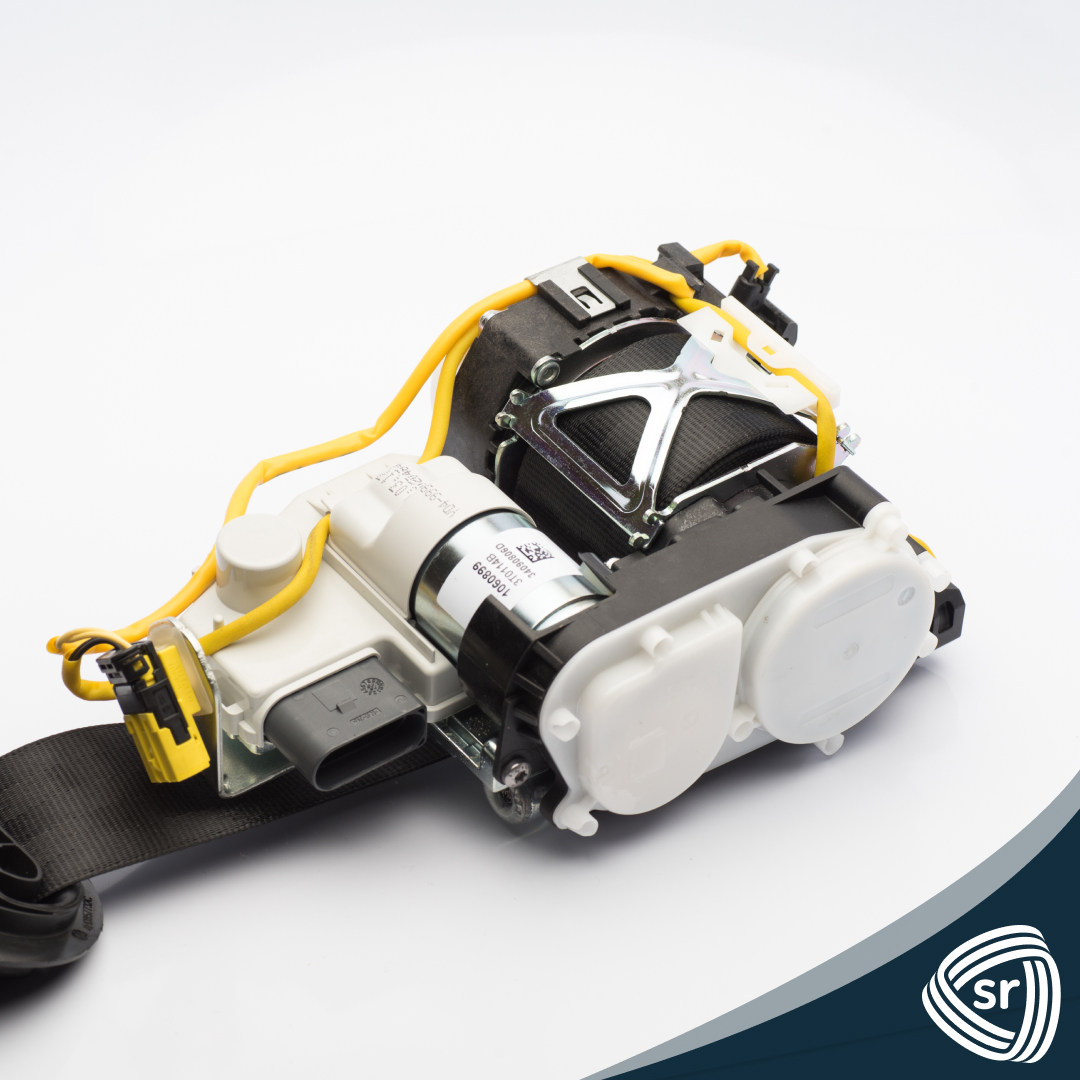
Step #3: Remove the Buckle
The next step involves removing the female portion of the buckle from the seat’s side. Some only require unscrewing, while others may necessitate the removal of the seat. Neither of these tasks are tough, but they may take some time. Doing so will allow you to remove the buckle completely.
Step #4: Disassemble the Socket
After you’ve removed the buckle, you will notice a socket between the edges of the buckle and the socket. Disassemble it by loosening any screws that may be present and pulling it apart with the screwdriver’s edge. Pry it apart once you’ve determined all screws have been removed. Be gentle when prying it apart, so that the springs within will not come loose if you yank on it.
Step #5: Observe the Movement
By this time, you can see the insides of the red push button and the mechanism (the springs and the cam). Identify what’s wrong with the springs or the cam by pressing the button. If there is anything in the path of the springs, carefully remove it.
Now check to see if the button is operational. Once you’ve confirmed that it works, carefully reassemble the buckle before attempting to lock it. In most cases, your belt buckle will be repaired at this point. If not, though, it’s time to go to step 6.
Step #6: Consider Replacement
If the cam or springs do not move when the button is pressed, the damage is almost irreversible, and replacement is the only alternative. You can still have it looked at by a seat belt buckle repair professional, but you will likely have to replace it.
Wrapping Up
Seat belt repair is not inherently difficult, but it can take a lot of time and attention. If you have a stuck belt buckle, it’s almost always best to just get it in working condition so you can have it examined by a professional.
Before you take your automobile out on the road, ensure that all seat belt buckles are in top shape. However, if your seat belt buckle breaks and this handy guide won’t work, seek seat belt repair services from Safety Restore. Call us if you need help, and our technicians will come to your rescue!