You notice it while cleaning the interior. The driver's belt has a fuzzy edge, the webbing no longer retracts smoothly, and a dark stain runs across the section that rests against your shoulder. The buckle still clicks, so it's tempting to keep driving and deal with it later. That's the wrong assumption. A webbing seat belt can look usable while its load-bearing fibers, retractor, or pretensioner no longer work as intended.
Replacing the entire factory assembly isn't always the only safe solution. Professional rewebbing can preserve the original hardware, restore damaged material, and even add a carefully selected color to a classic, custom, or restored interior. The key is knowing which parts can be restored, which damage requires replacement, and why home repairs are a poor place to save money.
Table of Contents
- The Hidden Lifeline in Your Car
- Signs Your Webbing Needs Immediate Replacement
- OEM New Parts Versus Colored Webbing Upgrades
- Why Professional Repair Beats DIY and Dealerships
- How Safety Restore Simplifies the Process
- Restoring Safety and Style to Your Vehicle
The Hidden Lifeline in Your Car
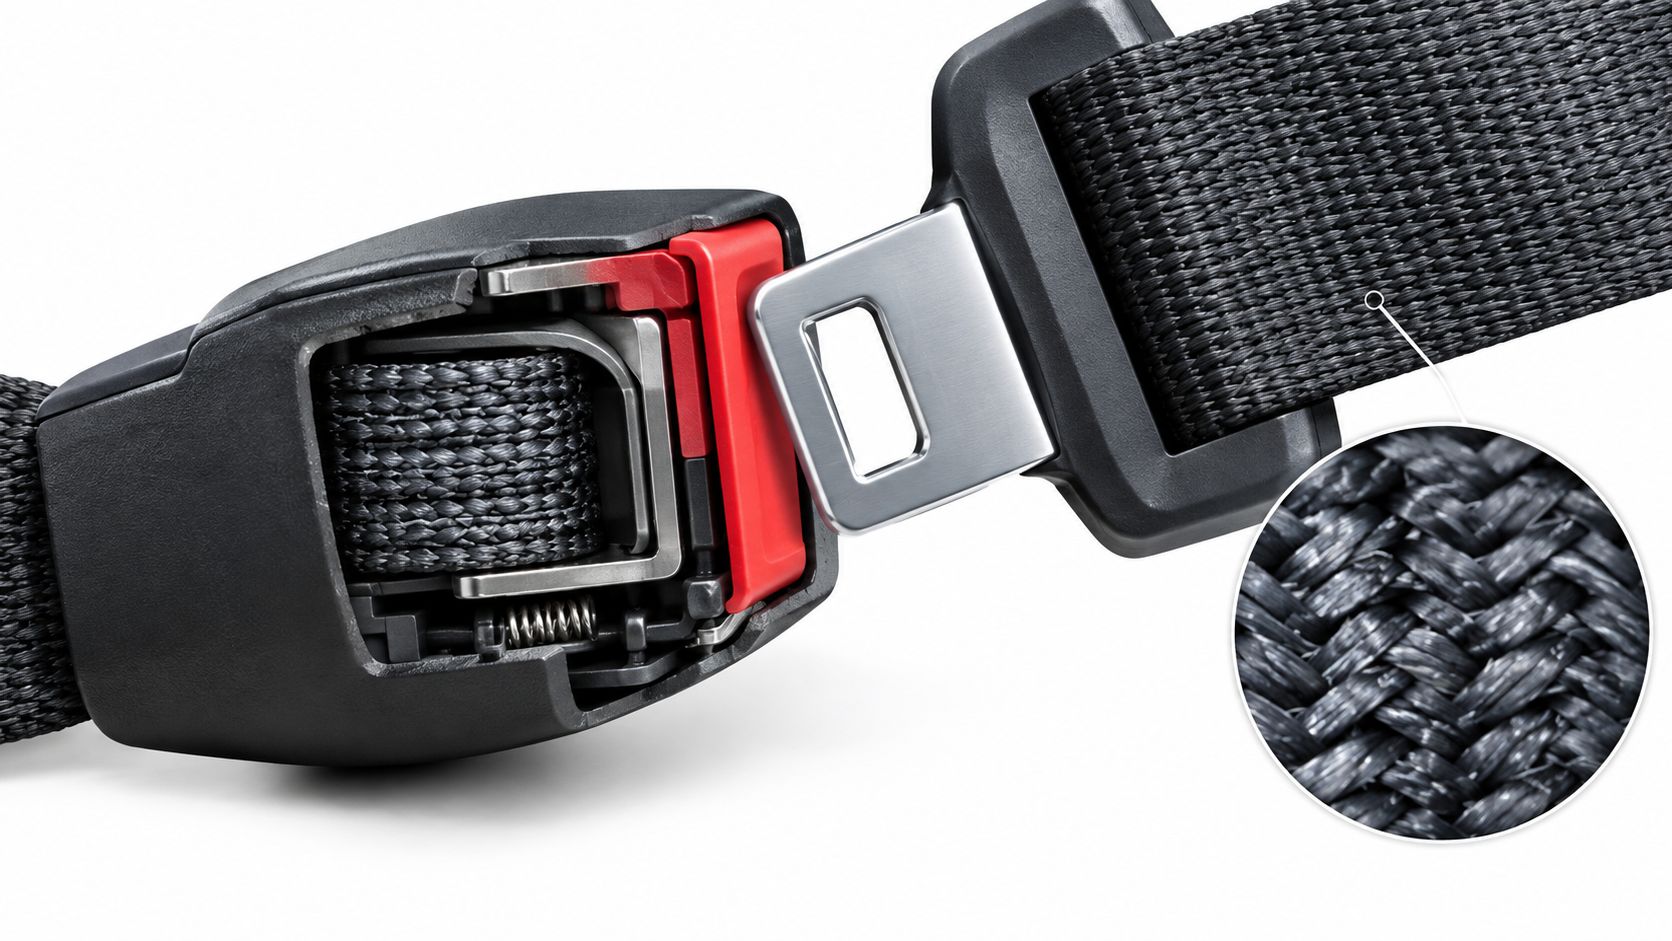
After a collision, the damage may be hiding behind an intact interior. Owners often check the bumper, lights, and airbag warning lamp first, while technicians inspect the seat belt for signs that it absorbed crash forces. The woven webbing carries those forces through the latch, retractor, and anchor points into the vehicle structure.
That makes the belt a working safety component, not trim. The webbing must remain strong, flexible, and correctly positioned. The retractor must let the occupant move normally, then lock during a sudden pull. A failure in either part leaves the rest of the restraint system with less protection.
Why the woven belt matters
Seat belts have been among the most effective vehicle safety technologies for decades. The Insurance Institute for Highway Safety's seat belt research reports that the U.S. National Highway Traffic Safety Administration estimates belts saved 20,443 lives in 2019 and 457,578 lives between 1968 and 2019. A separate NHTSA summary cited by IIHS says belts saved more lives than all other vehicle technologies combined between 1960 and 2012, with 329,715 lives saved.
Those figures apply to the complete restraint system, not webbing alone. The webbing still performs the physical job of holding the occupant and transmitting force. A cut, chemically weakened, heat-damaged, or badly stretched belt can compromise that protection.
The development of belt systems also shows how quickly their design matured. New passenger cars began using some form of belt in 1964. Shoulder belts appeared in 1968, and integrated lap-and-shoulder belts arrived in 1974, according to IIHS historical safety information. By 1996, every U.S. state except New Hampshire had laws requiring belt use for drivers and front-seat occupants.
Shop rule: If a belt was involved in a crash, do not judge it by appearance alone. Treat the assembly as a safety component until its condition and deployment history have been checked.
The same inspection standard applies to cars, trucks, vans, motorhomes, and recreational vehicles. For an RV with collision damage affecting the interior or restraint system, owners can review options to fix RV damage with Motor Sportsland while arranging a proper seat belt inspection. Professional restoration can preserve usable hardware and support carefully selected colored webbing, without relying on unsafe DIY work or automatically paying for a complete dealership replacement.
Signs Your Webbing Needs Immediate Replacement
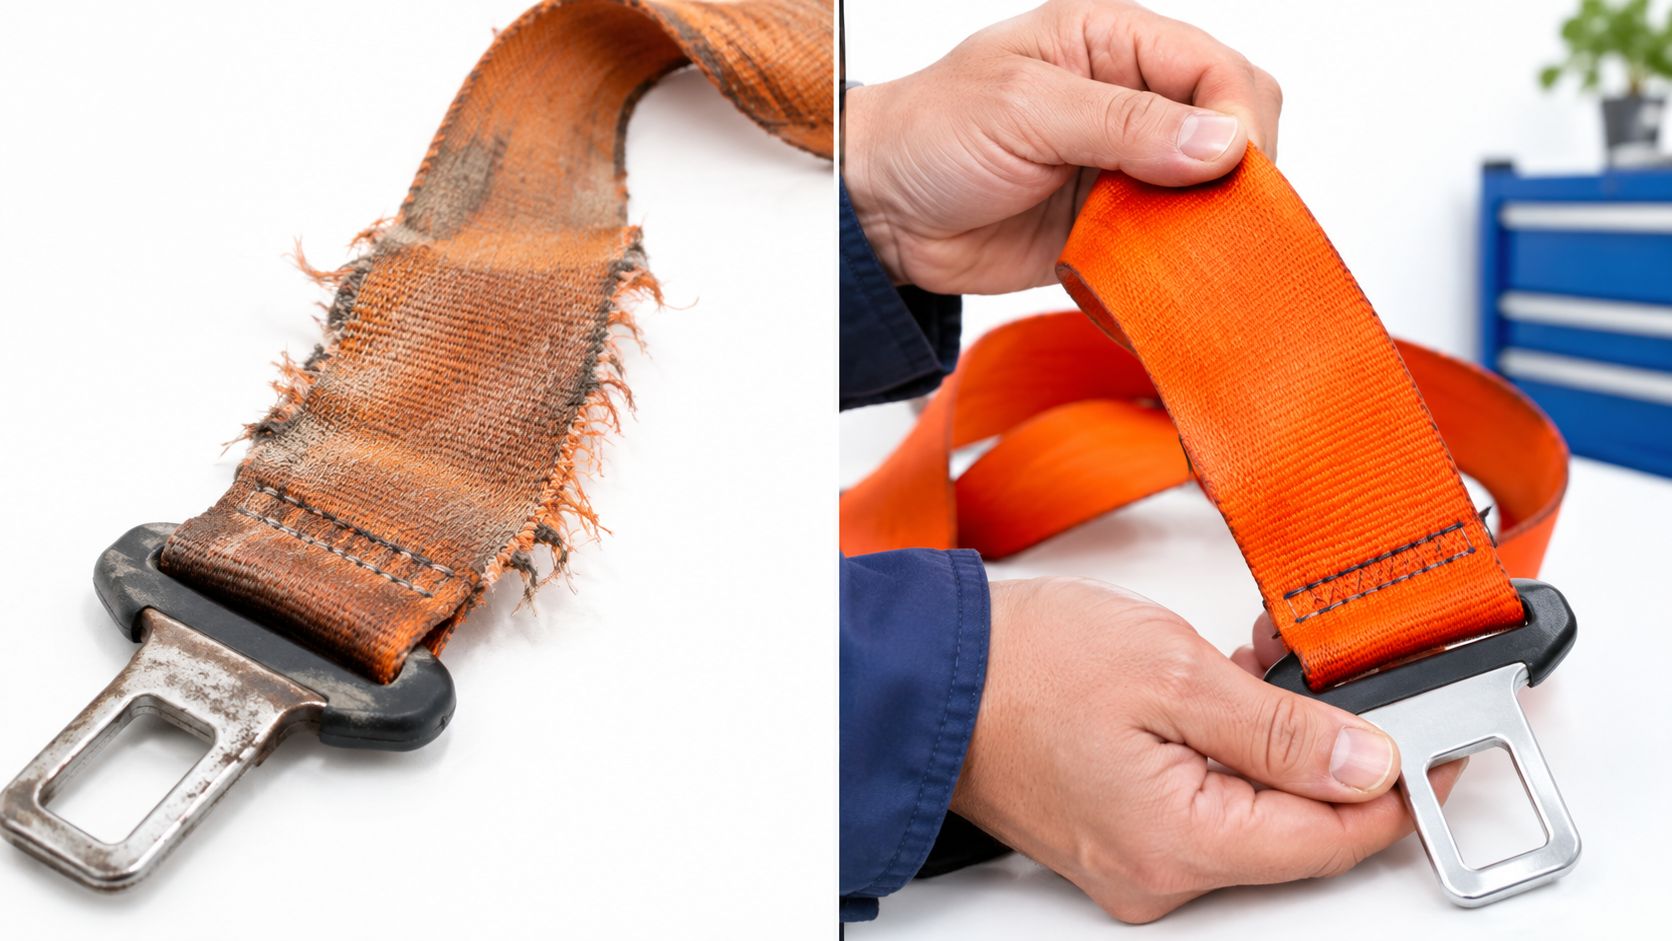
The most obvious warning is a torn edge, but fraying is only one failure pattern. A belt can lose useful strength through abrasion, ultraviolet exposure, heat, chemicals, or distortion of the woven structure. Look at the entire length, not just the section you normally see.
Pull the belt out slowly and let it lie flat. Run your fingers across both sides, checking for changes in texture, thickness, stiffness, and color. Compare worn areas with an undamaged section near the retractor.
Damage that isn't merely cosmetic
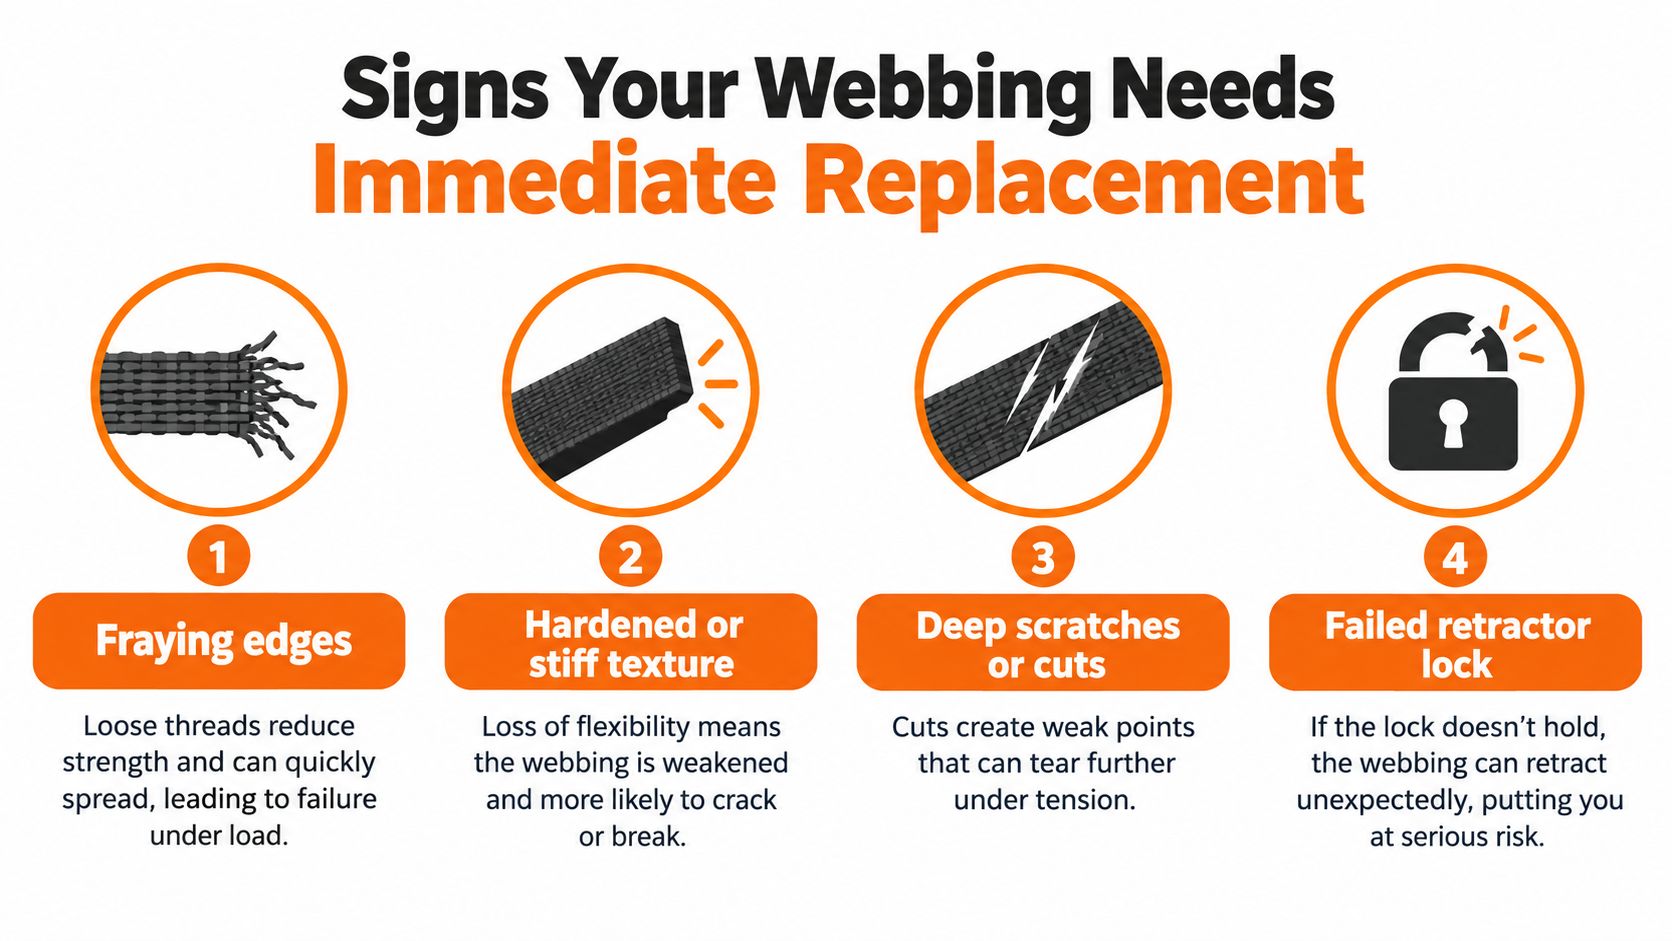
Independent inspection guidance identifies fuzzing, pulled tufts, faded areas, warp distortion, and chemical or UV deterioration as potentially significant forms of damage. A small amount of surface wear doesn't automatically tell you the belt has failed, but it does tell you the fibers have changed. In a restraint system, that deserves more attention than a cosmetic scuff on a dashboard.
Replace the webbing when you find:
- Frayed edges: Torn or unraveling fibers reduce the material's effective cross-section and can spread under load.
- Cuts or deep scratches: A sharp groove can remove load-bearing fibers even if the belt still lies flat.
- Burns or melted areas: Heat can harden or fuse synthetic fibers, leaving a weak section that may not be obvious at a glance.
- Stiff, brittle, or hardened patches: A belt that no longer bends normally may have suffered chemical, heat, or aging damage.
- Pulled tufts or distorted weave: The belt's original structure has been disturbed, so the material may not distribute force as designed.
- Severe fading or staining: Color change alone isn't proof of failure, but it can indicate prolonged UV exposure or chemical contact.
Federal requirements show why strength matters. Under FMVSS 209, Type 1 assemblies must meet a minimum breaking strength of 26,689 N. Type 2 assemblies must reach 22,241 N for the pelvic restraint and 17,793 N for the upper torso restraint. After standardized abrasion testing, webbing must retain at least 75% of its original breaking strength.
The same standard limits elongation to 20% at 11,120 N for Type 1 webbing, and 30% and 40% for the pelvic and torso portions of Type 2 webbing. These limits balance restraint with controlled energy absorption. You can't verify compliance with a fingernail test, household scale, or visual inspection alone.
Don't ignore the retractor
A clean belt can still be unsafe if the retractor doesn't lock. Pull the webbing out smoothly, allow it to retract, and give it a sharp tug. It should lock decisively. Slow retraction, grinding, rattling, sticking, or failure to lock calls for professional diagnosis.
Don't spray lubricant into the retractor. Contamination can interfere with locking performance, and damaged webbing should be replaced rather than patched, sewn, dyed, or shortened at home.
OEM New Parts Versus Colored Webbing Upgrades
Owners usually face three practical choices: buy a complete new OEM assembly, replace the webbing through a qualified service, or attempt a repair at home. The right choice depends on the condition of the hardware, the belt's crash history, vehicle availability, and whether the original appearance matters.
A new OEM assembly offers the most direct factory replacement. It can make sense when the retractor, buckle, anchor, or pretensioner has suffered damage, when the correct original part is readily available, or when a manufacturer-specific procedure requires full assembly replacement. The downside is that you discard hardware that may still be serviceable and may lose the original fit, trim match, or period-correct character.
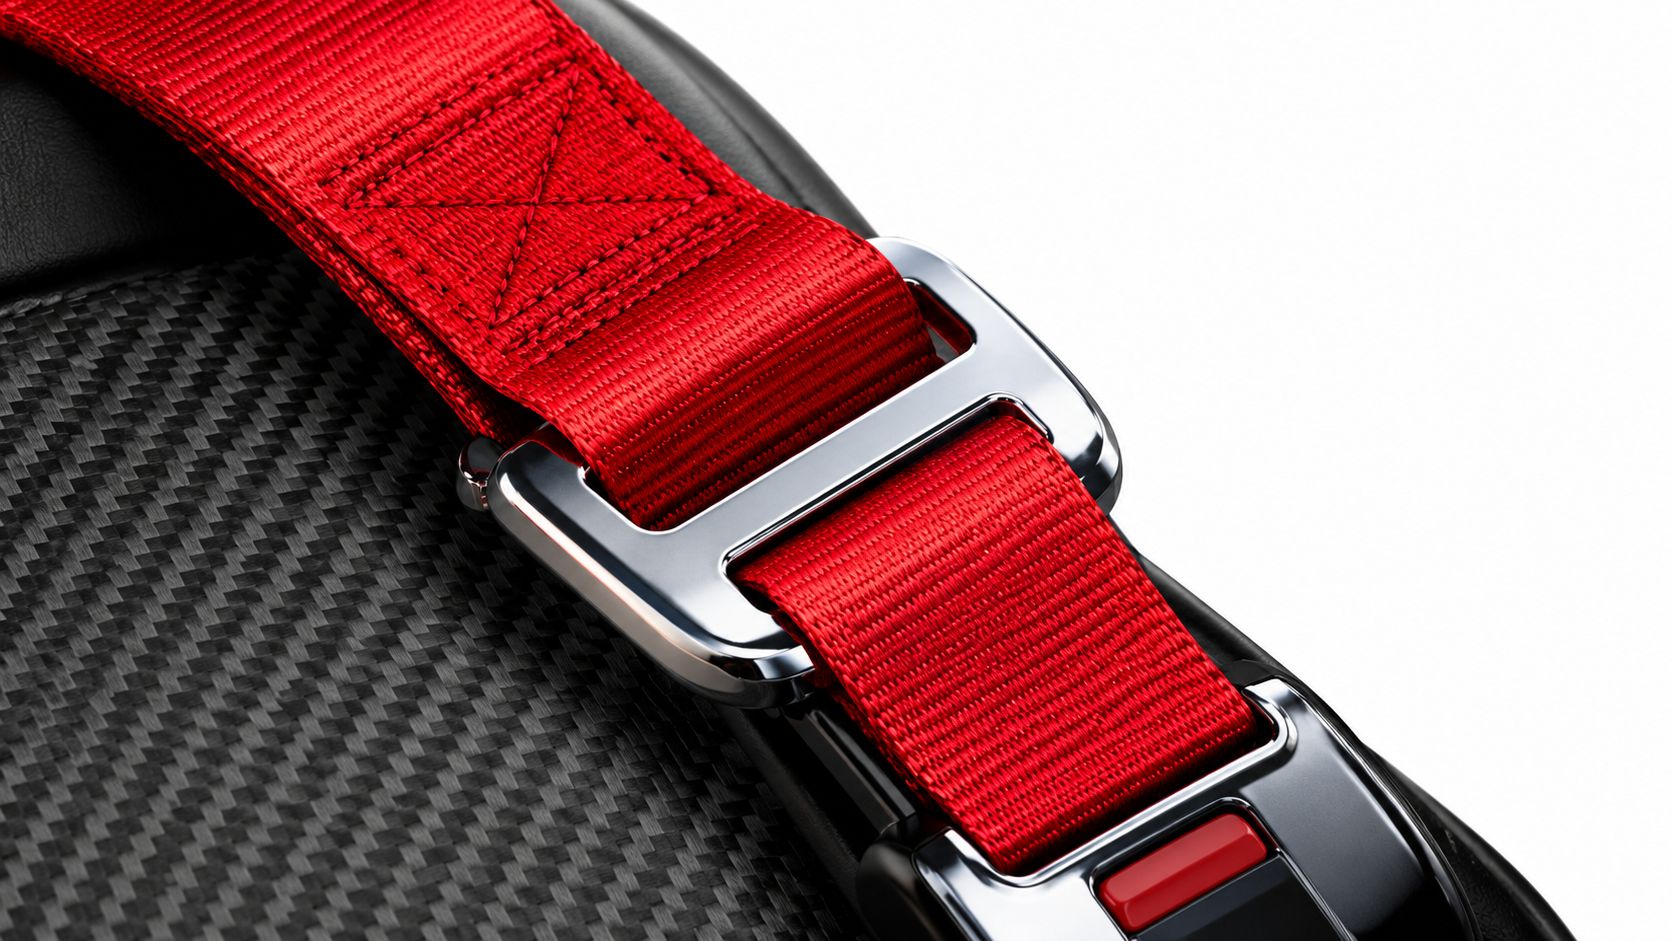
Professional rewebbing takes a different approach. The existing assembly is evaluated, the damaged webbing is removed, and new material is installed using suitable equipment and procedures. For restoration projects, colored webbing can update the cabin without changing the vehicle's original mounting geometry. A bright color can also make a belt easier to see, but color should never be treated as proof of safety or compliance.
| Option | Cost Efficiency | Lead Time | Best For |
|---|---|---|---|
| New OEM assembly | Lower efficiency when original hardware is reusable | Depends on parts availability | Vehicles needing complete factory replacement |
| Professional webbing replacement | Often more efficient because usable hardware is retained | Depends on the service provider and shipping | Frayed, cut, aged, stained, or customized webbing |
| DIY repair or rewebbing | Appears inexpensive but carries the highest safety uncertainty | Immediate, if attempted at home | Not recommended for a load-bearing restraint component |
The color decision
Colored webbing is a style choice, not a shortcut around engineering. A professional should use appropriate replacement material and confirm that the finished assembly operates correctly. The belt must still feed, retract, latch, and lock normally, and the vehicle's mounting points must remain untouched.
For a classic car, orange, red, blue, or another interior-matched color can be the middle ground between an expensive full assembly and a worn factory belt. The strongest restoration is the one that improves appearance without disguising damage or altering the restraint design.
Why Professional Repair Beats DIY and Dealerships
A dealership is a reasonable choice when the complete assembly is required and the exact replacement is available. It isn't automatically the only safe option. Many owners are charged for an entire assembly when the original hardware could be professionally serviced and the actual problem is limited to the webbing or a repairable internal mechanism.
DIY rewebbing looks straightforward until the belt is under load. The finished assembly needs correct stitching, routing, tension, retractor function, latch operation, and compatibility with any pretensioner or monitoring system. A belt that looks neat on the workbench can still have incorrect geometry or inadequate attachment strength.
Where the hidden cost appears
The cheapest quote isn't the same as the lowest total cost. A dealership replacement may involve a complete assembly, shipping delays, discontinued-color problems, and disposal of original hardware that still fit the vehicle correctly. A home repair can create a different expense, including failed inspections, repeat removal, replacement after a professional rejects the work, or damage to the retractor.
Professional service sits between those extremes. It preserves the parts that are worth preserving while putting the critical work in the hands of a shop equipped to handle restraint components.
Practical rule: Never choose a repair method solely because it changes the belt's appearance or costs less upfront. Choose the method that preserves verified function.
For owners considering Safety Restore, the publisher describes a $99 flat rate per item and a lifetime warranty for its serviced components. Those are service terms, not proof that every belt is repairable. The assembly still has to be inspected, and collision damage to the retractor, pretensioner, buckle, or anchor may require additional action or full replacement.
A responsible technician also checks the surrounding system. The webbing isn't isolated from the vehicle. Bent mounting hardware, damaged anchors, a deployed pretensioner, or an SRS fault can make a newly covered belt unsuitable for installation until those issues are addressed.
How Safety Restore Simplifies the Process
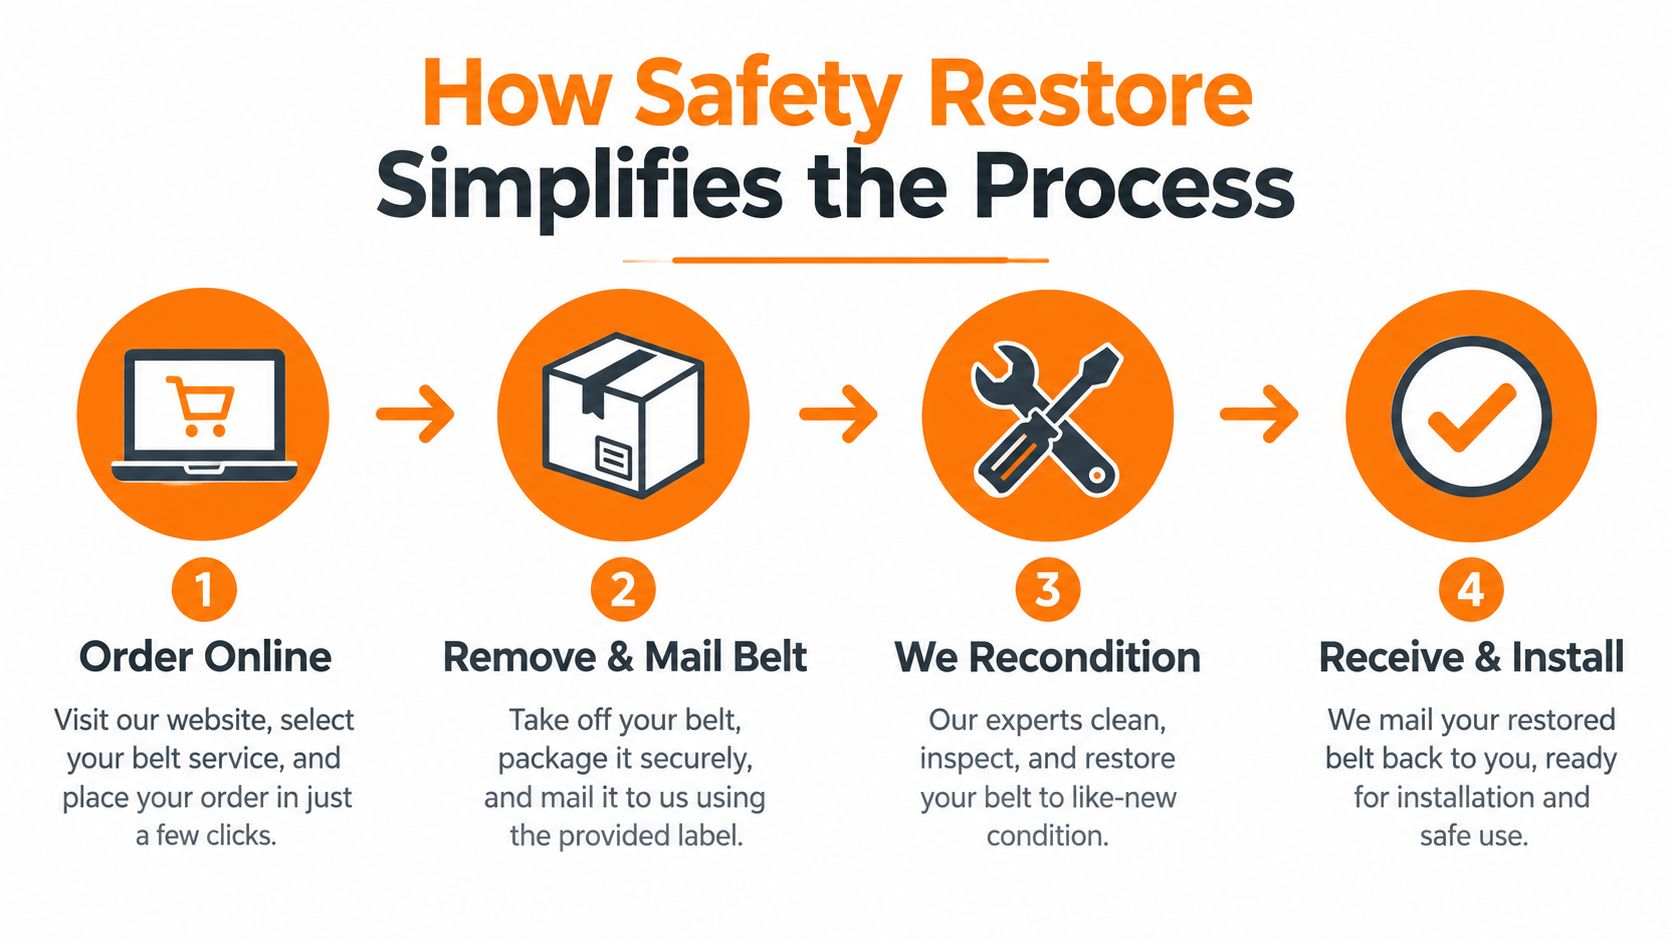
Mail-in repair works best when the owner identifies the correct part, removes it safely, and provides accurate information with the shipment. The process is simple, but restraint components deserve deliberate handling. If you're uncomfortable removing a belt or working around a pretensioner, have a qualified collision technician do that part.
Start with the correct assembly
Before ordering, identify the seating position and inspect the label, connector, buckle relationship, and mounting location. Take clear photographs before removal. This prevents a common mistake in multi-belt interiors, where a passenger-side assembly is sent in place of the driver's belt or a rear belt is confused with a front unit.
A professional service can only restore the part it receives. If the vehicle was in a collision, note whether the belt locked, whether the pretensioner deployed, and whether the airbag warning light remains on. Those details help the technician understand what needs assessment.
The mail-in sequence
- Order online: Select the appropriate seat belt or webbing service and provide the vehicle and part information. Confirm whether you want standard or colored webbing.
- Remove and package the belt: Follow the vehicle service information, disconnect electrical components only as instructed, and protect the assembly from bending or contamination during shipment.
- Professional reconditioning: The service provider evaluates the supplied unit, replaces damaged webbing where applicable, and addresses eligible retractor or pretensioner concerns.
- Receive and reinstall: Compare the returned assembly with your photographs, reinstall it using the vehicle's specified hardware and routing, and verify normal buckle, retraction, and locking behavior.
Safety Restore states that its mail-in service uses a $99 per-item model, with a typical 24-hour turnaround and a lifetime warranty on repaired components. Shipping time remains separate from workshop time, so total downtime depends on the carrier, distance, and any additional inspection or vehicle work.
Final checks before driving
After installation, the belt should lie flat, retract without hesitation, and latch and release cleanly. Perform a firm lock test while parked. Check that the warning system behaves normally if the vehicle monitors the buckle or pretensioner.
Don't treat a successful reinstallation as permission to ignore a warning lamp. An SRS fault, damaged anchor, or deployed pretensioner needs diagnosis before the vehicle returns to regular use.
Restoring Safety and Style to Your Vehicle
A webbing seat belt has two jobs that owners often separate incorrectly. It must look acceptable inside the vehicle, but it must first carry crash loads, manage occupant movement, and work with the buckle, retractor, anchor, and pretensioner as one system.
That's why visible fraying, cuts, hardened sections, pulled fibers, chemical exposure, and failed locking deserve action. Fading may be cosmetic, or it may signal environmental damage. The difference can't be established reliably by color alone, and a belt used in a collision should receive professional attention even when the fabric looks normal.
Colored webbing doesn't have to mean unsafe customization. When a qualified service replaces the material while preserving appropriate original hardware and verifying operation, owners can restore a worn interior without automatically buying a complete new dealership assembly. The sensible middle ground is neither a stitched home repair nor an assumption that every problem requires a brand-new belt.
Inspect the full length of each belt, test the retractor, examine the buckle and mounting points, and keep any belt with questionable damage out of service until it has been evaluated. The cost-saving decision is the one that prevents a failed repair, a repeat installation, or a compromised restraint system.
Safety Restore offers mail-in seat belt webbing replacement, colored webbing options, and repair services for eligible retractors and pretensioners, with customer-supplied parts returned for installation. If your belt is frayed, cut, aged, damaged after a collision, or ready for a controlled interior update, visit Safety Restore to review the service and start the order.