
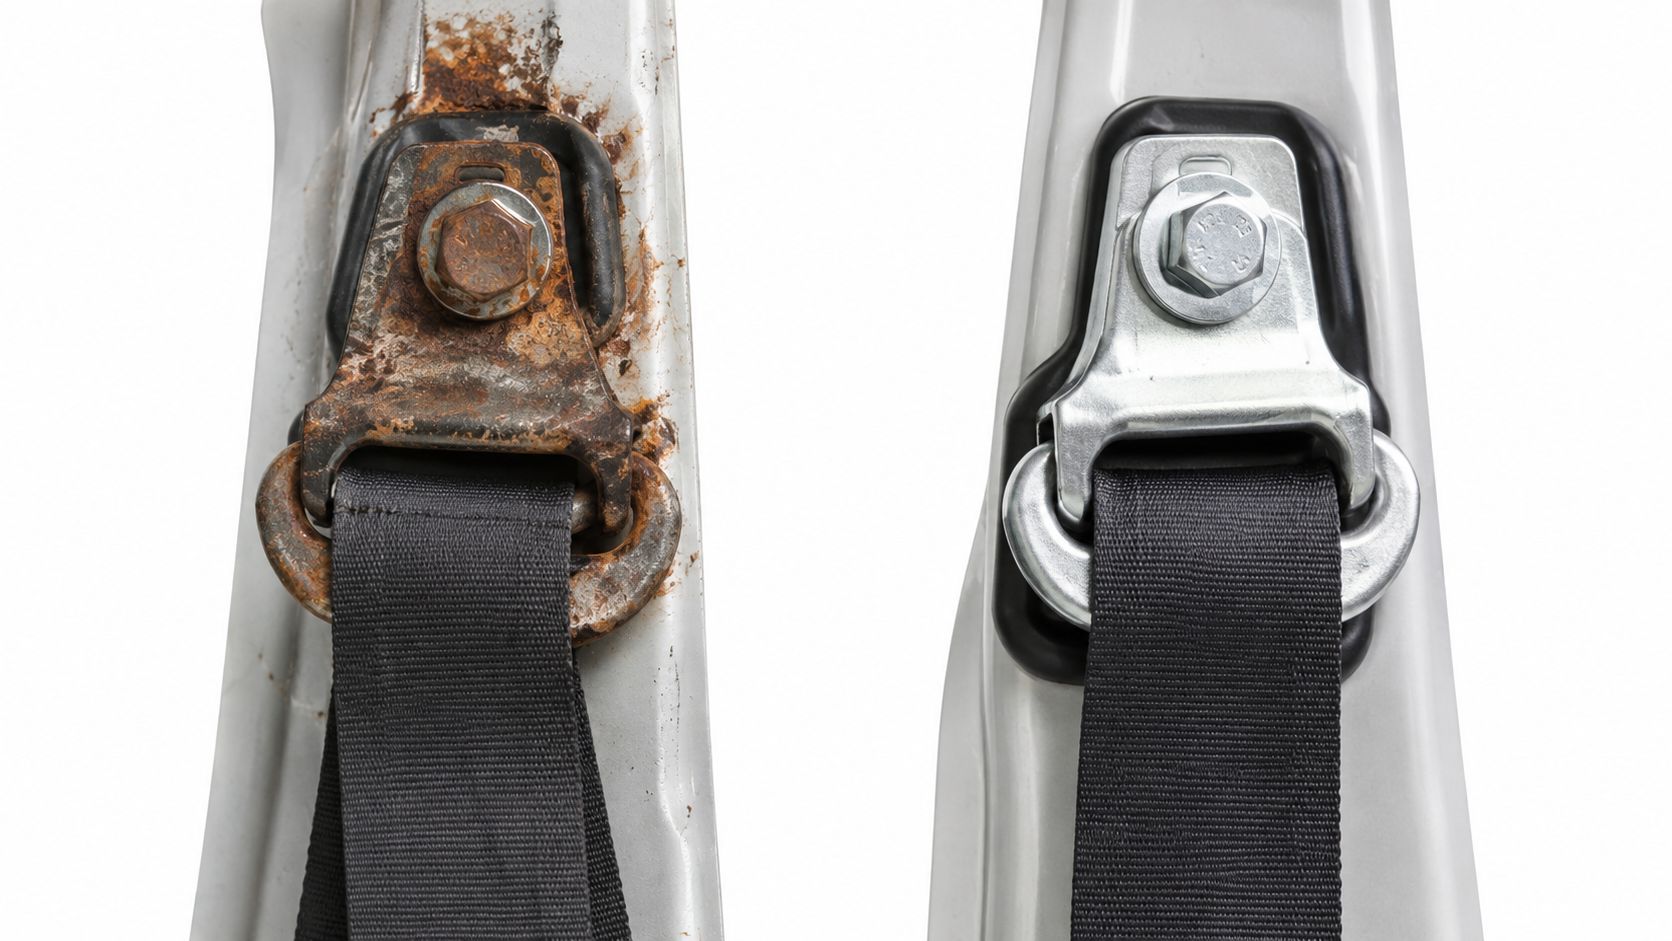
A car comes into the shop after a moderate highway collision. The airbag light is still on, the buckle feels stiff, and the belt appears to pull out normally. Replacing the belt assembly is tempting, especially when the visible webbing looks undamaged. That approach can miss the part that carries the crash load into the vehicle: the seat belt anchor and its surrounding structure.
The anchor isn't just a bolt. It includes the fastener, threaded insert, seat frame, pedestal, floor reinforcement, welds, and any nearby vehicle structure that could allow the belt to separate from the body. A belt can latch and retract correctly while the metal supporting it has stretched, cracked, corroded, or shifted. Before ordering parts, shops and DIYers need to diagnose the entire load path.
Table of Contents
- What Happens to Seat Belt Anchors After a Collision
- How NHTSA Defines Anchor Integrity and Loads
- Why Anchor Geometry and Installation Angle Matter
- When Factory Recalls Reveal Hidden Anchor Defects
- Repair Options for Seat Belt Mechanisms and Webbing
- The Life-Safety Case for Professional Anchor Inspection
- A Practical Checklist for Collision Shops
What Happens to Seat Belt Anchors After a Collision
After a crash, start with the assumption that the restraint system has experienced forces beyond what a visual check can reveal. Remove the trim needed to inspect the mounting area, then examine the anchor bolt, washer, threaded insert, weld nut, seat frame, pedestal, floor pan, and reinforcement around the attachment point. Look for pulled threads, elongated holes, torn seams, buckled metal, cracked welds, and fresh movement marks.
A bolt that still turns into the hole isn't proof of structural integrity. The threads may be distorted, or the sheet metal that supports the insert may have yielded. If the seat shifted during impact, inspect both the seat-mounted and body-mounted portions of the load path rather than focusing only on the buckle.
Follow the force path, not the visible part
NHTSA's definition includes any component other than the belt webbing or straps that transfers belt loads into the vehicle structure. That includes attachment hardware, seat frames, seat pedestals, the vehicle structure itself, and any part whose failure could separate the belt from that structure. NHTSA's anchorage interpretation treats the anchorage as an integrated system, which is the correct repair mindset.
Use this sequence in the bay:
- Confirm the vehicle history: Check whether the seat, carpet, floor, or interior has been removed or repaired before the collision.
- Inspect for deformation: Compare the damaged side with an undamaged matching position where possible.
- Check attachment security: Look for loose bolts, pulled threads, damaged weld nuts, and movement between the anchor and body.
- Trace adjacent structure: Follow the reinforcement into the floor, rocker, tunnel, pillar, or seat frame.
- Hold off on reassembly: Don't install a replacement belt until the vehicle-side mounting area has been cleared.
Accident documentation also matters when responsibility for the crash or resulting damage is disputed. A practical overview of auto accident fault rules in the Southeast can help owners understand why photographs, repair records, and an undisturbed vehicle may matter beyond the repair estimate.
Practical rule: A good-looking belt assembly attached to damaged structure is not a completed restraint repair.
How NHTSA Defines Anchor Integrity and Loads
FMVSS No. 210 evaluates the complete seat-belt anchorage load path, not merely the bolt or nut that a technician can see. NHTSA's testing framework includes the belt attachment hardware, seat structure, pedestal, reinforcement, vehicle body, and every component whose failure could separate the restraint from the structure. That definition changes how a shop should interpret a post-crash inspection.
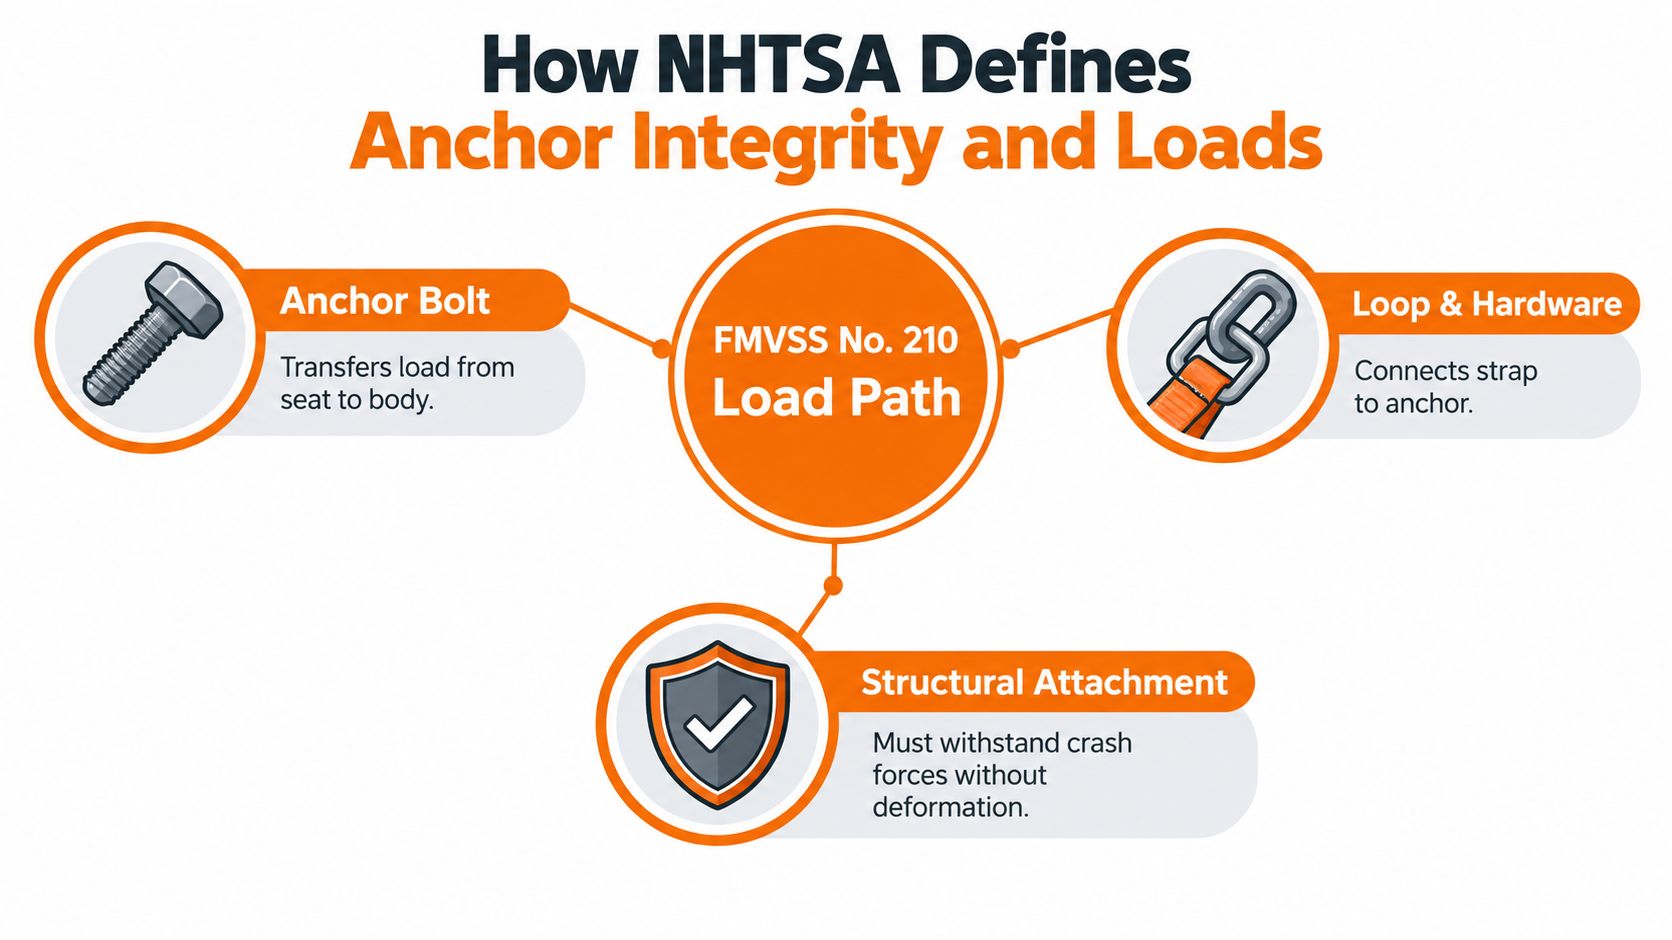
For most forward-facing Type 2 belts, the anchorage system must withstand simultaneous lap and shoulder forces of 3,000 lbf. When the pelvic anchorage is tested separately from the upper-torso anchorage, the requirement is 5,000 lbf, as specified in NHTSA's FMVSS No. 210 test procedure. Those are system-level test loads. They don't mean a technician can validate a repaired anchor by applying an equivalent force in a garage.
Why deformation needs judgment
A common mistake is treating any deformation as automatic proof of failure, or treating the absence of visible deformation as proof of safety. NHTSA's test procedure recognizes that permanent deformation or rupture isn't automatically a test failure if the specified force is sustained for the required duration. A post-crash technician still has to determine whether the damaged part remains within the manufacturer's approved repair criteria, and that decision can't be made from bolt tightness alone.
Inspect for:
- Elongated holes around the anchor or reinforcement.
- Pulled or stripped threads in a weld nut or threaded insert.
- Torn sheet metal around the mounting plate.
- Bent seat pedestals or shifted seat frames.
- Broken welds and separation between reinforcement layers.
- Crush damage that changes belt routing or seat position.
If the manufacturer specifies one-time-use hardware, replace it as directed. If the body reinforcement is torn or the threaded insert has moved, don't add a larger washer, retighten the bolt, or weld over the damage without a vehicle-specific procedure. The standard is useful because it shows why the whole path matters, but it doesn't authorize improvised structural repairs.
Why Anchor Geometry and Installation Angle Matter
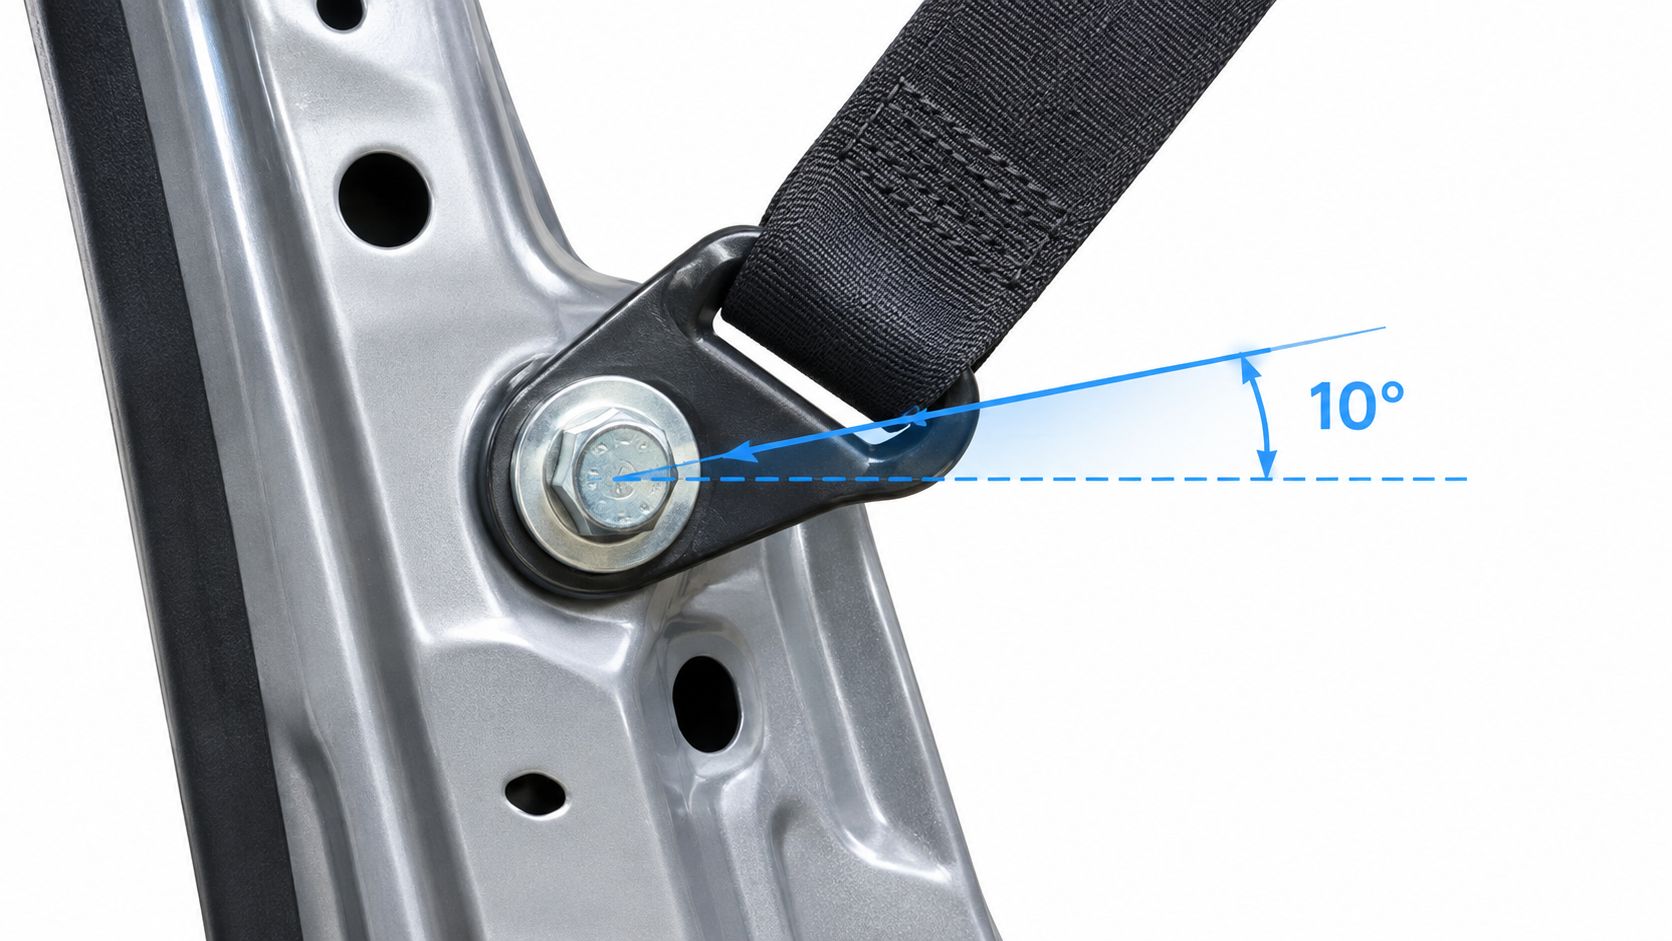
A seat belt anchor does more than hold the belt in place. Its location and orientation guide the belt and determine how crash forces enter the structure. Change the angle, height, or direction of that attachment, and the load can shift from the intended tension path into bending, prying, or localized tearing.
UNECE Regulation No. 14) applies the anchorage test load in a plane parallel to the vehicle centerline, at an angle of 10° ± 5° above horizontal, with the specified force sustained for at least 0.2 seconds. For M1 and N1 vehicles, the upper-torso anchorage test uses 1,350 daN ± 20 daN, approximately 3,035 lbf. The regulation also calls for anchorages in the same seat group to be tested together, with an additional asymmetric test where unequal loading could cause failure.
The modifications that create trouble
A seat swap can change belt geometry even when the replacement seat bolts into the floor. Raising the cushion, changing the shoulder-belt guide, moving a buckle, or using a different pedestal may alter how the belt crosses the occupant and how the anchor is loaded. Third-row work creates similar risks because roof-mounted or side-mounted anchors often depend on precise bolt orientation and reinforcement.
Don't drill a new mounting hole, move an anchor to clear interior trim, or fabricate a bracket from generic steel without vehicle-specific engineering approval. A universal-looking fastener may have the wrong grade, shoulder length, head design, or thread engagement. It may also sit at an angle that introduces a prying force the original design didn't carry.
What correct installation looks like
Compare the repaired vehicle with manufacturer information or an undamaged reference vehicle. Verify the original anchor location, belt path, seat position, hardware, reinforcement, and torque specification. Then check that the belt lies flat, retracts without binding, latches correctly, and doesn't rub against a sharp edge or altered trim.
A tight anchor can still be misaligned. Correct geometry means the belt reaches the occupant from the designed direction, the fastener seats squarely, and the surrounding metal remains capable of distributing the load.
When Factory Recalls Reveal Hidden Anchor Defects
A factory recall can expose a dangerous assumption: anchor problems aren't limited to old, crashed, or poorly maintained vehicles. In 2025, Ford recalled 240,510 Explorer and Aviator vehicles because buckle-anchor, retractor-anchor, or center-seat anchor bolts could be improperly secured, creating inadequate occupant restraint in a crash. The recall is documented in NHTSA's Ford safety recall notice.
Another 2025 Volvo truck recall identified inadequate floor reinforcement beneath a passenger anchor. The remedy required a new weld nut, washer, and epoxy-based reinforcement, not merely a replacement belt assembly. That distinction is exactly what technicians encounter after collision damage: the belt mechanism may be serviceable while the vehicle-side attachment is not.
Use a decision tree before buying parts
First, check the VIN. Search the manufacturer's recall system and NHTSA's database before diagnosing a paid repair. Recall work is generally completed through the manufacturer or an authorized repair channel at no cost when the vehicle is covered.
Next, identify the failure location. If the belt retracts poorly, locks, or shows deployment damage while the anchor structure is sound, the mechanism may be the problem. If the bolt is loose, the weld nut is damaged, the floor is distorted, or the reinforcement is corroded, the defect is vehicle-side. If both conditions exist, address the structural issue before reinstalling or testing the belt.
Finally, follow the campaign procedure. Don't substitute a generic repair because the anchor appears accessible. A recall remedy may specify a reinforcement, revised fastener, weld repair, or complete assembly replacement.
Toyota's 2025 recall involving a third-row center roof anchor showed why angle matters. The bolt could be installed improperly, allowing it to slip or loosen and preventing the belt from restraining the occupant correctly. NHTSA also reported a 2025 recall involving a truck seat-belt anchorage bracket that might be improperly welded and fail FMVSS No. 210 requirements, as recorded in the Toyota and related recall report.
Replacing the belt doesn't correct a defective weld, reinforcement, fastener angle, or threaded attachment.
Repair Options for Seat Belt Mechanisms and Webbing
Once the vehicle-side anchor has passed inspection, the repair decision becomes more straightforward. A locked retractor, deployed pretensioner, damaged buckle, or cut webbing is a component problem. A bent floor, pulled weld nut, or displaced seat pedestal is a structural problem. Don't confuse the two because the correct remedy, documentation, and risk are different.
| Condition | Sensible repair path | What it doesn't fix |
|---|---|---|
| Locked or deployed retractor | Restore or replace the retractor after confirming the anchor structure is sound | It won't repair a distorted floor or mounting point |
| Deployed pretensioner | Service the applicable pretensioner or replace the assembly according to vehicle requirements | It won't clear structural damage |
| Frayed or cut webbing | Replace the webbing with correct stitching, hardware, and routing | It won't correct a failed buckle or anchor |
| Bent anchor structure | Use the manufacturer's structural repair procedure or replace affected parts | Re-webbing alone is inadequate |
| Unknown crash history | Inspect the complete restraint load path before selecting parts | A functional latch doesn't prove prior damage is absent |
When re-webbing makes sense
Re-webbing is appropriate when the original mechanism and mounting structure remain serviceable but the fabric is frayed, cut, stained, or being returned to a factory-style appearance. The replacement must preserve the correct webbing type, stitching pattern, hardware, and belt path. Cosmetic improvement isn't a safety repair if the retractor, pretensioner, or anchor has also been compromised.
When mechanism restoration is practical
A locked or deployed retractor doesn't automatically mean the entire original assembly is unusable. Safety Restore provides seat belt retractor and pretensioner repair for locked, deployed, or damaged units, restoring OEM function of internal mechanisms. Its service covers single-stage, dual-stage, triple-stage, and buckle pretensioners within original seat belt assemblies, including diagnosis and correction of deployment-related faults.
The company also offers webbing replacement for frayed, cut, or cosmetically customized belts, with a flat $99 price per item and a typical 24-hour turnaround, according to the supplied service information. That can be a practical alternative when the original assembly fits correctly and the vehicle-side structure is intact, but shops should still verify the finished part against the vehicle's restraint-system procedure.
For builders and parts teams, the broader question is how repaired components fit into the vehicle's final use. Resources covering end-use parts for automotive can help frame that distinction, especially when a component is being restored for a finished vehicle rather than treated as a generic replacement part.
The repair-versus-replace decision should remain conservative. Replace the assembly when the manufacturer requires replacement, the mechanism cannot be verified, the housing is damaged, or the part has an unknown crash history that prevents reliable assessment. Restore a serviceable original unit only when the repair provider can identify the failure and return the mechanism ready for proper reinstallation.
The Life-Safety Case for Professional Anchor Inspection
A belt can retract cleanly, latch with a solid click, and still fail the occupant if the load path into the vehicle is damaged. That is why anchor inspection belongs in the structural side of the repair, not just the trim and mechanism side. NHTSA says lap-and-shoulder belts reduce fatal-injury risk by 45% for front-seat passenger-car occupants and by 60% for front-seat occupants of light trucks, according to its seat-belt safety guidance. Those numbers describe the full restraint system, but in the bay the weak point is often hidden where the belt, seat, floor, pillar, or reinforcement carries crash load into the body.
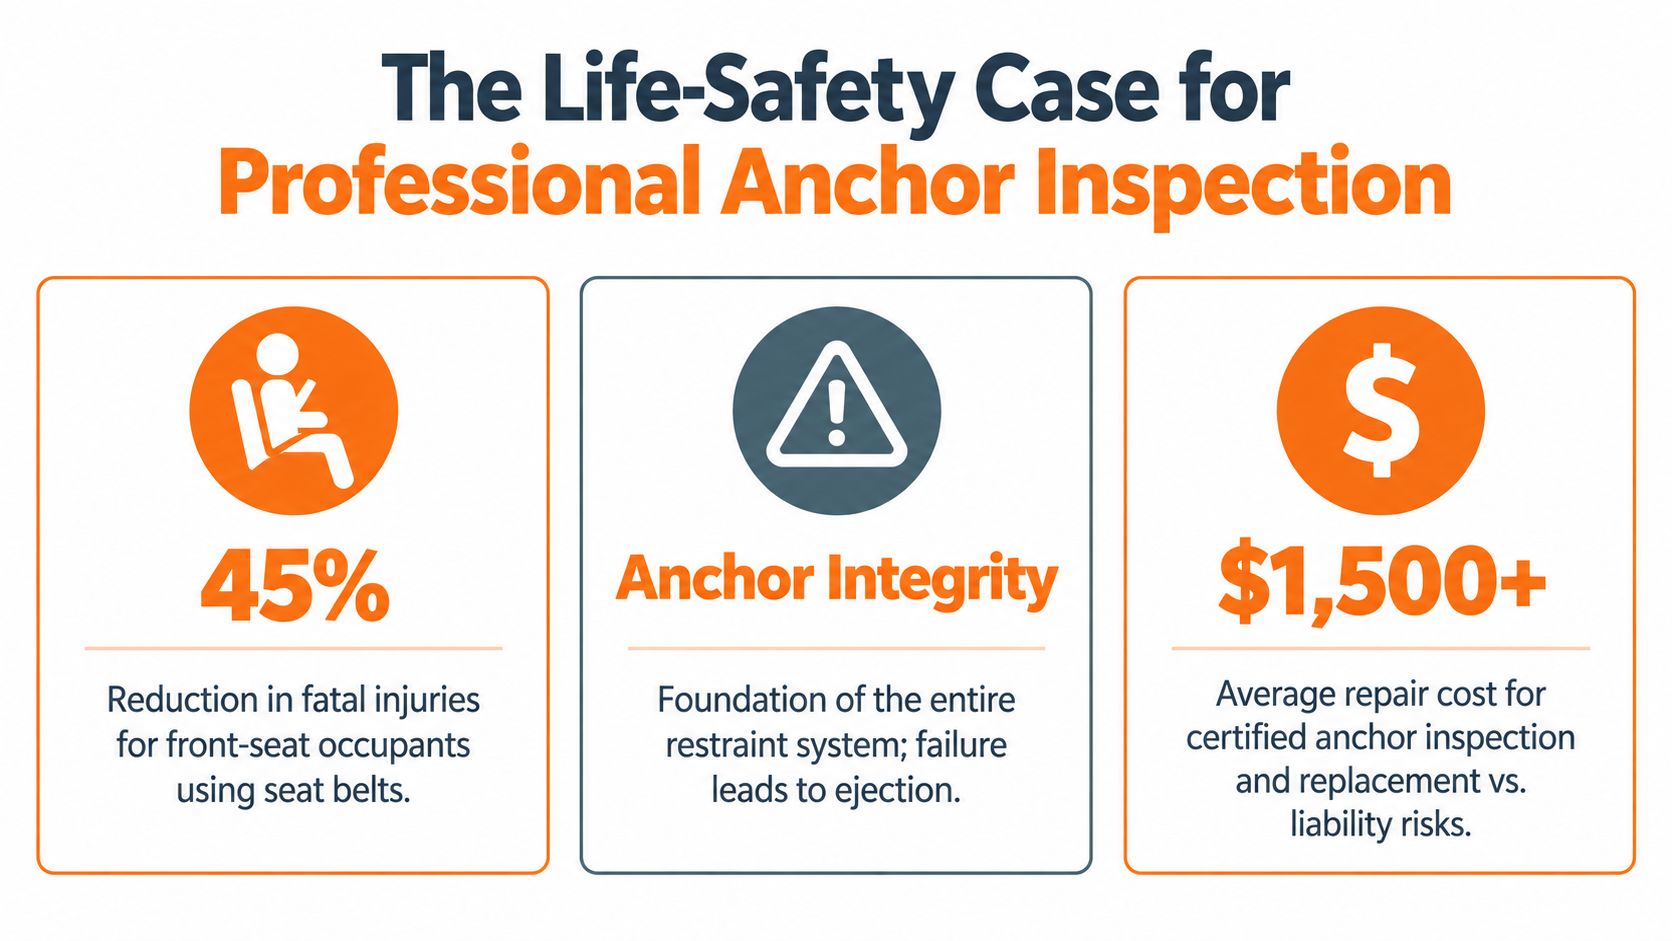
NHTSA also reported in the same guidance that seat belts saved 14,955 lives in 2017 and that 2,549 additional people might have survived with belt use seat-belt safety guidance. Those figures are about restraint performance as a system. They still support one practical point: if the anchor, reinforcement, or mounting hardware cannot carry load as designed, the belt assembly in your hand is only part of the job.
Why a professional inspection earns its place
A proper inspection gets past what is easy to see. The work usually means pulling trim, exposing the mounting point, checking the surrounding metal, confirming bolt condition and thread engagement, comparing side to side, and verifying that the anchor sits where the manufacturer intended. In real repairs, that is where you find stretched holes, floor distortion, cracked seam sealer, corrosion around a weld nut, or hardware that was replaced with something close enough to fit but wrong for the load.
For fleets and owner-operators, the risk is not limited to injury exposure or a comeback. The CSA impact of seat belt infractions shows why restraint use and vehicle condition can affect compliance as well.
Document the anchor area like you would any other safety-related structural repair. Keep photos, note recall status, record parts replaced, and log torque verification and repair procedures. That paperwork protects the customer and gives the next technician a clear record of what was inspected.
A Practical Checklist for Collision Shops
A rebuilt vehicle can leave the bay with a quiet airbag light and a smooth-retracting belt while still carrying a hidden anchor defect. The following workflow keeps the inspection in the right order.
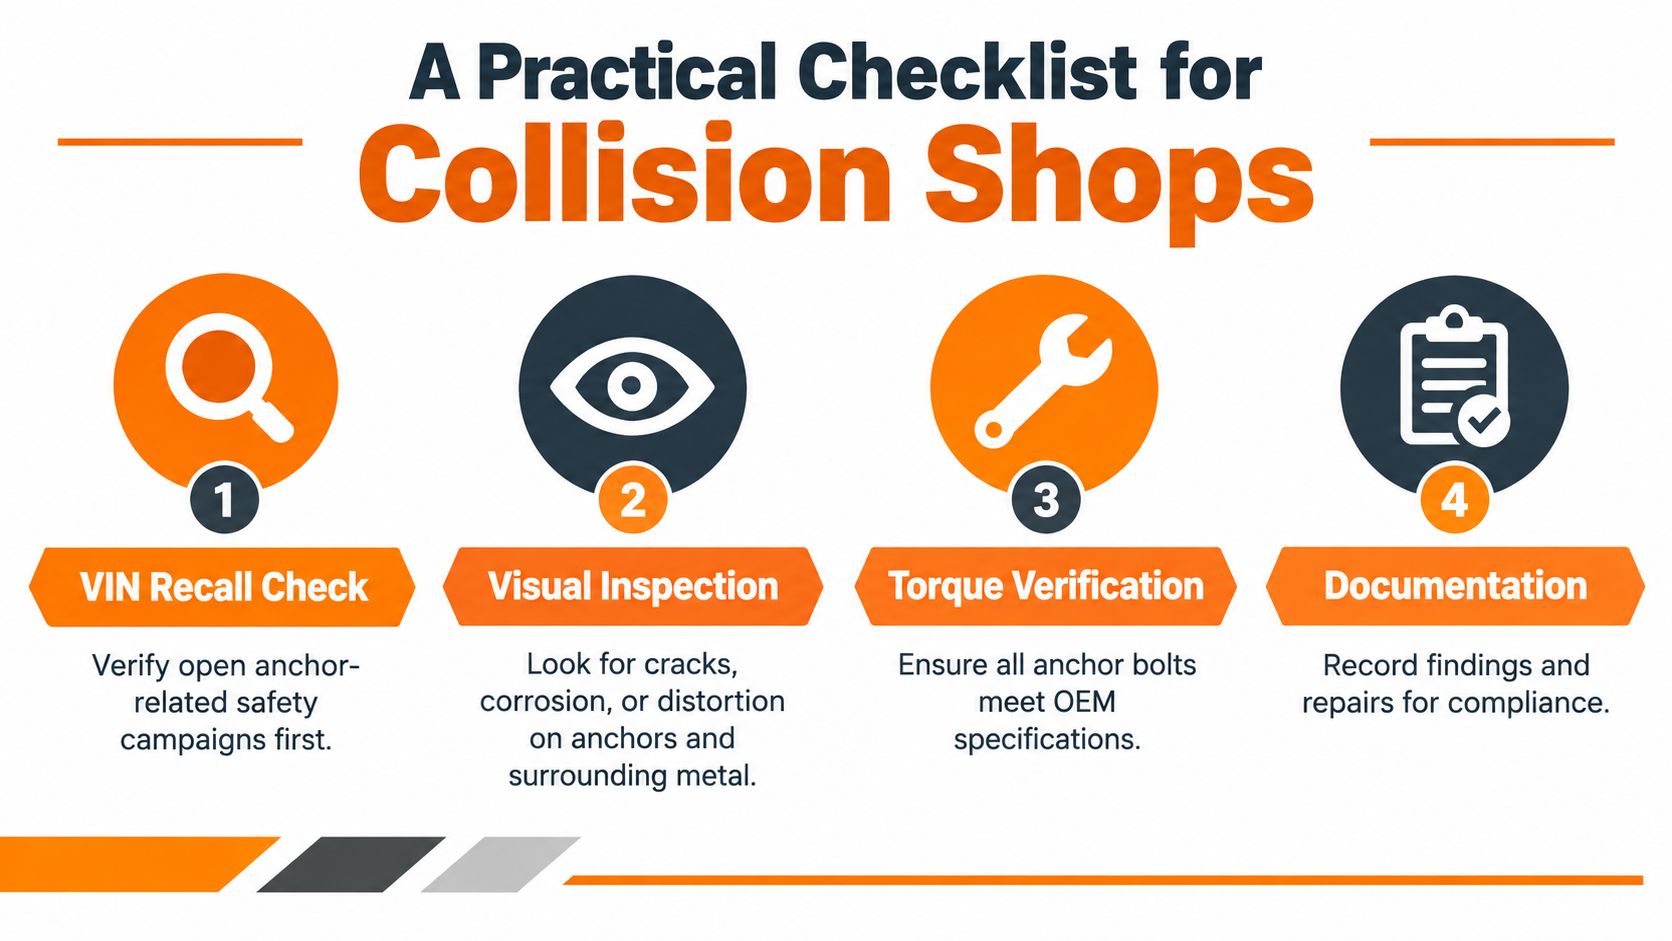
- Run the VIN first. Check open recall campaigns before disassembling or pricing a replacement. A manufacturer remedy may address the defect more accurately and at no charge.
- Expose the mounting area. Remove only the trim necessary to inspect the bolt, weld nut, seat frame, pedestal, floor reinforcement, and surrounding metal.
- Look for structural evidence. Photograph cracks, corrosion, pulled threads, elongated holes, torn reinforcement, distorted brackets, and disturbed seam sealer.
- Verify geometry. Confirm the seat position, anchor location, belt routing, buckle orientation, and shoulder-belt path against manufacturer information.
- Use specified hardware and torque. Don't substitute a generic fastener or rely on feel. Follow the vehicle-specific procedure.
- Test the mechanism separately. Check retractor action, buckle operation, pretensioner status, warning lights, and diagnostic codes after the structural inspection.
- Document the release decision. Record what was replaced, repaired, tested, and verified before the vehicle returns to service.
If the anchor structure is bent, corroded, torn, or uncertain, stop and obtain the manufacturer's repair procedure. Don't straighten a crash-loaded anchor, relocate it for convenience, or install a repaired belt over an unresolved body defect. For locked or deployed mechanisms, use a qualified restoration service only after the vehicle-side load path has passed inspection.
Safety Restore repairs locked, deployed, or damaged seat belt retractors, pretensioners, buckle pretensioners, and webbing while working from the original customer-supplied parts. If the anchor structure is sound and the mechanism needs professional restoration, visit Safety Restore to review the mail-in repair options and start the process.
