Seat belts are deemed the most important safety devices in today’s modern vehicles. Not only do they protect you and your passengers in case of a vehicle collision, but they also can go as far as saving lives. This is why it’s imperative to install seat belts on your car and, most importantly, wear them all the time. But what does it take to install these devices and ensure that they promote your utmost safety?
In this article, we will share our practical guide on installing seat belts as safely as possible:
1. Obtain the necessary materials and tools
If you’re looking to install new seat belts or replace old, damaged ones, you must start by investing in quality materials and required tools. All it takes is to search online, shop around, and compare pricing.
While you’re at it, factor in their features based on their compatibility with the make, model, and year of your vehicle. From there, you can decide on what particular seat belts to invest in.
Once they arrive, you can then prepare the needed tools for the actual installation. Be sure to have a screwdriver, ratchet, specialty socket wrench, and other tools handy and readily available.
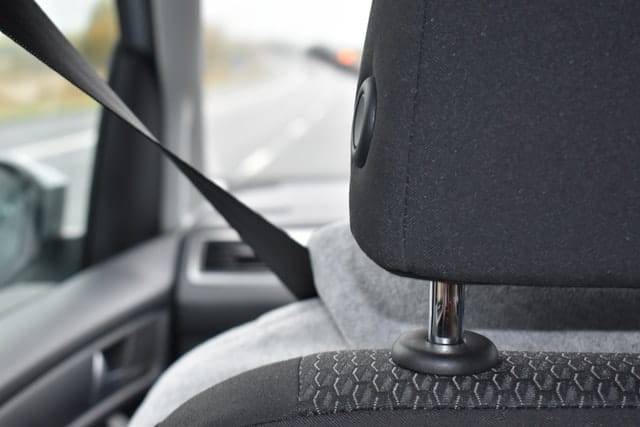
2. Prioritize the front seat belt
After preparing the safety devices themselves and the tools you need, you can go ahead and start installing your front seat belt. Here’s what you need to do:
- Replace the buckle assembly and shoulder belt attachment.
- Change the attachment point located on the opposite side of your seat. Then, remove the trim panel to get behind the center pillar molding and find the attachment points.
- Use trim removal tools if you need to loosen the trim panels, including the clips attached to them.
- Use socket wrenches to remove the screwed or bolted parts. Once done, attach the new belt based on the belt routing.
- Use the tool with the proper torque specifications to fasten the attachment bolts.
3. Move to install the rear seat belt
Keep in mind that trucks, vans, and SUVs typically have rear seat belts. If you have one, you can now proceed to install the back seat belt as well. Know that the installation steps are just the same as the front ones, but the difference lies in the shoulder belt attachment as it is in the passenger compartment’s headliner. Here’s what you need to do:
- Check the bottom of the rear seat to see the seat belt attachments.
- Remove the cushion by pushing the seat toward the vehicle’s back.
- Push on the seat cushion’s center and feel the release of the spring tension.
- Lift the seat and get it out of the vehicle to have access to the seat belt and replace it.
4. Ask for professional help for any seat belt issue
At this point, you now know how to install your front and rear safety devices. For the most part, you’ll refer to the seat belt diagram in your manual to pull this off. But if you do encounter some installation issues, be sure to ask for professional assistance.
If you don’t know how to install or replace seat belts, leave everything to the experts at Safety Restore. We have the needed tools and experience to ensure that your safety devices are fitting for your vehicle to ensure your safety on the road!
Conclusion
At this point, you now know how to safely and properly install seat belts. All it takes is to start by obtaining your materials and tools, prioritize the front seat belt, move to install the rear seat belt, and ask for professional help for any issue. Ultimately, it’s best to work with a highly reliable accident service provider for your seat belt repair or replacement to ensure quality results!
We provide seat belt repair in Westfield, MA, along with other pre-and-post accident services such as airbag module reset, webbing replacement, and instrument cluster repair. If you specifically need seat belt replacement or repair, check our package and add it to your cart today!