
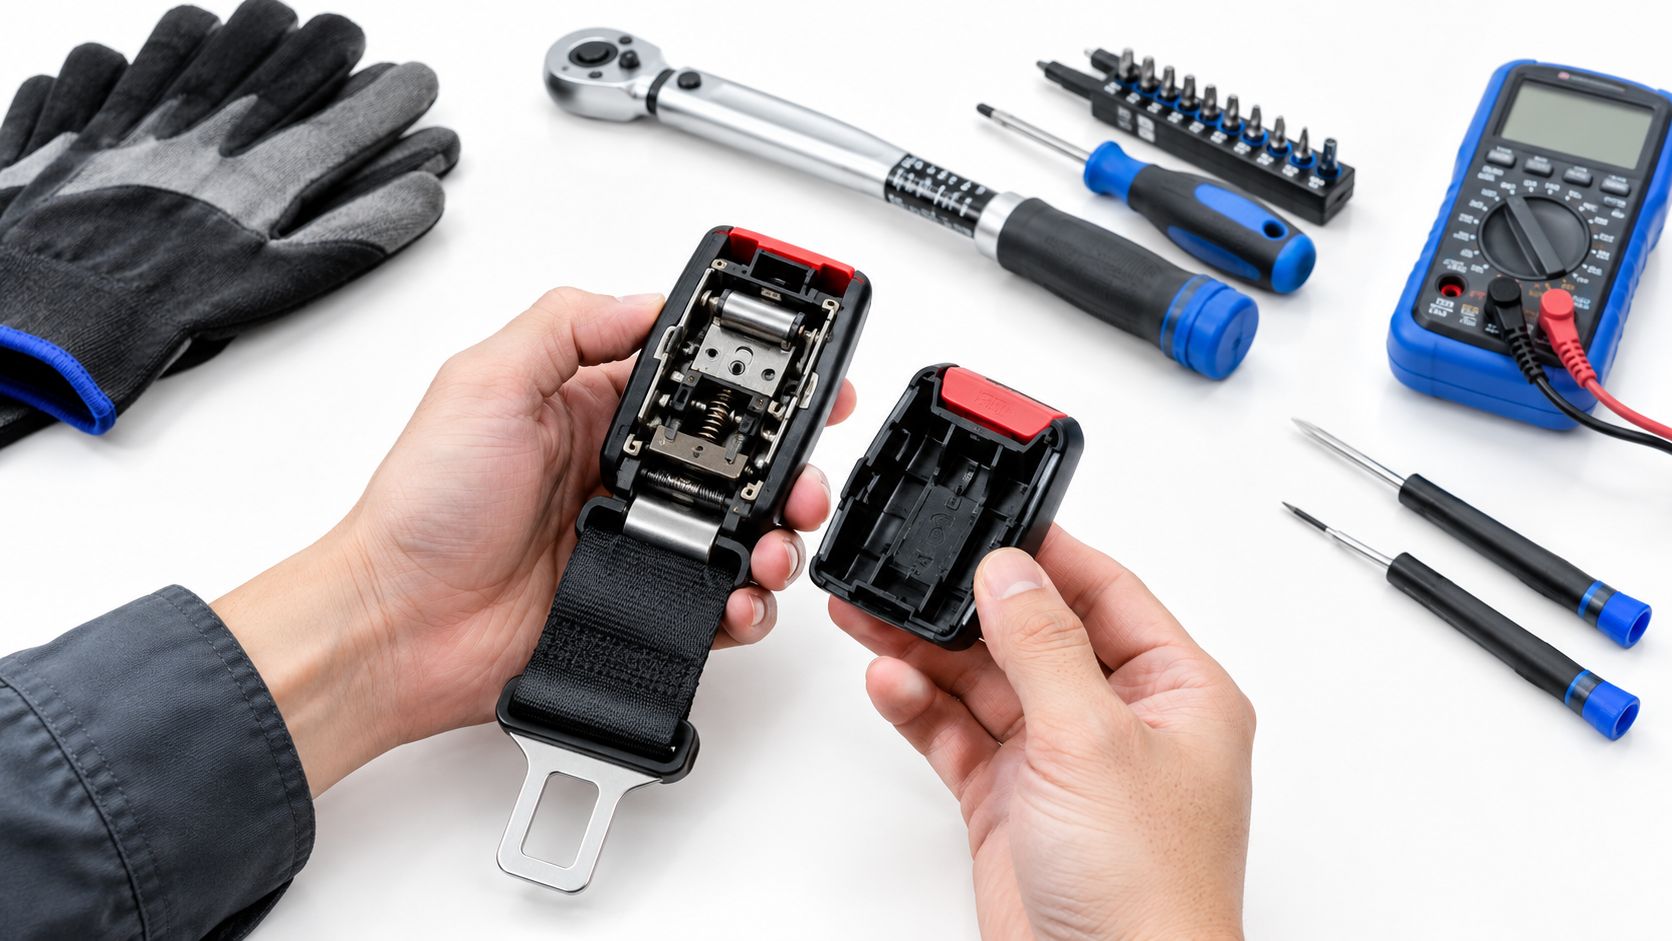
You’ve just brought a collision-damaged vehicle into the bay. The airbags are deployed, the dashboard has an SRS warning, and the seat belt receptacle appears to be intact. The release button feels stiff, so it’s tempting to spray cleaner into the buckle, clear the warning light, and move on. That shortcut is where restraint-system repairs go wrong.
Seat belt receptacle repair starts with a decision, not a replacement part. A contaminated button may need careful cleaning, while a cracked housing, deployed pretensioner, damaged connector, or locked internal mechanism requires professional evaluation or replacement. NHTSA recorded seat belt use at 91.3% nationally in 2025, after an estimate of 91.2% in 2024, so the buckle is a component occupants depend on routinely, not an occasional convenience (NHTSA seat belt safety data).
Table of Contents
- Diagnosing Receptacle Damage After a Collision
- Essential Tools and SRS Safety Precautions
- Removing the Buckle Assembly and Inspecting Connectors
- Identifying Common Buckle Failure Modes
- When to Use a Specialist Mail-In Repair Service
- Reinstallation and Final System Verification
Diagnosing Receptacle Damage After a Collision
A buckle that still clicks can still be unsafe. Start with the vehicle powered down and inspect the receptacle before deciding whether the fault is cosmetic, mechanical, electrical, or crash-related. Look for a split housing, distorted mounting bracket, displaced release button, loose stalk, bent latch opening, melted plastic, contamination, and wiring pulled tight against the seat frame.
The first practical distinction is between button resistance and latch failure. A drink spill or grit can make the release button drag, but the latch plate should still insert fully, lock positively, and release smoothly when the button is pressed. If the plate won’t latch, releases without deliberate button pressure, sticks intermittently, or sits at an unusual angle, stop treating the issue as simple dirt.
Practical rule: A buckle that feels inconsistent is a failed buckle until testing proves otherwise.
Crash loading creates a second problem. The exterior may look normal while the internal pretensioner has fired or the locking mechanism has jammed. Check the scan data and SRS fault codes, but don’t use code clearing as proof that the receptacle is sound. The scan tool can identify an electrical or deployment-related problem, but it can’t certify a cracked housing or verify load retention.
A workable triage decision
- Clean locally: Only when the housing is sound, the button moves normally after approved cleaning, the latch engages and releases reliably, and there’s no evidence of deployment or structural impact.
- Replace a permitted small component: Some OEM field actions separate the buckle button from the complete assembly. If the button passes the specified inspection, replacing that button may be appropriate. If the assembly fails inspection, the complete buckle is required (NHTSA buckle inspection and replacement guidance).
- Outsource or replace the assembly: Use a qualified specialist when the pretensioner deployed, the mechanism is locked, the connector is damaged, or the housing or mounting structure is compromised.
For vehicle-specific context, review the safety equipment and crash-protection information before comparing the repair decision with the vehicle’s wider restraint design. You can check 2023 Corolla ratings as one example of a model-specific safety reference. The key point remains the same across platforms: the receptacle must preserve correct engagement and restraint geometry.
Essential Tools and SRS Safety Precautions
A buckle that only sticks after dirt enters the slot may need careful local cleaning. A buckle that binds after a crash, shows a cracked housing, or has deployed restraint hardware requires a different decision. Tools and isolation procedures help separate a serviceable mechanism from a damaged SRS component before anyone applies force.
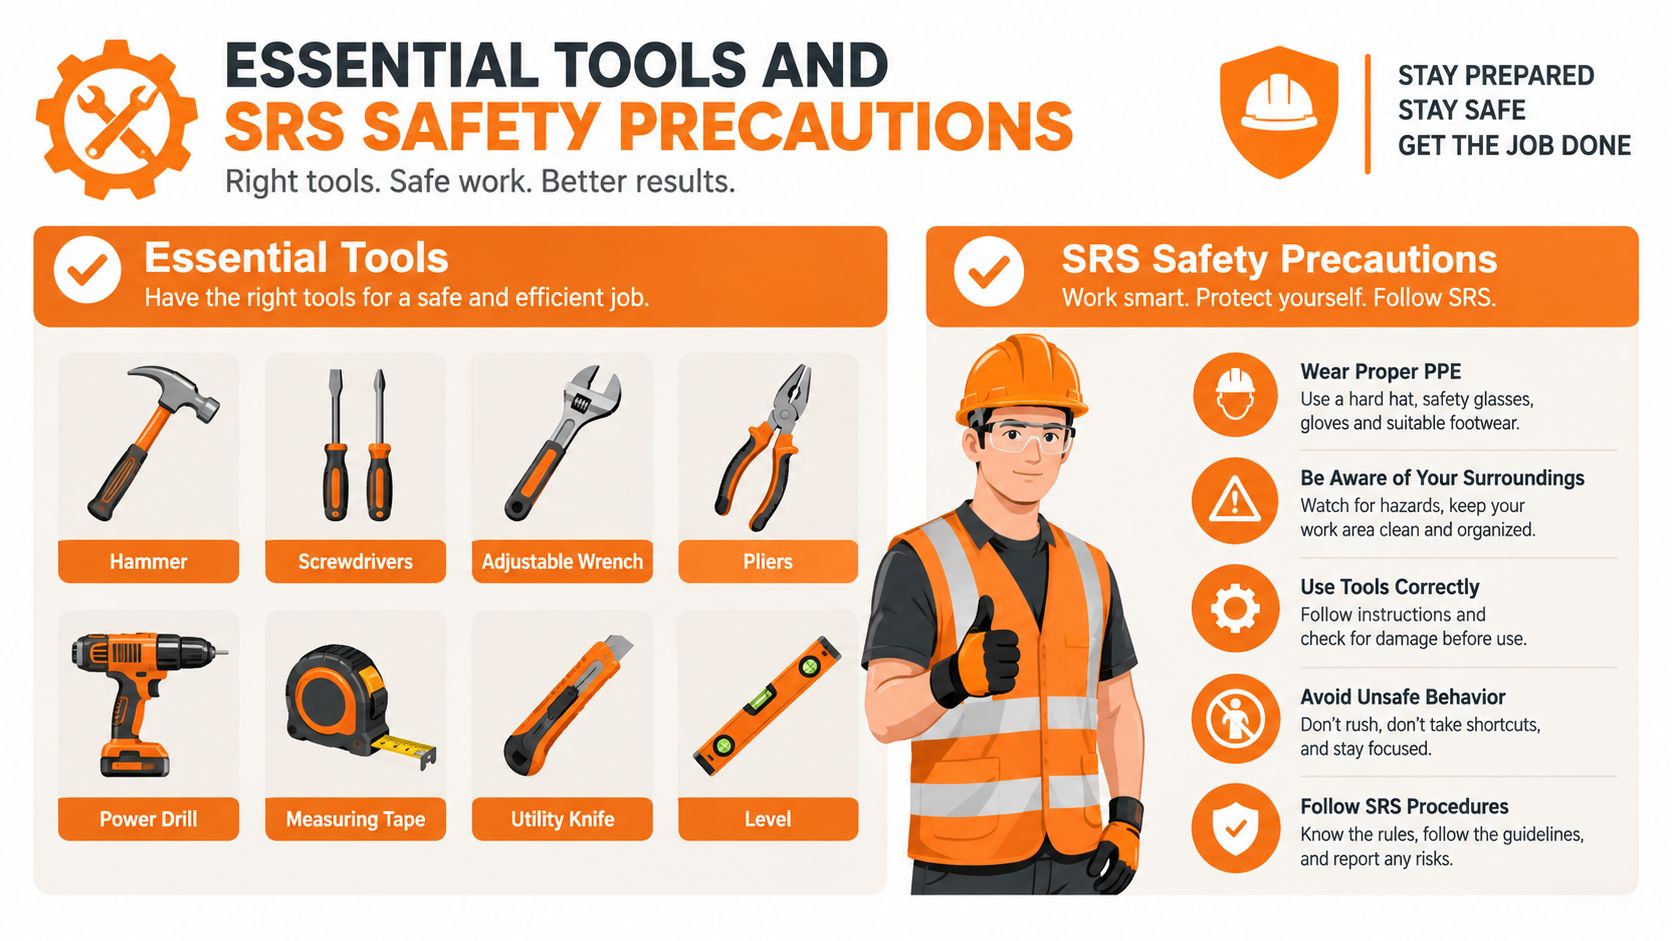
Park on a stable surface, switch the ignition off, remove the key, and keep the fob away from the vehicle. Follow the manufacturer’s procedure. Never probe yellow SRS connectors with a test light, apply external power to a pretensioner, or use an impact gun on restraint hardware.
Isolate the restraint system
OEM-style procedures commonly require disconnecting the 12-volt battery and waiting for stored SRS energy to discharge. The specified period may range from at least 20 seconds to 10 minutes, depending on the platform (OEM-style pretensioner procedure). The vehicle’s service information controls the exact method. Hybrids and electric vehicles may require additional battery or high-voltage precautions, so do not assume battery disconnection alone makes every system safe.
Use plastic trim tools, a ratchet and correct socket, a torque wrench, an inspection light, connector-safe picks, and the vehicle’s wiring and torque documentation. Keep fasteners organized by location. A missing spacer or incorrect bolt can shift the receptacle relative to the latch plate and seat, changing belt geometry.
Torque is part of the safety repair
The cited procedure specifies 39 N·m, or 29 lb-ft, for the pretensioner bolt and 43 N·m, or 32 lb-ft, for the front seat bolts. These values apply only where the applicable vehicle procedure confirms them. Under-torquing permits movement. Over-torquing can distort alignment or damage threads.
Use the technical vehicle documentation for background, but treat the manufacturer’s service information as the authority. If the housing is structurally compromised or the pretensioner has deployed, stop local cleaning and use a qualified mail-in restoration service or replace the assembly.
Removing the Buckle Assembly and Inspecting Connectors
After the vehicle’s specified SRS isolation period, move the seat only as far as necessary and shield the trim from the rails. Remove side covers or access panels with a plastic trim tool. Release each clip deliberately instead of levering against the upholstery. Photograph the harness route before loosening anything, especially where the buckle wiring runs beneath the seat.
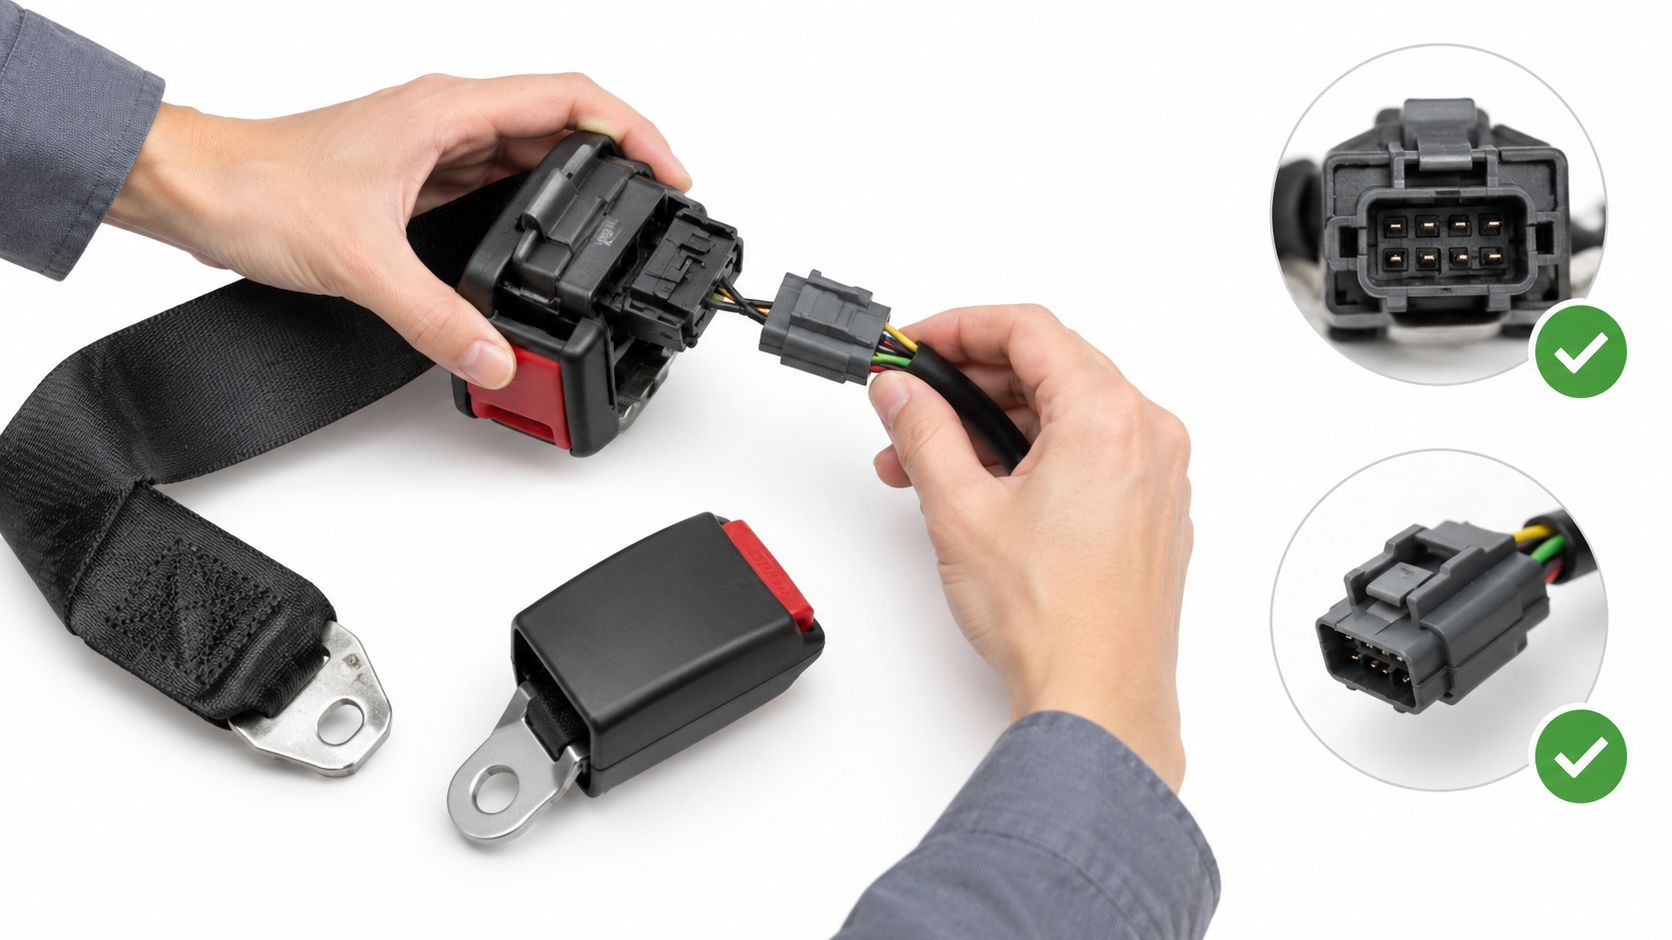
Separate the connector at its housing, never by pulling the wires. Many receptacles have a secondary lock or CPA device that must be released first. If the connector will not separate, stop and locate the locking feature. Twisting the harness or prying against terminals can create an intermittent SRS fault that mimics a failed buckle.
Inspect the connector before removal
Use an inspection light to check for pushed-back terminals, bent pins, broken locks, corrosion, pulled insulation, and scuffing where the harness may have touched the seat frame. A connector can appear fully seated while a backed-out terminal loses contact as the seat vibrates.
A connector inspection procedure may specify a 30 kgf, or 70 lb, pull-force inspection on the quick connector before replacement is approved. That figure belongs to the applicable procedure and equipment. Do not improvise by tugging on fragile SRS wiring. Confirm the vehicle’s service information before applying any test force. connector inspection procedure
Once the wiring is safely disconnected, remove the mounting bolt with a hand tool while supporting the receptacle. Never leave the assembly hanging from its harness. Keep the bolt, spacers, washers, and routing clips together, then label the part by vehicle position. Left, right, and center receptacles can look alike while using different wiring or pretensioner configurations.
If the button only feels sticky and the housing, latch, and connector pass inspection, local cleaning may be appropriate. A cracked, distorted, or crash-loaded housing crosses the diagnostic threshold. Remove it intact and send it to a qualified mail-in restoration specialist or replace the assembly rather than attempting an internal repair.
Identifying Common Buckle Failure Modes
The release button is the easiest failure to notice, but it isn’t the most serious. Liquid residue, food particles, and grit can restrict button travel. If the housing is undamaged and the latch plate engages and releases consistently, controlled cleaning may solve the local problem. Never flood the receptacle with an unknown lubricant or force a screwdriver into the latch opening. A residue that attracts more debris can turn a minor fault into a recurring one.
A different test applies when the assembly has seen crash loading. Inspect the shell, stalk, mounting eye, and pretensioner area for cracks, deformation, heat damage, or evidence that the unit fired. A pretensioner that has deployed generally isn’t restored by cleaning, and a locked internal mechanism isn’t made safe by silencing the SRS lamp.
Button issue versus housing failure
OEM field actions commonly separate the button inspection from the complete buckle inspection. A button may be replaceable when the surrounding assembly meets the inspection criteria, while a broken housing or unreliable latch calls for the complete buckle assembly (NHTSA recall guidance on buckle components).
The dangerous false positive is a buckle that passes a bench click test but can’t hold the belt under crash-level loading. EASA testing reported that many belts failed to sustain 26.6 kN because webbing slipped through the buckles, demonstrating why appearance and ordinary hand operation aren’t enough (EASA buckle load findings). A shop without the correct load-testing equipment shouldn’t claim to have validated crash performance.
If the receptacle has a sound shell but a replaceable button is the only failed part, a local component repair may be reasonable. If the housing is cracked, the latch is intermittent, the connector is compromised, or the pretensioner has fired, send the unit to a qualified restraint specialist or install an approved replacement.
When to Use a Specialist Mail-In Repair Service
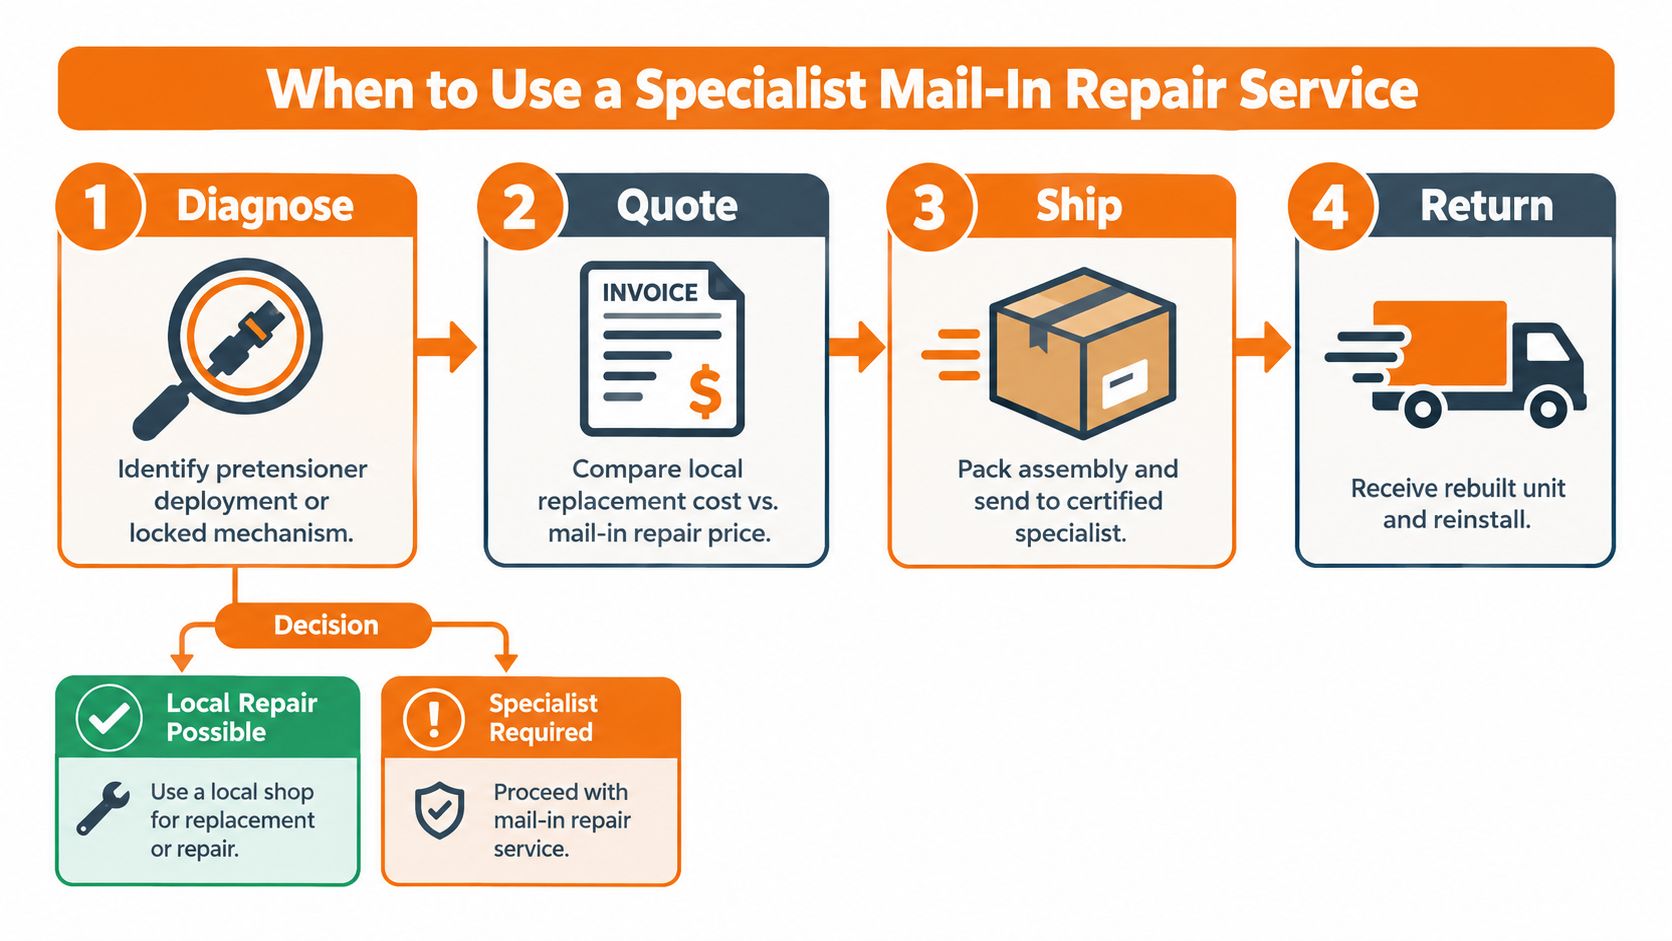
Professional mail-in restoration makes sense when the original unit has a repairable internal fault but local disassembly would compromise the SRS assembly. Typical examples include a locked pretensioner, a deployed mechanism, internal binding, or a crash-related fault that isn’t visible from the outside. The specialist’s job is to inspect the supplied part, service the applicable internal mechanism, test its operation, and return it ready for the vehicle-specific reinstallation procedure.
That option has a practical advantage over an unknown used buckle. A salvage unit may have an unclear collision history, hidden wear, or the same failure pattern as the original. A new OEM assembly may be the correct choice when the manufacturer prohibits reuse or the housing is structurally damaged, but availability and fitment can make sourcing difficult.
Make the decision on evidence
Use this sequence before shipping anything:
- Confirm the diagnosis. Scan the SRS, inspect the buckle, and verify that the fault follows the receptacle rather than the vehicle harness or control module.
- Check service rules. Some manufacturers require complete replacement after a broken buckle or deployment. Those instructions override a general repair preference.
- Compare repair and replacement. Include shipping, programming, lead time, and the risk of an unverified used component, not only the purchase price.
- Package the part correctly. Protect the housing and connector, prevent the assembly from being crushed, and include the vehicle and position details requested by the repair provider.
Safety Restore offers customer-supplied seat belt and pretensioner repair, including service for locked or deployed original mechanisms, with a flat $99 per-item price, a typical 24-hour repair turnaround, and a lifetime warranty according to the publisher information supplied for this article. Its ordering process illustrates the type of online order, shipment, repair, and return workflow a mail-in provider uses.
A repair service cannot make a structurally destroyed housing safe, and no provider should replace manufacturer-mandated testing with a promise. Mail-in restoration is appropriate only after accurate triage confirms that the original assembly is a candidate for professional service.
Reinstallation and Final System Verification
Reinstall the receptacle in its specified position, using the correct spacers and fasteners. Tighten the mounting hardware with a calibrated torque wrench and the vehicle’s service-manual specification. The housing should sit squarely, with no contact against the seat trim or console as it moves through its intended range.
Keep the buckle loose until the mounting hardware is secure. Do not reconnect the SRS harness while the receptacle is unsecured. The OEM installation sequence places connector installation after the unit is seated and torqued, which helps prevent alignment problems and restraint-system faults. Once secure, reconnect the connector until its lock engages, restore the original harness routing, refit the trim, and reconnect the battery according to the vehicle procedure.
Prove the repair before release
Turn the ignition on from outside the deployment zone and observe the SRS indicator. It should illuminate during the self-check and then switch off, although the exact sequence and diagnostic requirements vary by vehicle. A lamp that stays on, flashes, or returns after startup requires another scan and diagnosis. Clearing the code alone does not verify the repair.
Perform these physical checks:
- Latch test: Insert the correct latch plate and confirm a positive lock.
- Release test: Press the button and confirm complete release without sticking.
- Alignment check: Confirm the plate enters straight and the receptacle is not twisted.
- Harness check: Verify that wiring cannot rub, stretch, or catch on the seat track.
- Belt check: Confirm the belt retracts and lies flat without cuts, fraying, or twists.
- Roadworthiness check: Keep the vehicle out of service if the housing, mounting point, or SRS warning remains questionable.
A sticky button may respond to appropriate cleaning, but a cracked housing, distorted mount, or inconsistent latch requires professional assessment. Do not treat a clean scan as proof that damaged structure is safe. If scan results conflict with the physical inspection, document the fault and stop guessing. A qualified SRS diagnostic provider can address unresolved wiring, module, or compatibility issues through its SRS service contact channel.
For locked, deployed, or internally damaged original assemblies, Safety Restore accepts customer-supplied seat belt and pretensioner parts for professional repair. Ship the assembly only after diagnosis, then follow the returned unit’s vehicle-specific reinstallation and SRS verification procedure. The vehicle is ready for service only when the receptacle latches and releases correctly, the wiring and mounting are secure, and the restraint system reports no unresolved fault.
