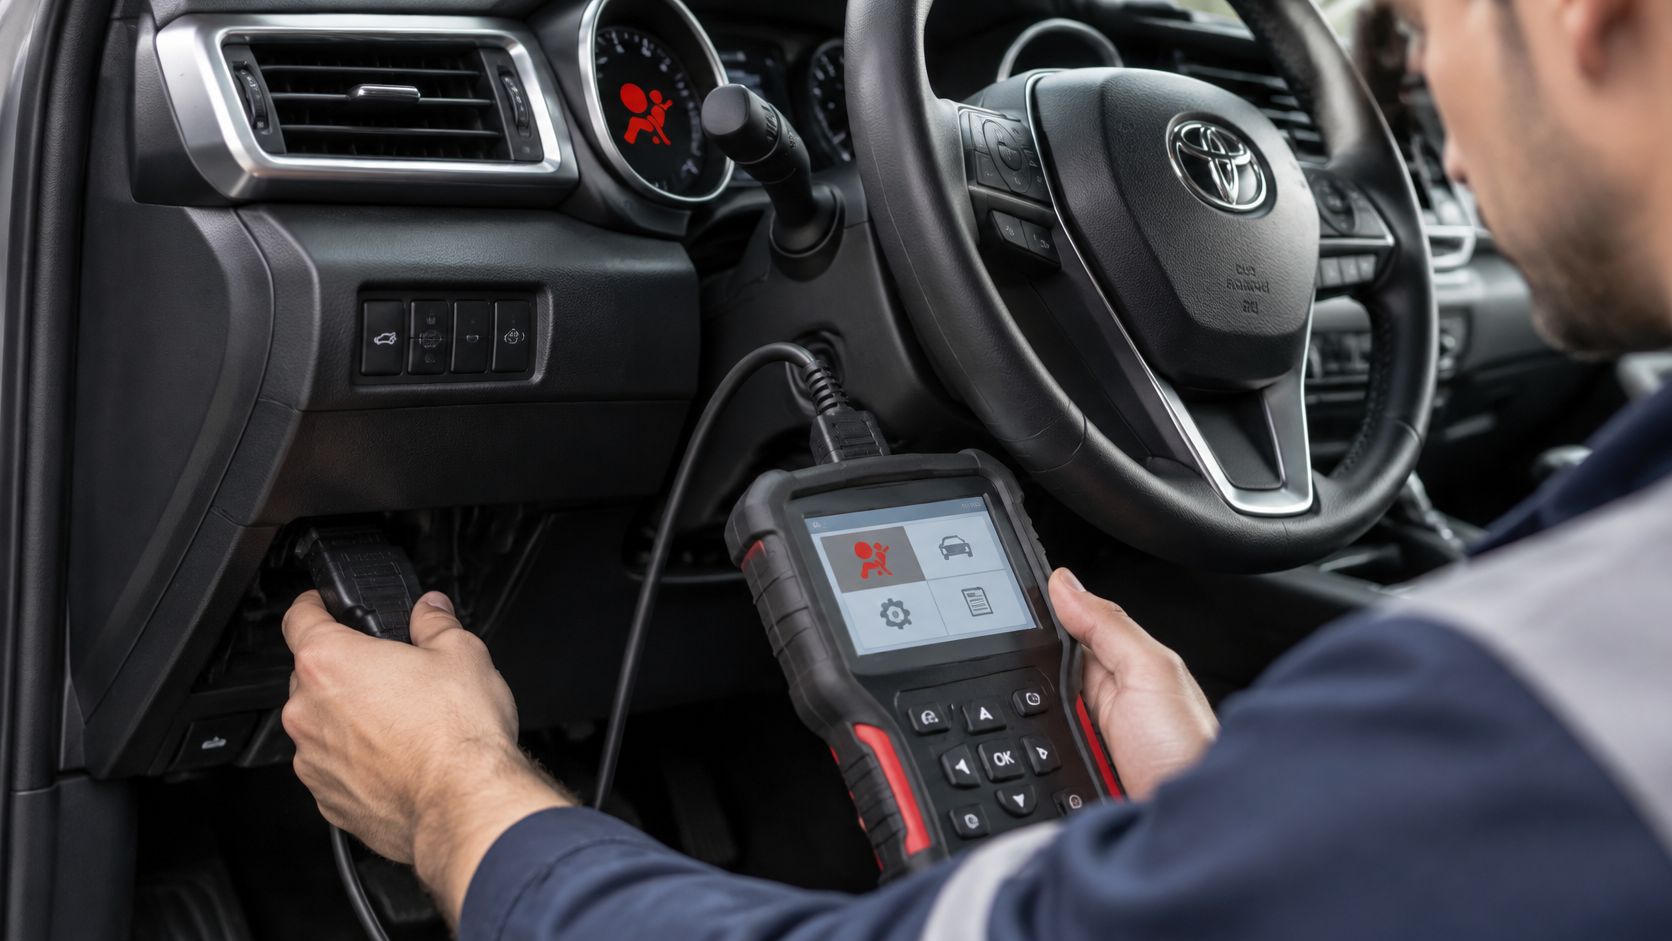
Your airbag light is on, but the scanner you plugged in says there are no codes. Or you've finished collision repairs, cleared the warning, and watched it return at the next startup. Neither result tells you to replace an airbag module yet. You need an SRS scan tool that reaches the restraint controller, followed by a repair decision based on what it reports.
The important distinction is between removing a warning and restoring the system. A successful code clear is useful evidence during diagnosis, but it isn't proof that the airbags and seat belt pretensioners are ready to protect anyone.
Table of Contents
- What an SRS Scan Tool Actually Does
- How SRS Scanners Talk to the Airbag Module
- Choosing a Scan Tool That Reaches Your SRS
- How to Run an SRS Scan Safely
- Limits, Legal Cautions and Module Reset Alternatives
- Reading Scan Results and Choosing the Next Step
What an SRS Scan Tool Actually Does
An SRS scan tool works like a stethoscope on the airbag system. It reveals what the controller is reporting, but it doesn't repair the sensor, wiring, pretensioner, or module behind the reading.
SRS means supplemental restraint system. It includes airbags, seat belt pretensioners, impact sensors, and the control module coordinating them. The scanner gives you access to that controller's diagnostic information, provided its software supports the vehicle.
The 16-pin diagnostic connector is standardized, but access to the restraint controller isn't guaranteed by the plug alone, as the overview of on-board diagnostics explains. Module access and available functions still require appropriate vehicle software.
What an SRS scan tool can and cannot do
| Function | What It Does | Where It Stops |
|---|---|---|
| Read active codes | Shows faults detected now | The underlying fault must be corrected before a lasting clear |
| Read stored codes | Lists past faults, including crash-related entries | Requires SRS software for the exact module |
| Live data | Displays available sensor and module values | Only values supported for that model and year appear |
| Clear codes | Erases eligible stored codes after repair | Doesn't repair wiring, sensors, or pretensioners |
| Erase crash data and hard codes | Removes crash records on supported modules | Basic tools can't perform this; manufacturer-level equipment or module service may be necessary |
| Post-repair check | Checks for remaining active SRS faults | Requires broader verification, not just an extinguished lamp |
Treat the code as a starting point
A pretensioner circuit code identifies a diagnostic area, not automatically a failed pretensioner. A technician still needs to distinguish a connector problem from damaged wiring or a deployment-related component fault. Seatbelt Buckle Pretensioner Repair After Accident addresses the component repair, not every possible cause of a circuit code.
Likewise, a scanner's live-data screen isn't a complete mechanical inspection. You must still follow the vehicle's repair procedures for component condition, installation, and required replacement.
Practical test: If the tool can't identify the SRS controller and list its faults separately from engine codes, it isn't functioning as an SRS scan tool for that vehicle.
How SRS Scanners Talk to the Airbag Module
The 16-pin port is shared across the vehicle, and each controller behind it answers a different diagnostic language. A basic emissions reader reaches engine diagnostics only. Reaching the restraint module takes protocol support and, on many vehicles, authorization.
The diagram below separates the shared physical connection from the communication that happens behind it.
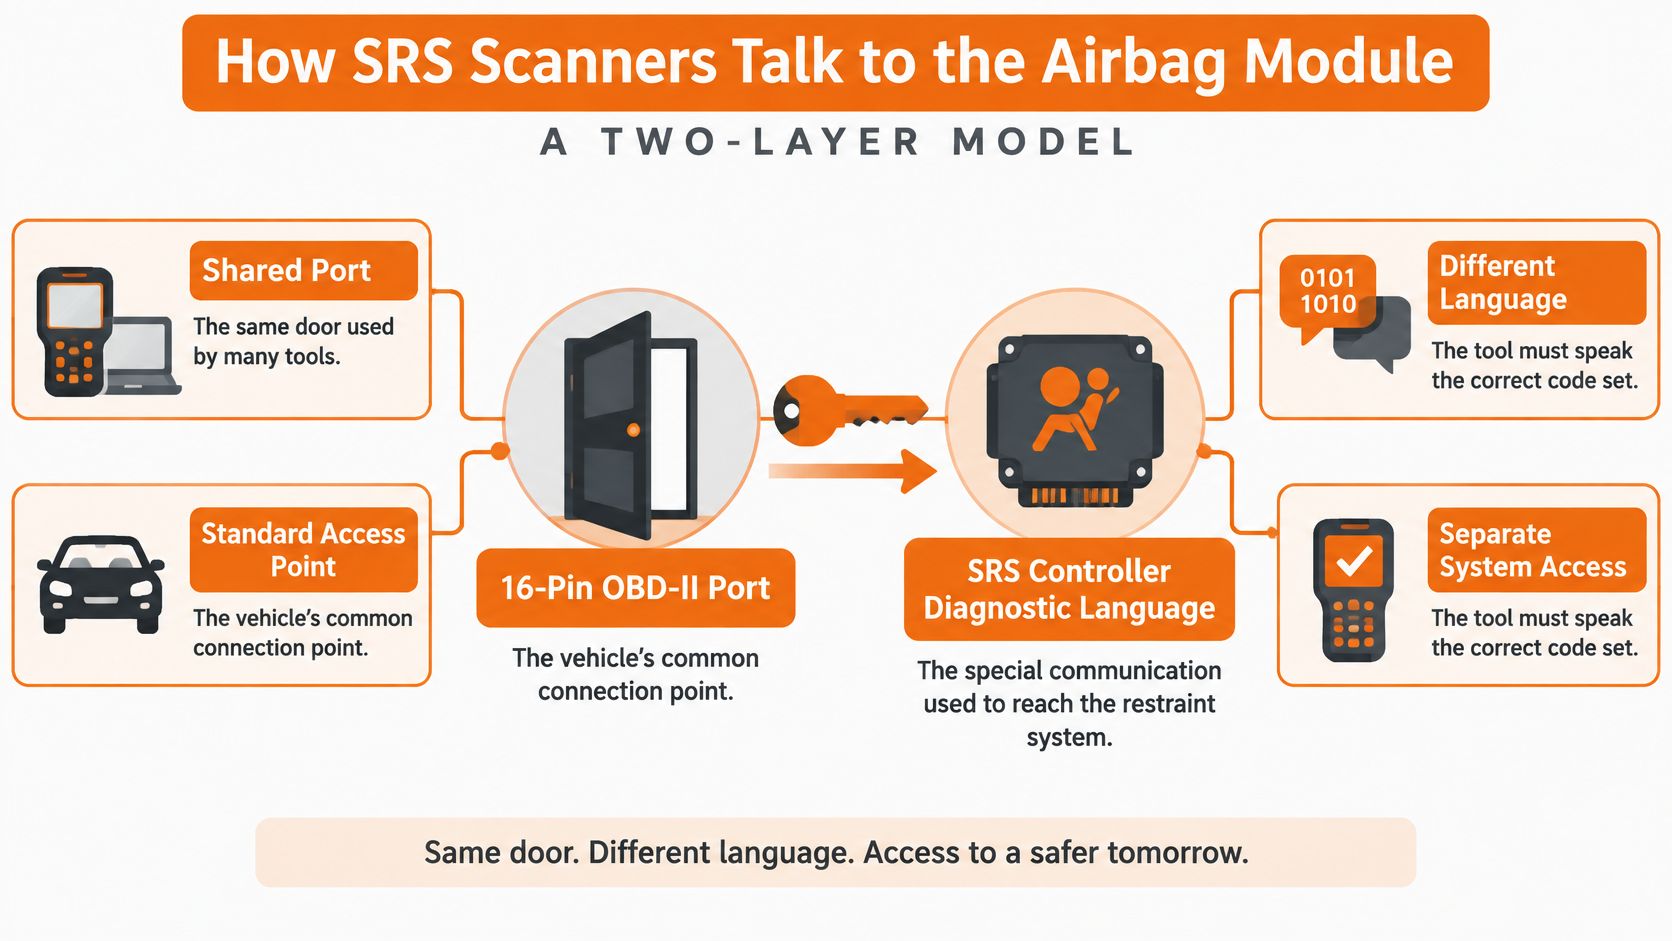
Modern restraint diagnostics commonly run on Unified Diagnostic Services, or UDS, whose tester-to-controller architecture is defined in ISO's UDS standard. The scanner requests a diagnostic session, identifies the electronic control unit, retrieves faults and measured values, and requests supported routines. Those are four separate permissions, and a tool can complete the first three and still be refused at the fourth.
A security access routine may be required before the controller accepts restricted commands such as configuration or initialization. A successful code read tells you which faults are stored. It says nothing about whether the same tool can prepare a replacement module or finish the repair.
Match the screen to the required operation
Check these items in the tool's menu during the session, before assuming a connection is enough:
- Exact model year: Select the correct vehicle application rather than the closest available menu entry.
- Restraint ECU variant: Confirm that the tool identifies the installed controller.
- Communication protocol: Verify that the scanner supports the vehicle's restraint-system communication.
- Security functions: Establish whether the required routine needs authentication or additional access.
An engine connection proves only that the scanner can communicate with that part of the vehicle. A replacement restraint module can be physically installed correctly yet remain electronically incompatible or unconfigured, and no amount of code clearing changes that. When the session stalls at authentication or the required routine is missing from the menu, the next step is a tool or repair path that reaches that operation, not repeated clearing attempts.
B-codes identify body-system faults, which include many airbag-related faults. Network faults may also be relevant, so do not expect every restraint problem to appear under a single code prefix. A reader limited to generic powertrain P-codes can miss the restraint controller's fault information entirely.
Read the complete manufacturer-specific description, including any displayed subtype. The prefix alone is not a diagnosis, and a cleared code is not a verdict on the system.
Choosing a Scan Tool That Reaches Your SRS
| Tool Level | Engine Codes | SRS Codes | Crash Data and Hard Codes | Best Fit |
|---|---|---|---|---|
| Basic OBD-II reader | Yes | Usually no | No | Engine-light checks only |
| Multi-system consumer scanner | Yes | On explicitly supported vehicles | Not reliably | Owners retrieving common airbag faults |
| Manufacturer-level professional scanner | Yes | With current vehicle software | Only where the module permits it | Collision shops and rebuilders |
Match the tool to the operation you need: reading faults, clearing eligible codes, viewing live data, or running a configuration routine. The DHgate guide to choosing an airbag code reader treats vehicle, module, regional software, and access requirements as separate compatibility questions, so "supports SRS" on a product listing isn't enough information to place an order.
Verify before paying
- Name the exact operation. Ask whether the tool performs the function you're buying it for, rather than assuming SRS coverage includes it.
- Check the software situation. Confirm regional coverage, how updates are delivered, and whether the functions you need sit behind a subscription.
- Confirm full DTC depth. A tool that only displays a simplified fault summary can leave current and historical codes out of reach.
- Price the ongoing cost. Weigh update fees and paid feature tiers against the sticker, since an inexpensive unit can cost more over its working life.
For an owner investigating a warning lamp, diagnosis-focused coverage is often the sensible first purchase. Safety Restore recommends an OBD airbag scan tool around $100 for retrieving codes when the light is on. Treat that figure as a shopping budget to compare against current listings; a mid-range unit still doesn't promise crash-data capability.
A professional scanner costs more because it offers broader coverage and service functions. Higher spend still doesn't guarantee that a particular restraint controller permits the operation you need.
Buy the least expensive tool that performs the required diagnostic task on your exact vehicle.
A cleared code proves the module accepted a command. It doesn't prove the restraint system is safe. When a scan returns crash data or hard codes from an accident, no scanner at any price closes that job: the data lives inside the module, and clearing it takes a dedicated reset service that restores the unit to factory condition. Buy for the scan result you expect, and plan the next step before checkout.
Independent garages and mixed-fleet operators should run their actual vehicle list against a tool's coverage before buying. A scanner that handles one manufacturer well can still leave a gap on the next vehicle booked into the shop.
How to Run an SRS Scan Safely
Keep diagnostic scanning separate from physical SRS work. Reading codes normally requires the system powered as the service procedure specifies; handling modules, connectors, or deployment devices requires the manufacturer's disabling and battery procedure.
Start with these compatibility and preparation checks.
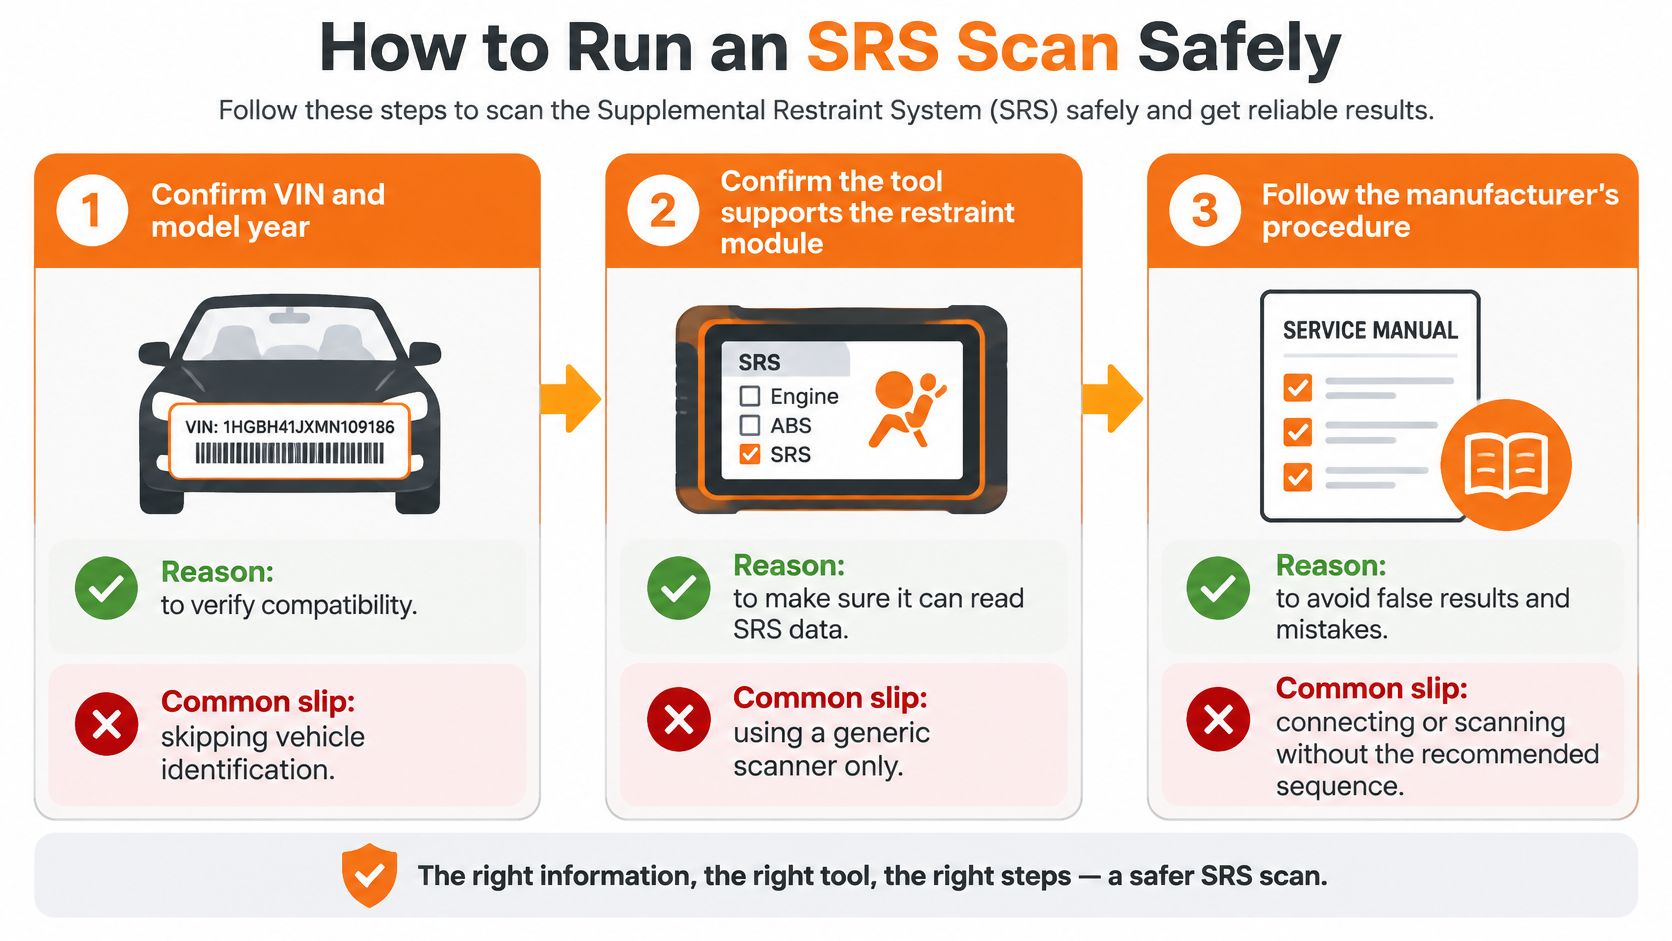
FCA's collision-repair diagnostic guidance calls for checking safety systems for active and stored faults before and after repairs. It also cautions that aftermarket equipment may lack the software necessary to assess those systems.
Follow a record-first sequence
Identify the vehicle and confirm coverage. Verify the VIN, model year, and restraint controller, then obtain the relevant service procedure. Don't disconnect an SRS component merely because you've turned the ignition off; follow the specified disabling sequence before handling it.
Connect and select the restraint module. Use the diagnostic port and the tool's vehicle-specific SRS menu to retrieve active faults. The common slip is accepting a clean engine-code screen as an airbag diagnosis.
Save the original evidence. Record historical codes and any available event or freeze-frame information before changing anything. Skipping this step leaves no reliable record of the original condition.
Investigate every SRS-related fault. Start with active faults and use the manufacturer's diagnostic procedure to distinguish circuit, component, voltage, and communication problems. Don't order the part named in the code description without testing the cause.
Repair the confirmed defect. That may involve wiring, a connector, a sensor, a pretensioner, or the controller. Don't probe deployment circuits with improvised equipment or bypass a component to make the warning disappear.
Clear eligible stored codes after repair. If a code won't erase, or immediately returns, continue diagnosis. Repeatedly pressing “clear” doesn't resolve an active fault and can remove useful historical evidence.
Perform the post-repair verification. Run a full-system scan, complete required initialization or calibration, and check warning-lamp behavior through the specified ignition sequence. Save the final report rather than relying on memory.
A clean completion record identifies the vehicle, shows successful restraint-controller communication, and documents no remaining active SRS faults. It also accompanies completed physical repairs and required service procedures.
The following video provides additional context for the repair process.
Limits, Legal Cautions and Module Reset Alternatives
A basic scan tool can clear eligible non-crash soft codes. It can't reset accident-related hard codes, restore a deployed device, or repair damaged controller hardware. Manufacturer-level equipment may support additional operations, but only where the module and software permit them.
A cleared light confirms only that no eligible code is currently stored. Crash-data service and component repair are separate jobs. Removing stored crash information says nothing about whether the airbags, pretensioners, wiring, or sensors were repaired correctly, so treat the scan result as one input to the decision, not the decision itself.
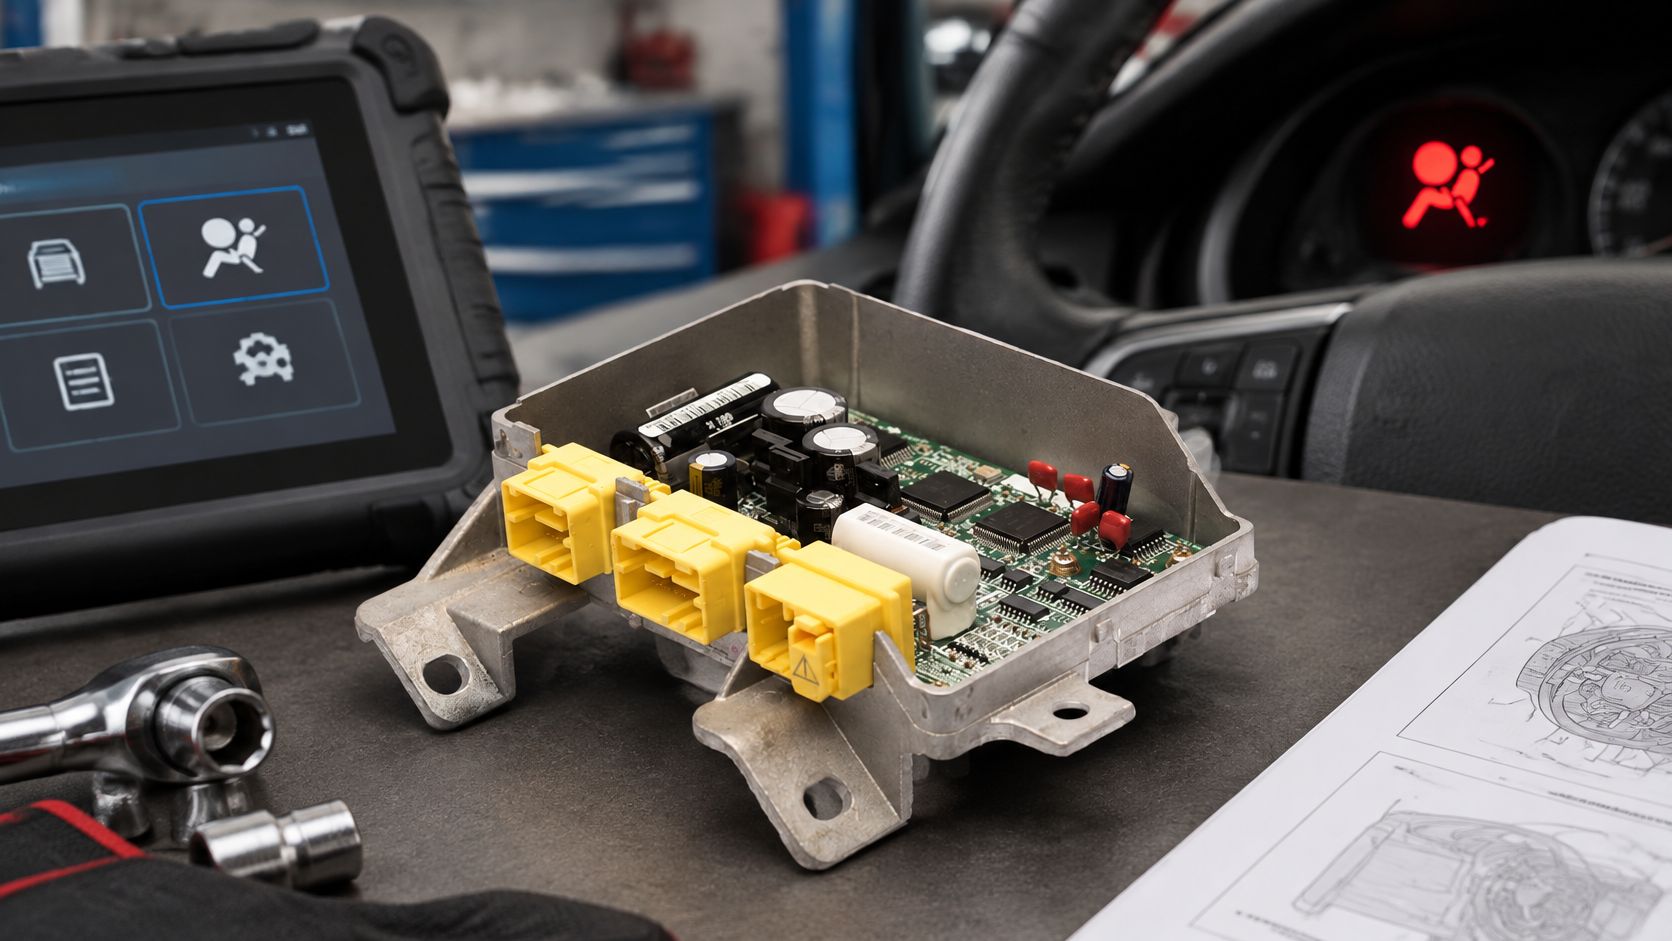
When the original controller is suitable for service, resetting it is one alternative to replacement.
Choose service or replacement deliberately
An airbag module reset service clears crash data and hard codes that dealers and OBD airbag scan tools cannot reset, returning the module to factory condition without additional programming. The mail-in workflow has you remove the SRS unit, usually located under the center console or a front seat, following the vehicle-specific safety procedure, and ship it for service. Safety Restore offers an OEM airbag module reset for mailed-in units through this route.
A reset is not permission to disregard an OEM replacement requirement. A controller with internal faults or physical damage needs professional assessment, and replacement may be the correct route. The dividing line is the module's condition, not what the tool menu offers.
The legal exposure is real. Clearing a warning to pass an inspection or sell a vehicle with an unresolved restraint fault is unsafe and may breach roadworthiness or disclosure rules where the vehicle is registered. Check the local requirements rather than assuming an extinguished lamp establishes compliance. A salvage vehicle with deployed airbags or locked seat belts needs professional assessment before returning to the road, whatever the scan shows.
Reading Scan Results and Choosing the Next Step
Read and record every code before clearing anything, because an erased lamp is evidence of a successful clear command, not of a safe restraint system. The NHTSA-hosted recall procedure requires active and historical faults to be recorded, unresolved SRS faults investigated, and operation verified after service, and that same discipline applies to any post-collision repair.
Scan results and the next action for each
| Scan Result | What It Usually Means | Next Action |
|---|---|---|
| Active SRS code | A fault is detected now | Diagnose and repair the wiring, sensor, pretensioner, or module, then rescan |
| Historical code after a crash | A stored record of a past event | Verify repairs and determine whether legitimate reset, service, or replacement is appropriate |
| No communication with SRS module | The tool can't reach the controller | Confirm tool coverage, then check power, ground, network connections, and module condition |
| Lamp off after clearing, code returns | A persistent or intermittent fault remains | Repeat diagnosis and don't treat the vehicle as fixed |
Match the repair route to the evidence
Warning lamp with an active circuit code: Start with a diagnosis-level scan and the applicable circuit test. A pretensioner circuit code narrows the fault to one leg of the system, and the connector, the squib, and the wiring between them all sit inside that leg. A resistance check across each segment separates a bad connector from a deployed pretensioner.
Several codes stored together: Work through them in the order the tool reports and rescan between repairs. One fault can mask or distort a companion code, so a fresh report after each step keeps the diagnosis honest.
Collision history with stored crash data: Have a qualified technician establish whether the original module is suitable for service and whether the manufacturer permits reuse. Choose a supported professional reset or replacement route only after that assessment.
Locked belt after an accident: Treat the belt as a separate repair concern, even if the module also contains crash data. Locked seat belt repair guidance covers that component-level issue; clearing controller memory doesn't restore belt operation.
Sign off only on a completed restraint-system repair with a clean post-repair scan.
Rescan after each repair, retain the before-and-after reports, and document any required programming or calibration. The final decision should account for component condition and installation as well as the diagnostic results.
Safety Restore offers mail-in seat belt repair and SRS airbag module reset services for customer-supplied components. Once your diagnosis identifies a serviceable module with crash data or a belt requiring repair, visit Safety Restore to review the appropriate service and shipping instructions. Complete the vehicle-specific repairs and post-repair scan before returning the vehicle to service.