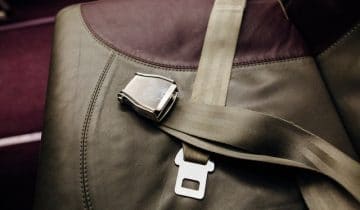
The last thing you would want is to get stuck inside your car in the morning when you’re supposed to be rushing out. When it is due to a broken seat belt buckle, it is not something that you can simply ignore.
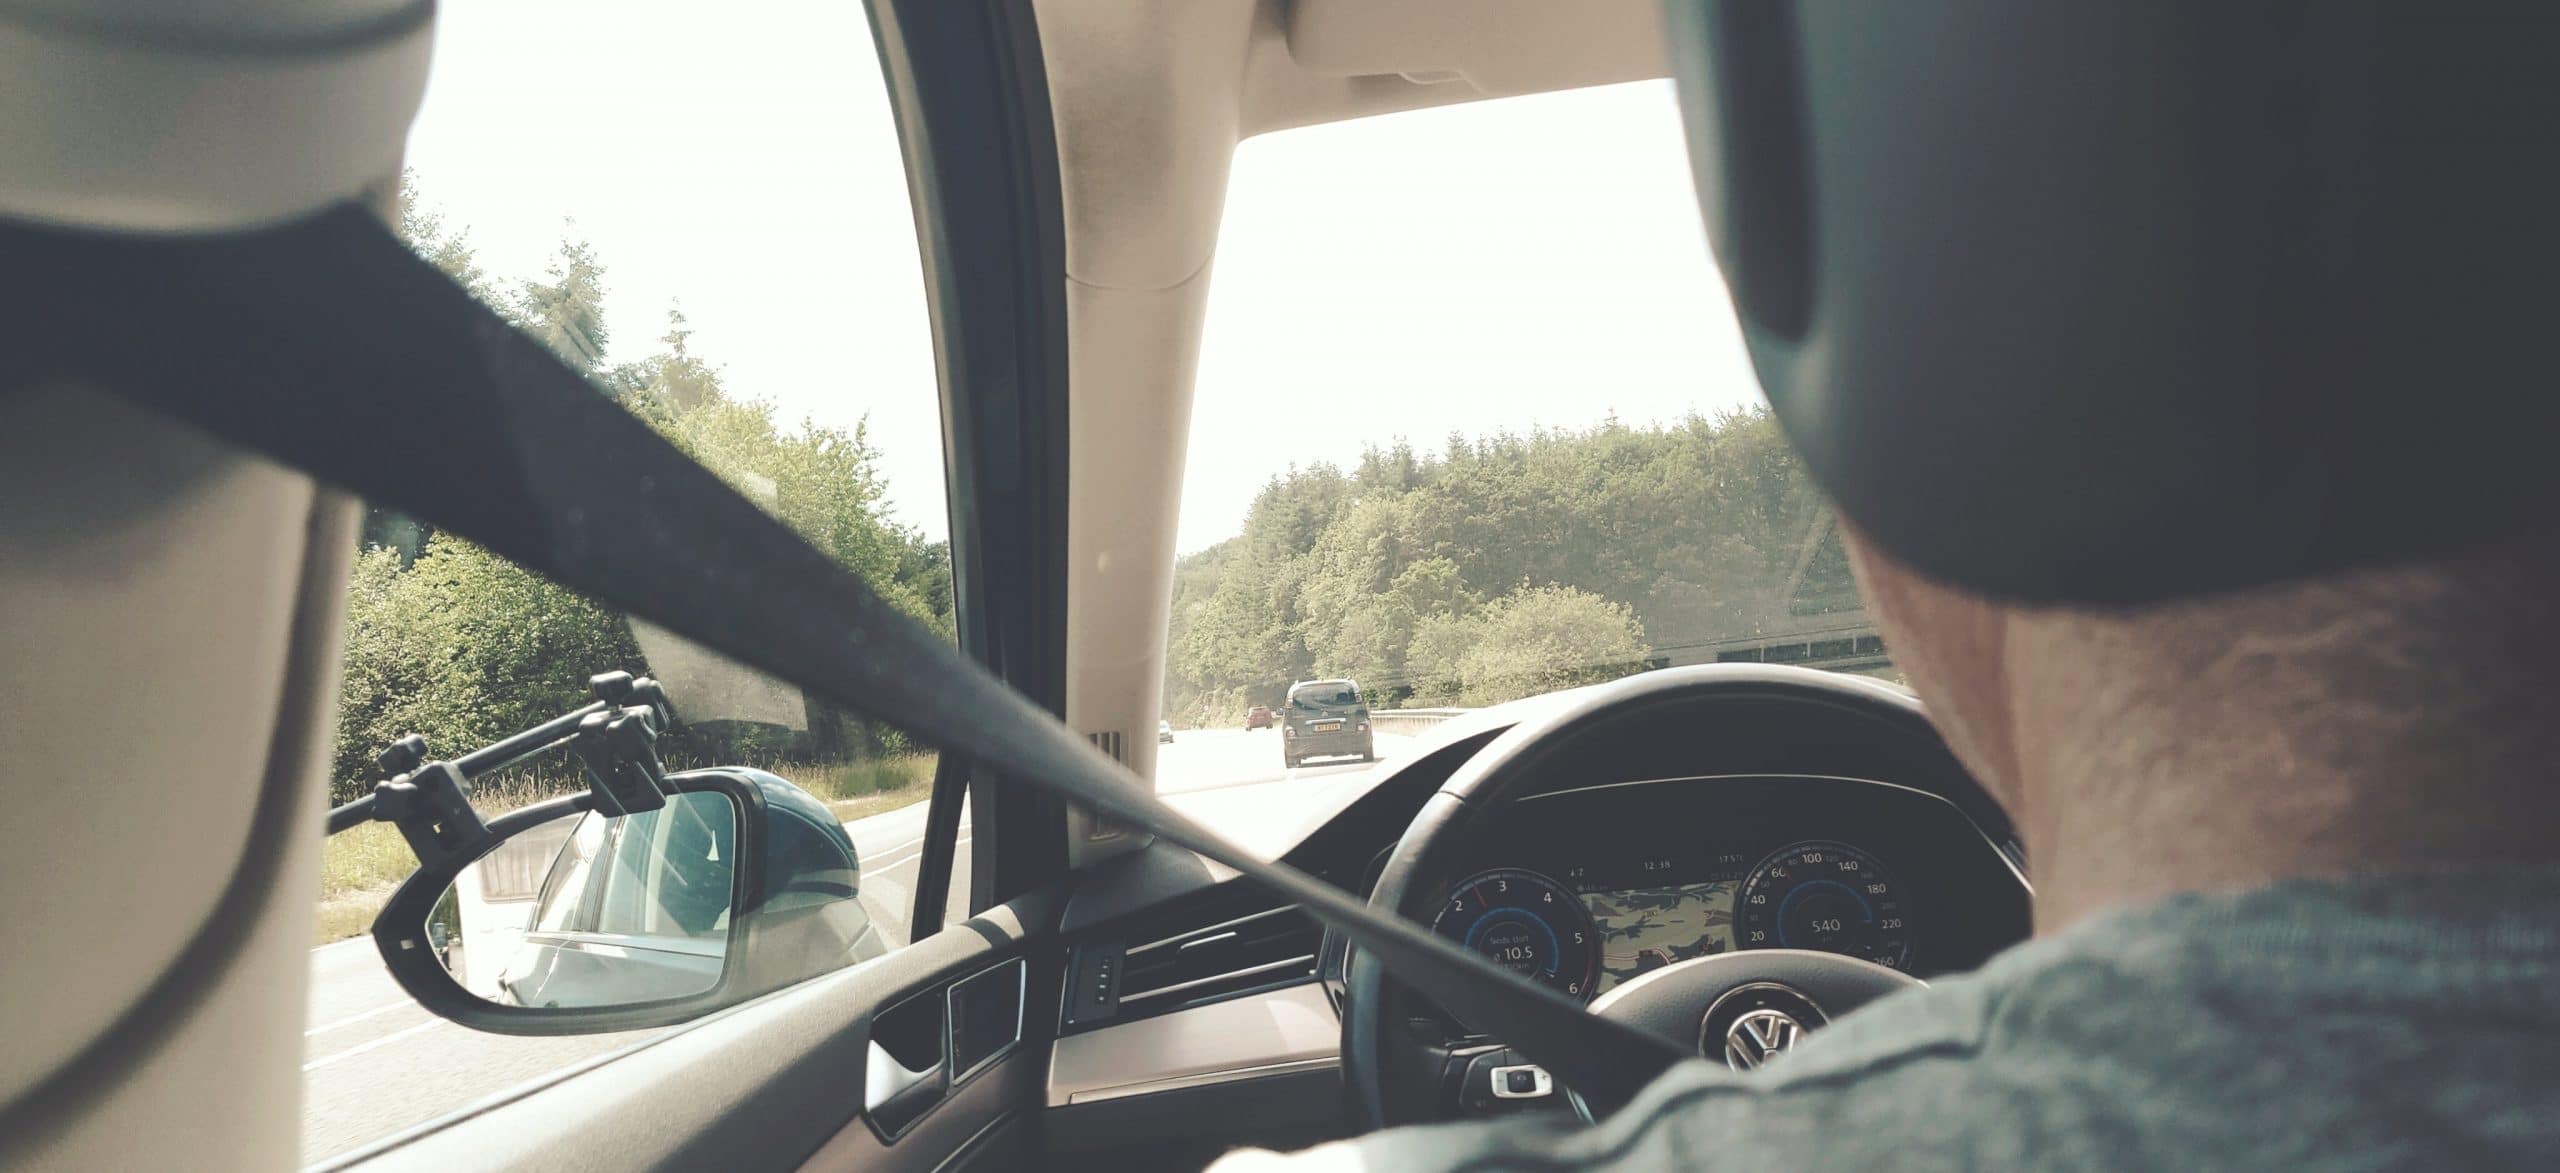
Seat belts are essential in ensuring everyone drives to and from two locations safely. Fortunately, there is a way for you to inspect and fix the seat belt buckles yourself. Here’s a quick guide for you.
Fixing a Car Seat Belt Retractor: 6 Steps to Do It Right
Step 1: Gather All the Necessary Tools
This step would require you to use some tools to manage the seat belt better. All you need is a flat and pointy item, like a screwdriver or a butter knife. It is best if you keep one in your toolbox and place it inside your car or anywhere within your reach so that you will always be equipped, especially during emergencies.
Step 2: Inspect the Seat Belt
Now, it is time to make a thorough inspection of your seatbelt. Here are the things you should do:
- Do a visual inspection and look for any cuts on the seatbelt.
- Check if there are items stuck in between the sides of the belt.
- Check if there is any damage to the male part of the seatbelt.
If there are any items stuck in the seatbelt, proceed to the next step. If you notice that your seatbelt’s male part has been damaged, you should have it replaced immediately.
Step 3: Clear Up the Female Part
If you find that something is stuck in the female part of the buckle, like a piece of gum, a stone, coin, or small debris, your next step is to remove it. Using your flat and sharp item, dig and remove the object from the buckle. Consider patting the buckle on the back facing downwards to remove any tiny obstacle from the inside. Then, see if the buckle will finally fit again. If it still does not work, proceed to Step 4.
Step 4: Remove the Buckle
If all else fails, you will need to take off the buckle. For this step, you will need a screwdriver to loosen the screws and remove the buckle. Note that car manufacturers place their buckles screws in different placements. In some cases, you might need to take out the whole seat to remove the buckles.
Step 5: Open the Buckle’s Socket
Once you have the buckle, it is time to open its socket. Using your screwdriver, insert it into the gap between the buckles’ button and its edges. That should be enough to break it apart. Just make sure to do this step gently since the tiny parts inside the bucket might start flying out. Should your buckle have an outer shell, just use the same screwdriver in removing the shell first.
Step 6: Check the Small Parts’ Functionality
Now, you have to check if the components inside the buckle are still working correctly. Here are the things you need to do:
- For the red push button: Press the red button and observe how the other parts would react. The spring should push the cam if you press the red button.
- For the spring: Check if there is debris stuck in between the springs.
If both are working fine, assemble the buckle and place it back in its designated area. If it still does not work, you need to replace it with a brand new buckle.
Conclusion
Buckles usually do not work because of items or particles getting stuck inside them. However, if that is not the case, then there is a bigger problem that needs to be resolved. Consider checking the entire seatbelt and seek the service of a professional technician. Most of the time, replacing the whole belt would do the trick. Remember that seatbelts can save lives. Make sure not to drive your car if you experience any problem with your seatbelts.
If you think your faulty seat belt requires professional help, contact us at Safety Restore. We are the world’s leader in post-accident restorations, specializing in seat belt repairs and airbag modules. We offer a 24-hour turnaround time on all repairs—contact us at (855) 552-7233 today.