
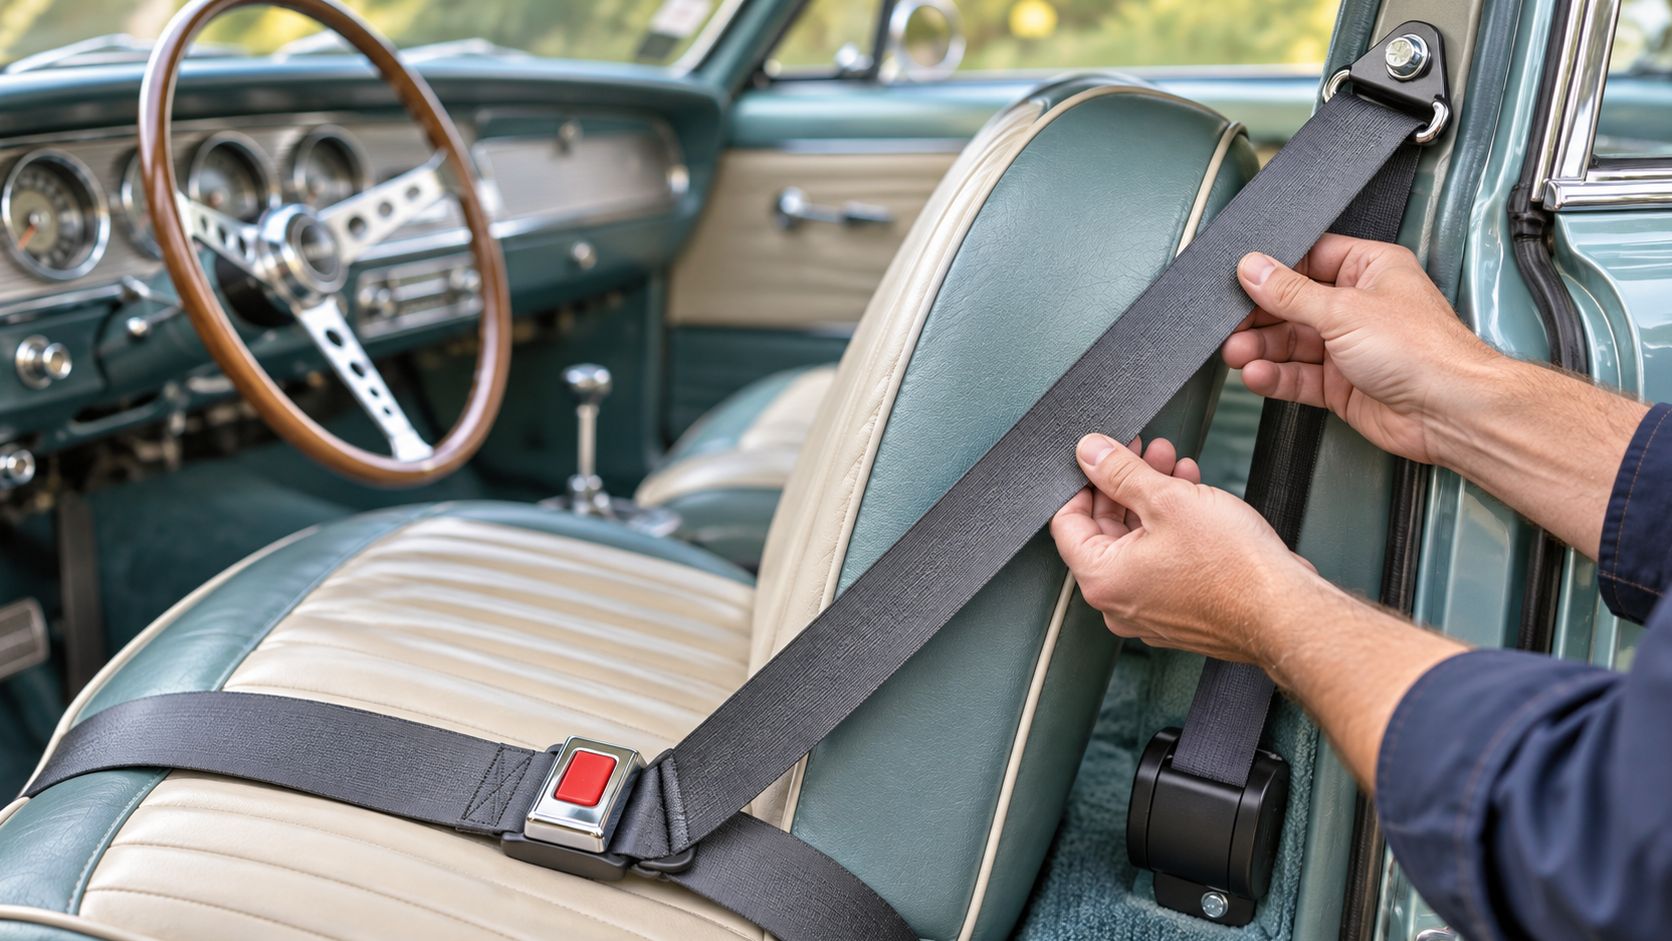
A belt can look tidy in a classic car and still fail when you pull it sharply. Maybe you've found a frayed edge, a buckle that sticks, or a retractor that leaves slack hanging beside the seat. Before buying a replacement or taking the car out, identify what's fitted and test the whole system. With seat belts in classic cars, originality matters, but a belt that locks, holds and retracts correctly matters more.
Table of Contents
- Seat Belt Types Found in Classic Cars
- Condition Checks Every Classic Owner Should Run
- What Old Belts Can and Cannot Do in a Crash
- Choosing Between Original, Reproduction and Modern Belts
- Retrofitting Belts Into Cars That Never Had Them
- Three Real Classic-Car Belt Problems and Their Fixes
- Confirm Your Belts Before Your Next Drive
Seat Belt Types Found in Classic Cars
Most classic cars have one of four belt systems, and each needs different checks. A lap belt restrains the hips; a static lap-sash adds a shoulder strap but doesn't retract; an inertia reel locks when the webbing is pulled suddenly or the car decelerates; and a retrofit kit adds a belt system to a car that originally had lap belts or none at all.
| Belt type | How it restrains | Typical classic-car era | Key check |
|---|---|---|---|
| Lap belt (two-point) | Lap strap across the hips only | Early classics and rear seats in mid-century cars | Anchor bolts and buckle latch |
| Static lap-sash (three-point, non-retracting) | Lap and shoulder, length set by a sliding adjuster | Early three-point systems, common in European cars | Adjuster slides freely and holds position |
| Inertia-reel retractor (three-point) | Lap and shoulder, locks on sudden stop or sharp pull | Later classic cars, as retractors became common | Retractor locks on a sharp pull and rolls back smoothly |
| Retrofit three-point kit | Factory-style anchors added to a lap-only car | Any era, usually fitted later by an owner or specialist | Anchor welds and reinforcement plates |
A lap belt works like a strap across a suitcase: it keeps the lower part in place but doesn't control what happens above it. A static lap-sash belt also crosses the shoulder, but its length is set by a sliding adjuster rather than a reel. The adjuster must move when you set the belt and stay put once fitted.
An inertia reel works like a spring-loaded spool that locks under a sudden pull. It should let you draw the belt out smoothly during ordinary movement, then stop the webbing when you tug sharply. A retrofit adds the belt and its anchors, but those anchors only work if the surrounding structure can take the load.
Identify the belt before testing or ordering parts. Look at the number and position of the anchor points, whether the shoulder strap feeds into a reel, and how the buckle and tongue connect. A two-point belt has two anchorage points and a lap strap; a three-point belt routes over the shoulder as well. Don't assume two belts in the same car use the same hardware or need the same repair.
Condition Checks Every Classic Owner Should Run
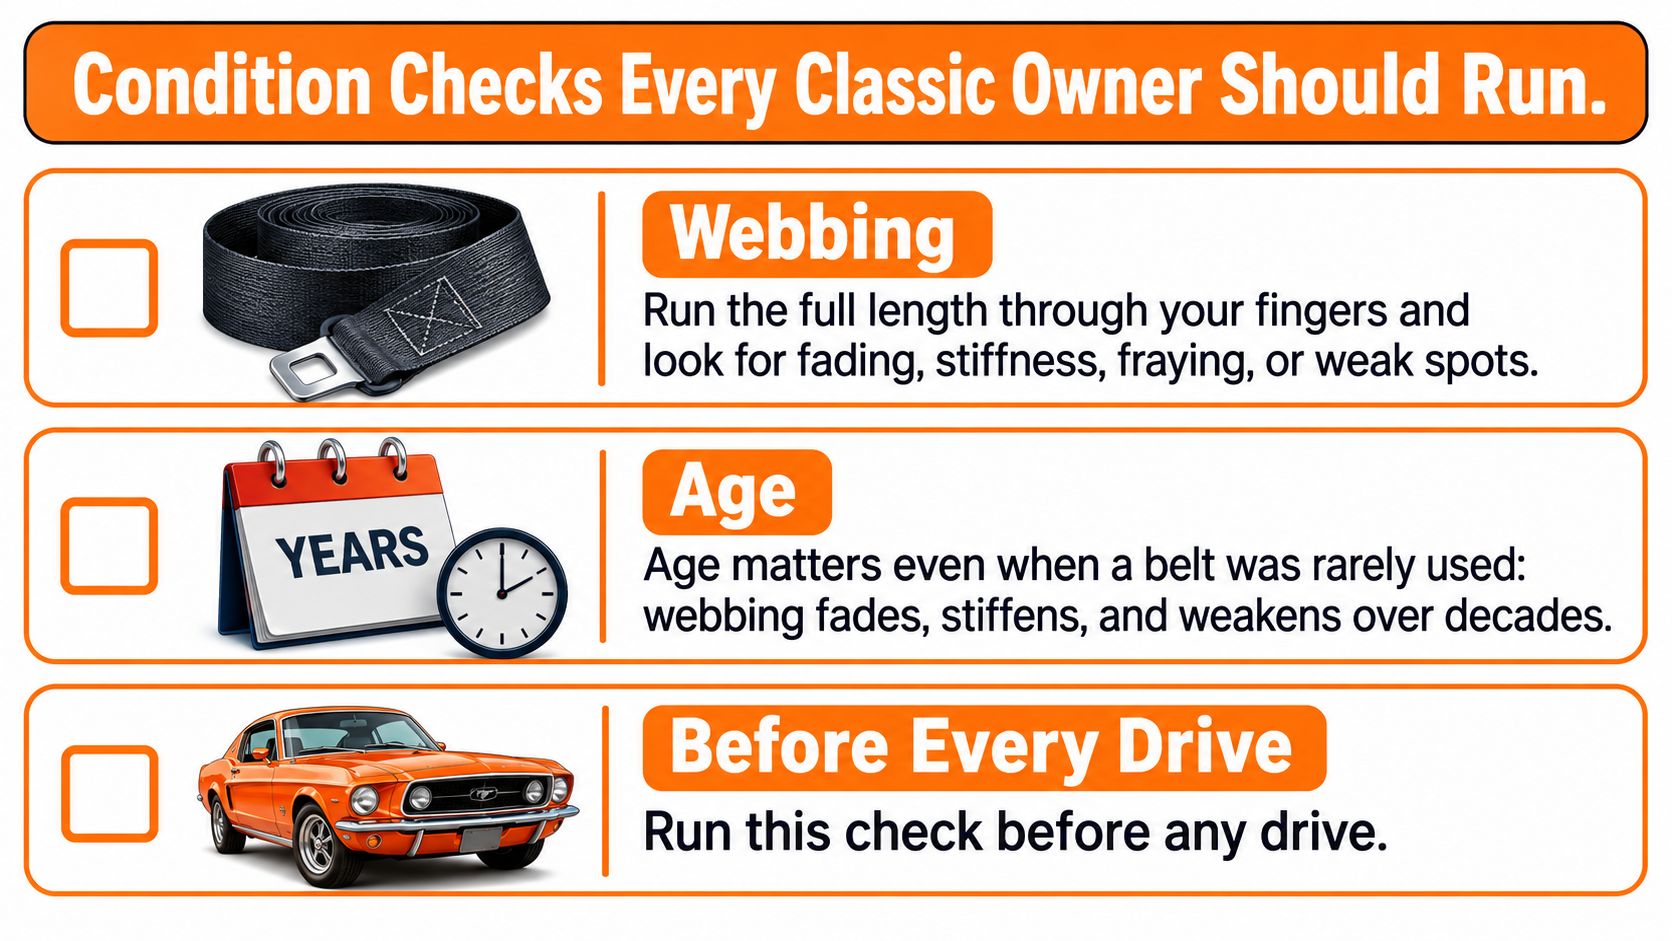
Run these checks before any drive, even if the belts look unused. Webbing ages in storage too: sunlight, heat, dirt and years of being folded can leave it faded, stiff or weak. Start with the belt fully extended so you can examine the areas normally hidden in the reel and around the anchors.
Seven checks before driving
Inspect the full webbing. Draw it out and run it through your hands. Look for cuts, fraying, stiffness, fading, discolouration, and damage from a dog or rodent. Pay close attention to folds near the anchor and the loop where the tongue runs. Any cut or damaged section is a fail.
Examine the stitching. Check the sewn loops at the anchor, tongue and buckle ends. Loose, broken or pulled stitches mean the belt needs professional assessment, not a quick patch.
Test the buckle. Insert the tongue until it clicks, pull firmly to confirm it holds, then press the release button. The tongue should stay latched under a pull and release cleanly. A buckle that sticks, won't latch or releases without pressing the button fails.
Test the retractor. Pull the webbing sharply. It should lock, then rewind smoothly when you let it go. If it doesn't lock, drags or leaves slack, don't rely on it. A seat belt retractor repair service is one route to consider when the mechanism is at fault.
Check the anchors and nearby structure. Look for rust, loose fasteners, cracked floor metal or damage around the mounting points. If a bolt needs tightening, use the torque value in the car's workshop manual rather than guessing.
Read the tags. Look for manufacturer labels and date or specification codes. Keep the tag information with your records; it can help match replacement parts to the original system.
Treat crash history as a red flag. A belt that has been in a crash should be replaced, not reused. Replace any belt with a cut, or any belt that fails its lock test.
A successful buckle test doesn't prove that the belt or its anchors can withstand crash forces. If you find damage, corrosion or evidence of a crash, keep the car off the road until the belt system has been assessed and repaired.
What Old Belts Can and Cannot Do in a Crash
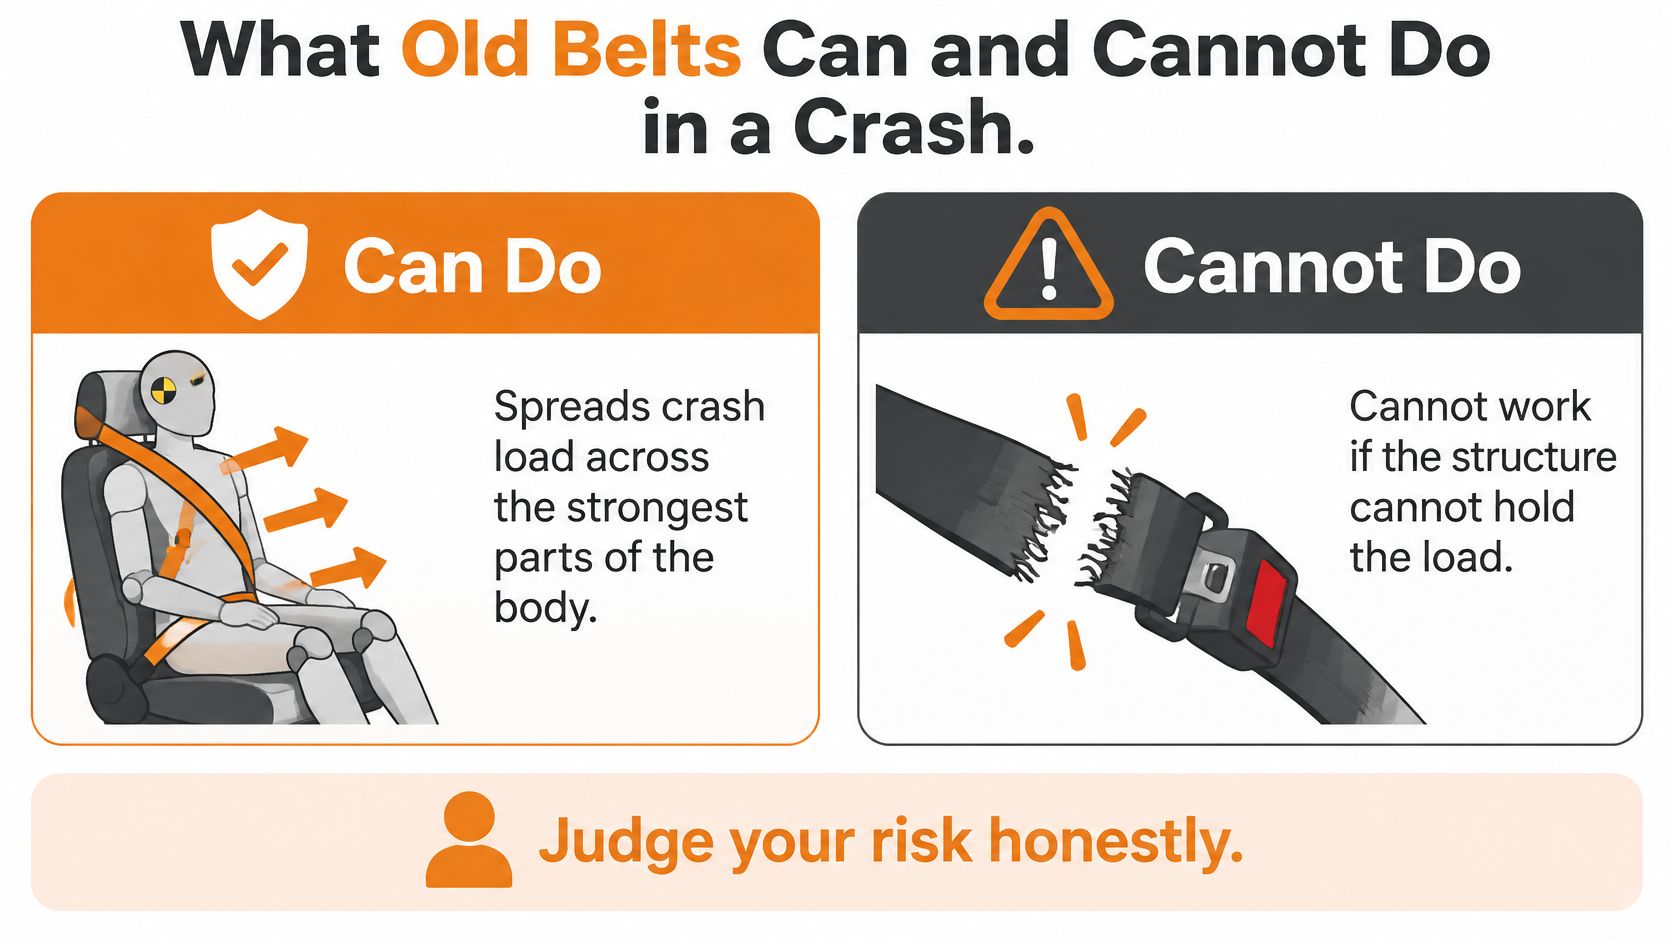
A fitted belt isn't a promise of full protection. Its job is to keep the occupant in the seat and spread crash load across stronger parts of the body. That also helps the driver stay in position during hard braking, but a belt can only do its job if the webbing, hardware and mounting structure hold together.
A lap-only belt restrains the hips but leaves the upper body free to move forward in a frontal impact. A lap-sash belt adds shoulder restraint, and a working retractor helps take up slack. Neither design turns an old car into a modern one: classic vehicles often lack airbags, pretensioners and contemporary crumple structures, so the belt carries much of the restraint work.
Sun-damaged or stretched webbing can have less capacity to carry load. Corroded anchors and weak floor metal create another failure point. The seat and the structure holding its belt anchors matter too. A strong belt attached to compromised metal isn't a sound restraint system.
The trade-offs
- Keeping original belts: Preserves the cabin's period appearance and hardware. The trade-off is that old webbing or mechanisms may no longer work safely, even if they look right.
- Upgrading to a three-point system: Adds shoulder restraint and can improve everyday usability. The trade-off is that the fit, anchor placement and body structure must all be suitable.
- Changing how you drive: Lower speeds and careful passenger choices reduce exposure to risk, but they don't repair a failed belt or make a lap belt restrain the upper body.
A belt only helps when it fits the occupant, locks when needed and transfers the load to sound structure.
Choosing Between Original, Reproduction and Modern Belts
There are four practical routes when an old belt needs attention. The right choice depends on whether originality, reliable function or parts availability matters most. Don't choose by colour or appearance alone; match the belt's job and mounting arrangement to the car.
| Route | Best when | What you keep | Main risk |
|---|---|---|---|
| Original-spec used belt | Concours or original-condition cars | Period hardware and webbing | Unknown age and crash history |
| Rewebbed original hardware | Originality on a car that's driven | Retractor, buckle and tags; new webbing only | Useless if the hardware itself is damaged |
| Reproduction belt | Original parts are unavailable | Period dimensions, colour and look | Wrong length, buckle geometry or anchor fit |
| Modern retractor belt | Reliable locking matters more than originality | New locking mechanism and easier parts | Adapted mounts and a non-original look |
An original-spec used belt is the most straightforward choice for a display car, but its age and history can be hard to establish. Rewebbing keeps the original buckle, retractor and tags while replacing worn webbing. It can suit a driven car when the hardware still works; replacing the webbing won't fix a damaged buckle or a failed reel. A seat belt webbing replacement service is one option when the original hardware is worth keeping.
A reproduction belt can fill a gap when period parts are unavailable. Confirm its length, buckle shape and anchor fit before ordering. A modern retractor can provide dependable locking and easier replacement-part sourcing, but it may need adapted mounts and can look out of place. Every car manufactured in America after 1995 has at least one modern seat belt retractor, but that doesn't make a later mechanism a direct fit for an earlier car.
Before buying, match the anchor geometry, buckle type and webbing width, and check that any certification tag is intact. If colour matching matters, Custom Color Seat Belt Webbing Replacement is one available option. The decision rule is simple: choose original or rewebbed hardware when preserving originality is the priority, a modern retractor when reliable locking matters most, and a reproduction when suitable original parts can't be found. In every case, match the function, not just the look.
Retrofitting Belts Into Cars That Never Had Them
A three-point retrofit needs sound structure and a belt path that fits the occupant. Think of the belt like a handrail on an old staircase: useful only if the structure can hold it. A tidy installation isn't enough if the anchors pull through thin floor metal or the shoulder strap crosses the neck.
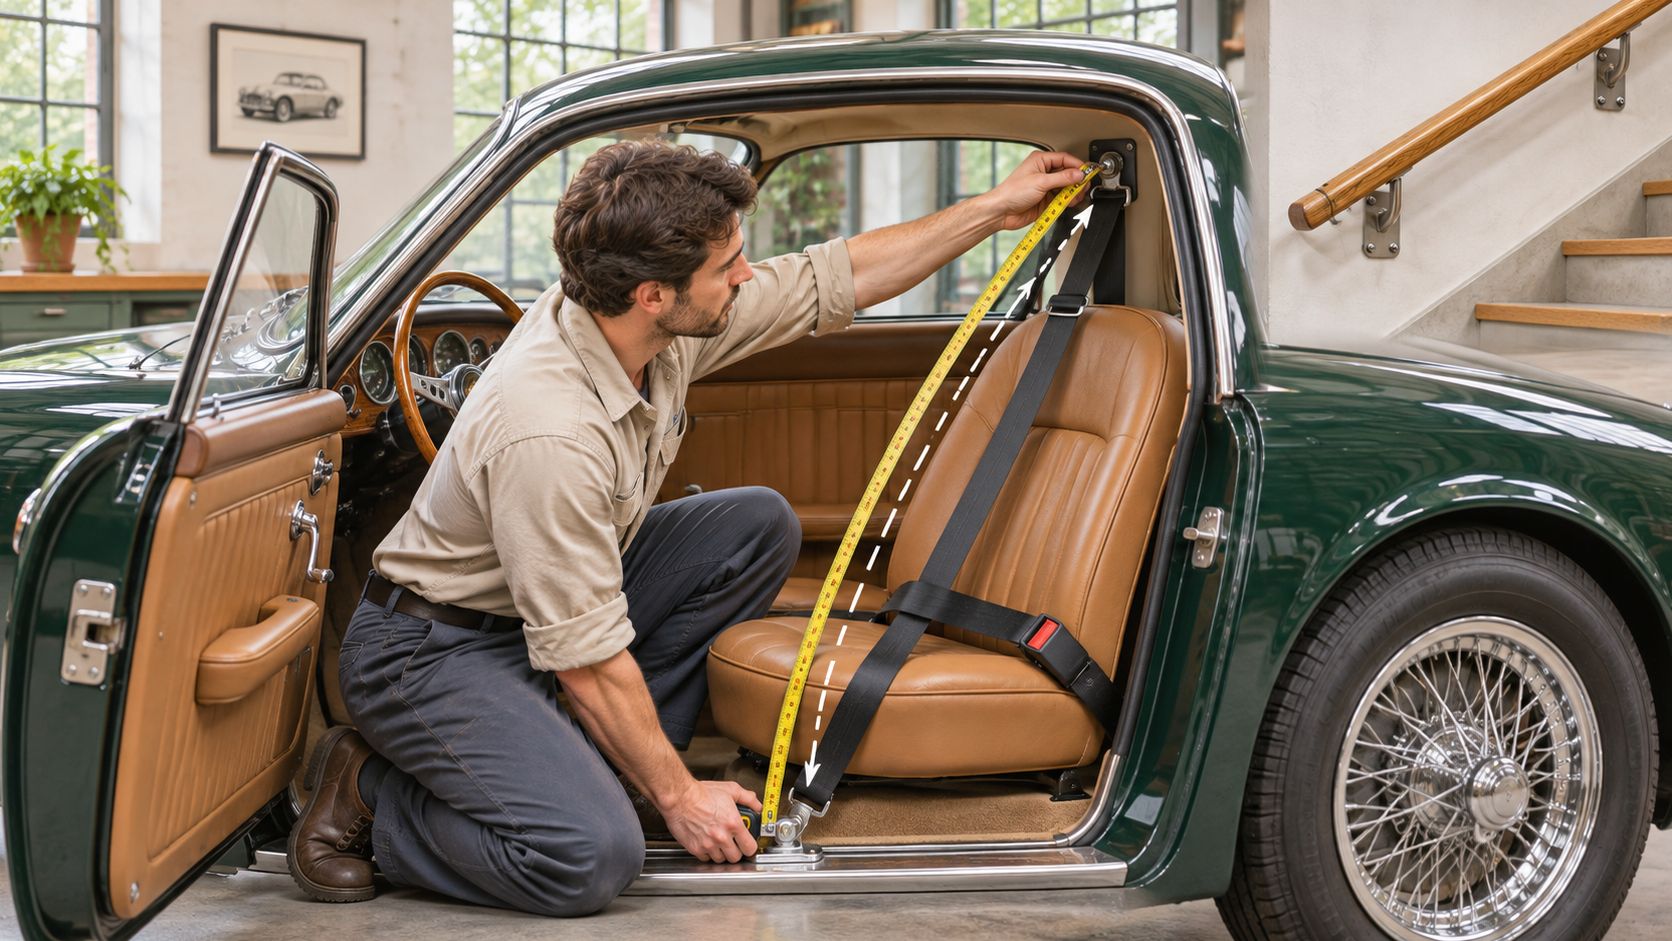
Map the belt path. The shoulder strap should cross the collarbone and chest; the lap section should sit low across the pelvis. Check the fit with the seat fully forward and fully back.
Select the mounting locations. Plan the lower anchor at the floor pan or seat frame, the buckle anchor on the transmission tunnel or opposite floor, and the upper anchor at a reinforced pillar, roof rail or seat back. The chosen points must suit both the belt and the car's structure.
Reinforce the mounting metal. Thin floor sections may need reinforcement plates. Plan the work around structural members instead of cutting or welding into them blindly.
Clear the work area. Before drilling or welding, trace nearby fuel and brake lines, wiring and body seams. Move work clear of vulnerable components.
Choose the retractor for the seat position. Confirm whether the mechanism locks in response to vehicle movement, a sharp pull on the webbing or both. A mounting angle that doesn't suit the mechanism can stop it working properly.
Mock up the installation. Move the seat through its full travel. The tongue must reach the buckle without twisting the webbing or pulling the strap out of position.
Get the work inspected. Have a qualified fitter check the anchors, bolt grade and belt path before the car is driven. Check the local modification and inspection rules too. A universal three-point seat belt kit may provide belt hardware, but it doesn't remove the need to assess and reinforce the vehicle structure.
Three Real Classic-Car Belt Problems and Their Fixes
Three typical workshop cases show where the decision points sit.
A wagon comes in for inspection with a rear lap belt chewed by a dog. The owner wants the cabin to keep its original look, so the first check is whether the buckle, tags and anchor hardware remain sound. With those parts usable, a specialist rewebs the belt and keeps the original fittings; the owner then rechecks fit and operation at both ends of the seat travel.
In a stored saloon, the driver's inertia reel fails the sharp-pull test: a fast tug on the webbing and it keeps paying out. The owner lifts the reel cover with a trim tool, flushes the mechanism and retests. It still won't lock. Cleaning hasn't restored its essential function, so the call is a correctly matched replacement retractor rather than a mechanism that can't be trusted.
A coupe running lap-only belts needs more upper-body restraint. The owner chooses a three-point retrofit, adds reinforced anchors and accepts a more modern look in exchange for the shoulder strap. A qualified fitter confirms the belt sits right on the occupant and the mounting points can carry the load.
The order of work stays the same across all three: inspect the webbing and structure, test the mechanism, then fix the actual failure.
Confirm Your Belts Before Your Next Drive
Make this a same-week decision, not a note to revisit later. Photograph each belt, buckle, tag and anchor, then write one line for each seat: belt type, whether it locks and retracts, and any damage found. Mark each one keep, clean, reweb or replace based on its function, not how it looks in the cabin.
Don't drive with a cut belt, a failed lock, evidence of crash stretch or an unfinished retrofit that needs welding. When arranging webbing work, ask whether the colour and stitch pattern can be matched, which original parts stay in place, what the turnaround is and what the warranty covers. Safety Restore works on customer-supplied seat belt assemblies and can restore classic and antique belts with requested colours. Its harness repair is compatible with most makes and models and all years, including classics and antiques.
After the work, record the tag text and part numbers. Before the next drive, confirm that the belt locks, holds the tongue and returns smoothly to the reel. If any part fails, keep the car parked until the system is right.
Safety Restore repairs seat belt mechanisms and replaces worn webbing for classic and antique cars, including custom-colour options. If preserving your original hardware is the right route, visit Safety Restore to learn about its mail-in service.
