
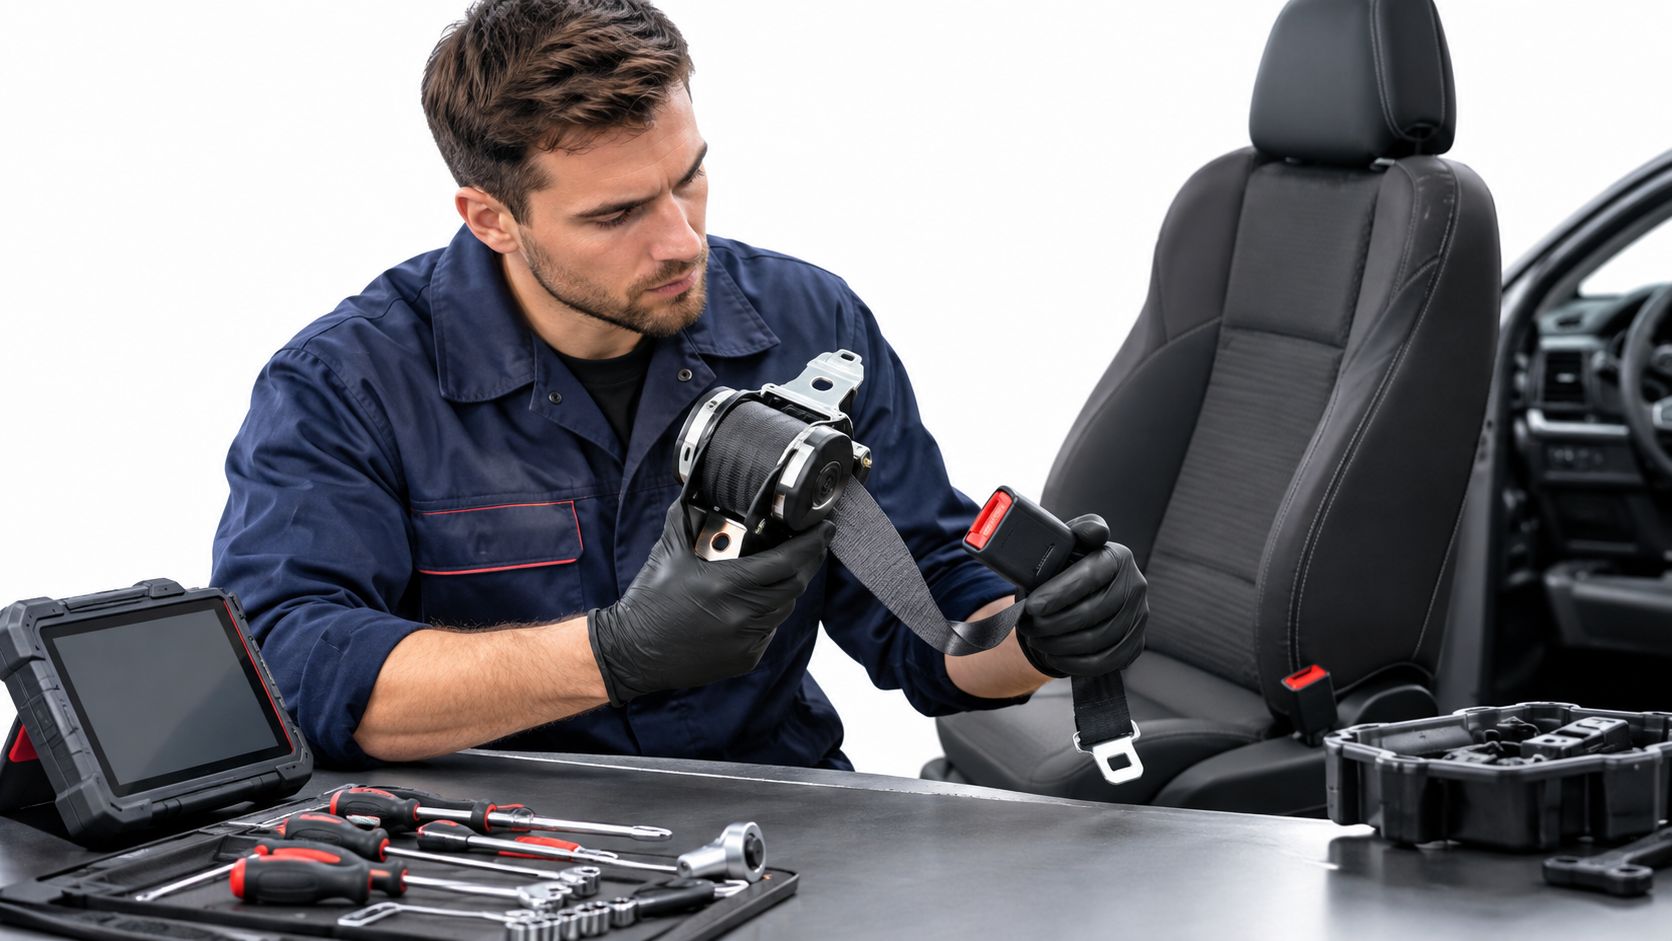
You got the bodywork done, the paint looks straight, and then you pull the driver belt and it won't move. Or it moves fine, latches fine, and the airbag light stays on anyway. That's the moment most owners start searching for how to repair car seat belts, and it's also where shortcuts get expensive. A locked belt isn't one diagnosis. It's a symptom, and the cause decides whether repair, replacement, or a manufacturer-directed procedure is the right next step.
Table of Contents
- Why Seat Belt Damage Needs a Careful Diagnosis
- Identify Damaged and Deployed Seat Belt Parts
- Choose Between Seat Belt Repair and Replacement
- Remove the Seat Belt Assembly Safely
- Use a Professional Mail-In Repair Process
- Reinstall and Verify the Repaired Seat Belt
- Make the Repair or Replace Decision With Confidence
Why Seat Belt Damage Needs a Careful Diagnosis
A belt can look untouched after a crash and still be unfit to return to service. The webbing you see is only one part of the assembly. Behind trim you'll find a retractor, a pretensioner cable and sleeve, electrical connectors, anchors, guides, and in many cars a pyrotechnic pretensioner that's tied directly into the SRS. Collision forces can affect any of those parts without leaving an obvious tear in the fabric.
That's why the goal isn't only to get a stuck belt to spool again. Lap-and-shoulder belts reduce the risk of fatal injury for front-seat passenger-car occupants by 45% and reduce moderate-to-critical injury risk by 50%, according to NHTSA seat belt effectiveness estimates. Those figures depend on the complete restraint working as designed. A belt that can't spool, lock, tension, or latch correctly can't be assumed to deliver that protection.
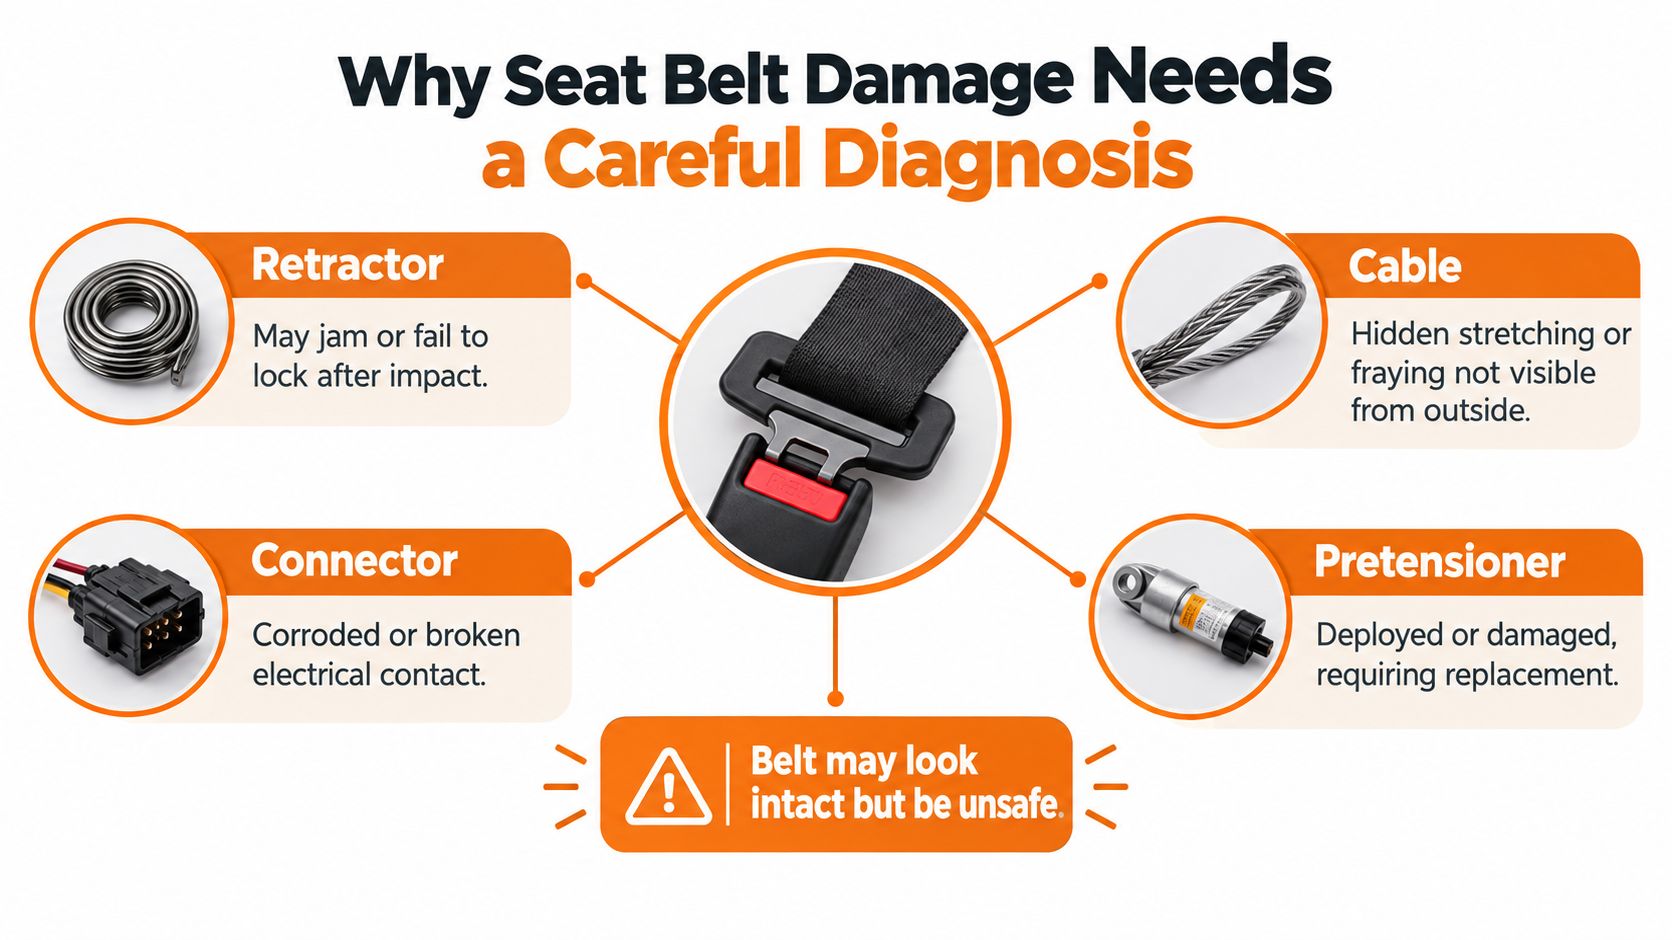
What a Cleared Warning Light Doesn't Prove
Clearing a code doesn't repair a cable. Manually working the buckle doesn't prove the pretensioner is intact. A quiet cabin with no chime doesn't prove the connector is seated or the mounting bolt is torqued. In the shop, those are separate checks, and skipping one leaves the job unfinished.
This matters even more on rebuilt and imported salvage cars, where crash history may be incomplete and prior repairs undocumented. If you're evaluating a vehicle from that market, resources on US auction salvage cars for Poland can help you understand how those cars are sourced, but the restraint inspection still has to happen car by car. Don't trust a clean interior photo over a scan and a physical check.
Practical rule: Treat the belt, retractor, pretensioner, buckle, and connectors as one system until inspection proves which part actually failed.
Identify Damaged and Deployed Seat Belt Parts
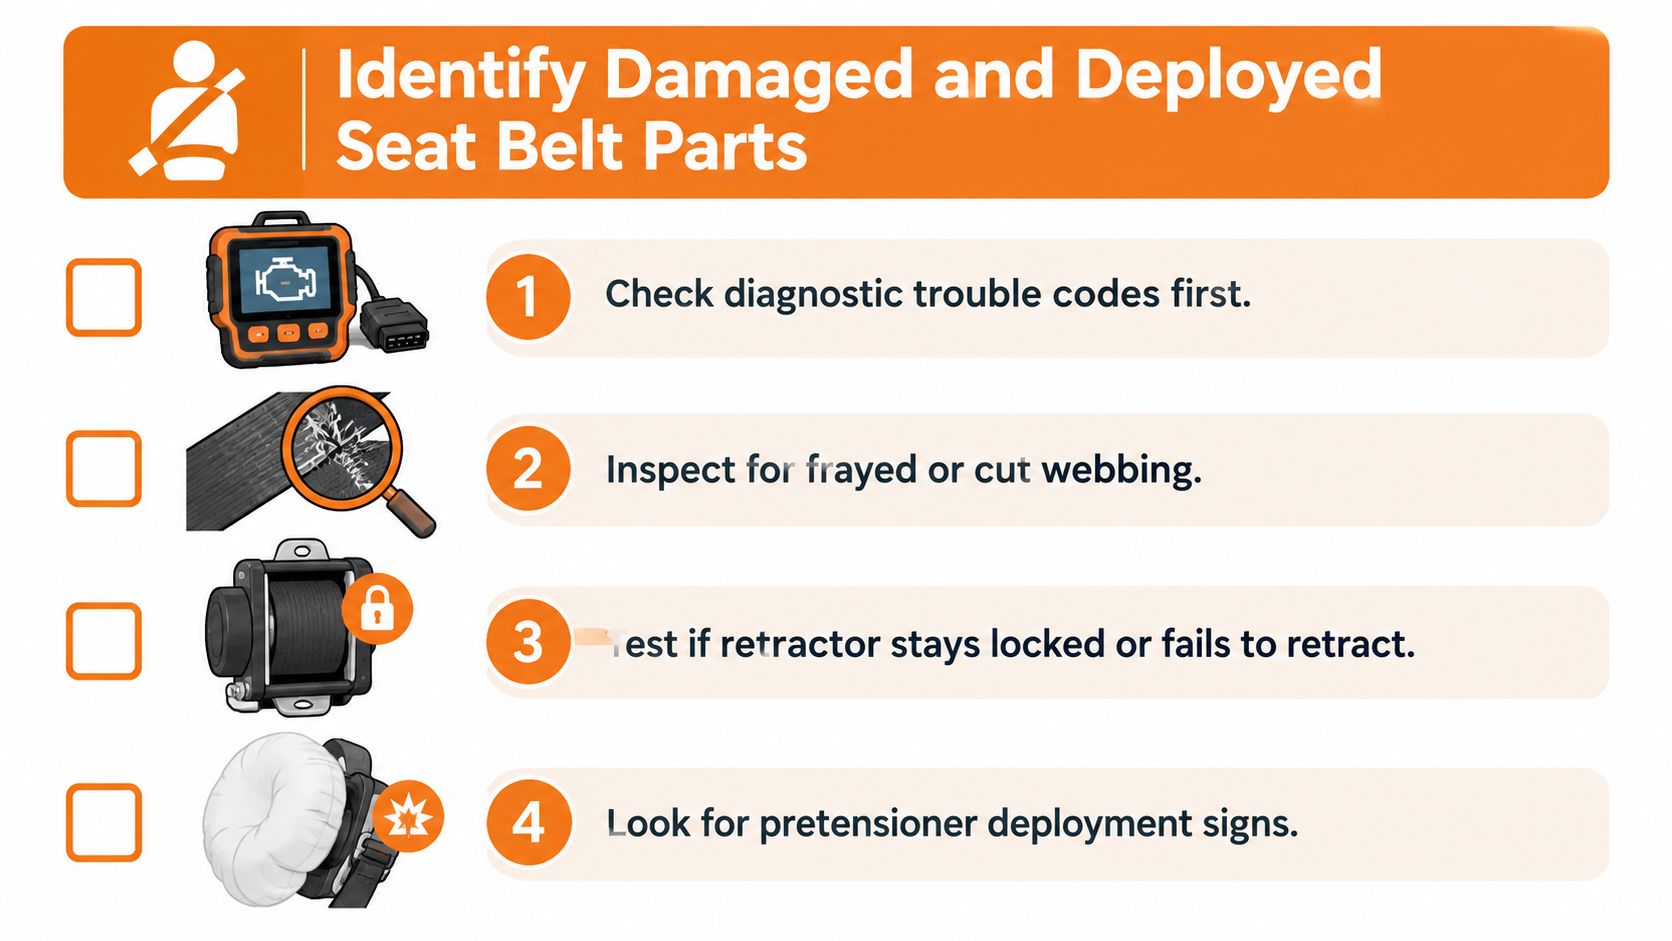
Start with evidence, not force. Don't yank a locked belt, pry at trim to free the spool, or probe a pretensioner connector to see what happens. A documented OEM-style inspection records the vehicle and seat position, retrieves diagnostic trouble codes, and then examines the complete assembly before anyone decides on a remedy, a sequence reflected in NHTSA recall inspection procedures for pretensioner cables.
Run the Scan Before You Touch Hardware
Pull current DTCs with equipment that can read the SRS, not just engine codes. A generic code reader often can't see pretensioner circuit faults or stored crash data, so a clean generic scan means very little. Write down every code, which seat position it points to, and whether the airbag light is on steady or intermittent. That record later tells you whether a repair changed anything.
Inspect Webbing, Buckle, and Anchors
Pull the webbing out slowly through its full travel if it moves freely, and look at both sides under good light.
- Fraying, cuts, or separation: Any of these compromises the strap itself, not just its appearance.
- Damaged stitching or melted, stiff sections: Heat and abrasion change how webbing handles load.
- Buckle behavior: The buckle should lock positively and stay secured when you pull on the belt.
- Anchors and guides: Look for bent hardware, loose mounting points, cracked trim around the guide, or a belt routed at an odd angle.
Check retraction with the seat unoccupied. Excess webbing should draw back smoothly. A belt that feeds out but sags, twists, or stops halfway has a retractor or webbing problem even if it latches.
Separate a Jam From a Deployment
Context matters. A belt that occasionally catches after a cold night or feels gritty after years of dust and spilled drinks points toward a mechanical retractor issue or contaminated webbing. A belt that locked during an impact and never released, especially with an SRS light on, points toward a fired pretensioner. Those are different failures with different fixes, and confusing them leads people to clean a retractor that deployed.
Look along the full pretensioner cable where it's accessible without dismantling pyrotechnic hardware. Visible cable-cover wear, fraying, separation, incomplete linkage engagement, or a damaged connector tab are findings, not cosmetic notes. Note them, photograph them, and stop there.
Don't test a suspect pretensioner by probing, pinning, or applying power to it. Identification is your job at this stage. Servicing pyrotechnic hardware is not.
End this stage with a written, component-level finding for each belt. Webbing condition, retractor behavior, buckle function, cable and connector condition, codes present, and your deployment assessment. That sheet is what you match against repair and replacement options next.
Choose Between Seat Belt Repair and Replacement
Here's where most online advice falls apart. It treats every locked belt as repairable and every deployed belt as a simple reset. In practice, pretensioners are pyrotechnic, crash-activated components generally designed for one deployment, and manufacturer guidance commonly requires replacement after activation rather than owner-level repair, as outlined in roadworthiness guidance on seat belts and supplementary restraint systems. That single fact changes the decision tree.
Manufacturers don't all draw the line in the same place. GM's post-collision guidance says that when a collision deploys an airbag or pretensioner, the entire seat-belt system, including buckle, guide, retractor, latch, and webbing, should be replaced rather than replacing individual components, per GM post-collision repair and inspection requirements. Other procedures, particularly recalls, may direct a technician to inspect a specific pretensioner and replace it only if a defined defect is found. The vehicle-specific document controls, not a generic forum answer.
Webbing adds a compliance layer. Seat-belt assemblies must meet federal requirements for strength, elongation, webbing width, and durability under FMVSS 209, and replacing worn or frayed webbing in a way that harms compliance can violate the federal render inoperative prohibition, with civil penalties of up to $1,000 per violation, according to NHTSA's interpretation on seat belt webbing replacement. So re-webbing isn't a cosmetic stitching job. Material specification, stitch pattern, labeling, and retractor compatibility all matter, and the finished assembly still has to pass inspection in your market.
Seat Belt Repair and Replacement Decision Guide
| Finding | What It May Indicate | Repair or Replacement Decision |
|---|---|---|
| Slow or gritty retraction, no crash, no codes | Worn or contaminated mechanical retractor | Candidate for qualified component repair after inspection confirms no deployment |
| Belt locked solid after impact, SRS light on | Fired pretensioner, locked retractor | Do not force or clean it. Follow OEM direction, which may require assembly replacement or qualified pretensioner service where permitted |
| Frayed, cut, or torn webbing | Compromised strap strength | Webbing service only through an approved process that maintains compliance, otherwise replace |
| Cable-cover wear, damaged connector, loose anchor | Pretensioner circuit or mounting integrity problem | Replace the affected assembly or component as the service procedure directs, then verify torque and connector engagement |
| Belt moves normally but crash codes remain | Stored crash data or undeployed circuit fault | Physical repair alone won't close the job. Address the SRS module and codes as a separate step |
Two misconceptions cause repeat work. First, clearing stored crash data from a module doesn't repair a fired pretensioner, a frayed strap, or a damaged cable. Second, a belt that moves smoothly after service isn't automatically compliant or roadworthy. It still needs correct installation, connector engagement, specified torque, and a clean post-repair scan.
Cost pressure is real, especially when you're rebuilding on a budget or disputing a settlement. If the financial side of the crash is still unresolved, understanding how to pursue fair compensation after a crash can matter, but don't let a tight estimate push you toward reinstalling an unverified restraint. Cheap here can mean doing the job twice, or worse.
Remove the Seat Belt Assembly Safely
Removal looks simple on video. In a real car, it's a safety-sensitive task that changes with every model, seat position, and pretensioner design. The exact trim sequence, bolt access, and connector style come from that vehicle's service information, not from a universal checklist. What stays constant is documentation and restraint around pyrotechnic parts.
Before you disconnect anything, record the essentials.
- Vehicle and seat position: Year, make, model, and exactly which seating position the assembly came from.
- Codes before removal: Save the DTC list so you can compare it after reinstallation.
- Condition photos: Webbing, cable, connector, anchor, and trim routing, photographed in place.
- Orientation notes: How the belt routes through the guide and where each connector locks.
Detach the Assembly, Don't Dismantle It
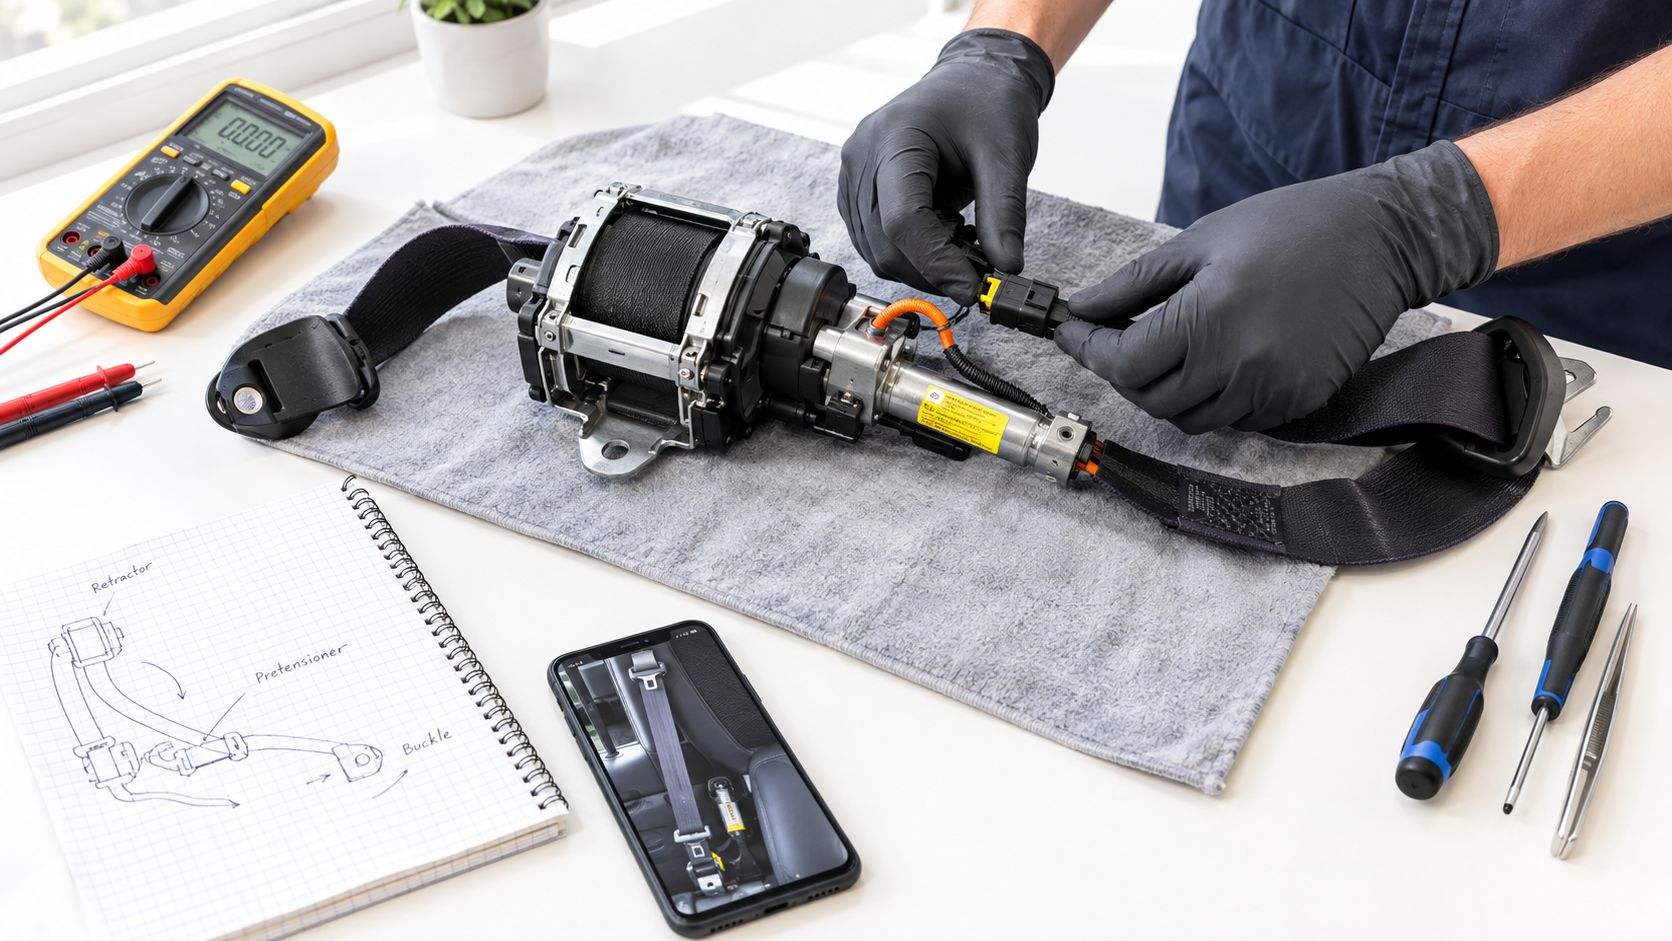
There's a clear line between removing a complete assembly for qualified service and opening a retractor or pretensioner on your bench. The first follows service information for trim removal, mounting bolts, and connector release. The second is where people get hurt or destroy a serviceable unit. Deployed or suspect pyrotechnic hardware shouldn't be opened, pinned, reset, or casually handled, and manufacturer warnings against owner-level inspection or repair of those components deserve to be taken seriously.
Follow the service procedure for electrical safety before touching SRS connectors, and handle connectors by their housings, not by tugging wires. Keep mounting bolts with their assembly. Bag and label hardware by seat position so a driver-side bolt doesn't end up in a passenger-side anchor with a different specification.
Package Like You Want It Back Undamaged
Pad the retractor and connectors so they can't shift or take impacts in transit. Keep webbing clean and untwisted. Include your identification sheet with vehicle details, seat position, codes found, and the service you ordered. Mismatched or unidentified components are a leading cause of delays and wrong-part reinstallations. Ten minutes of labeling prevents a second removal later.
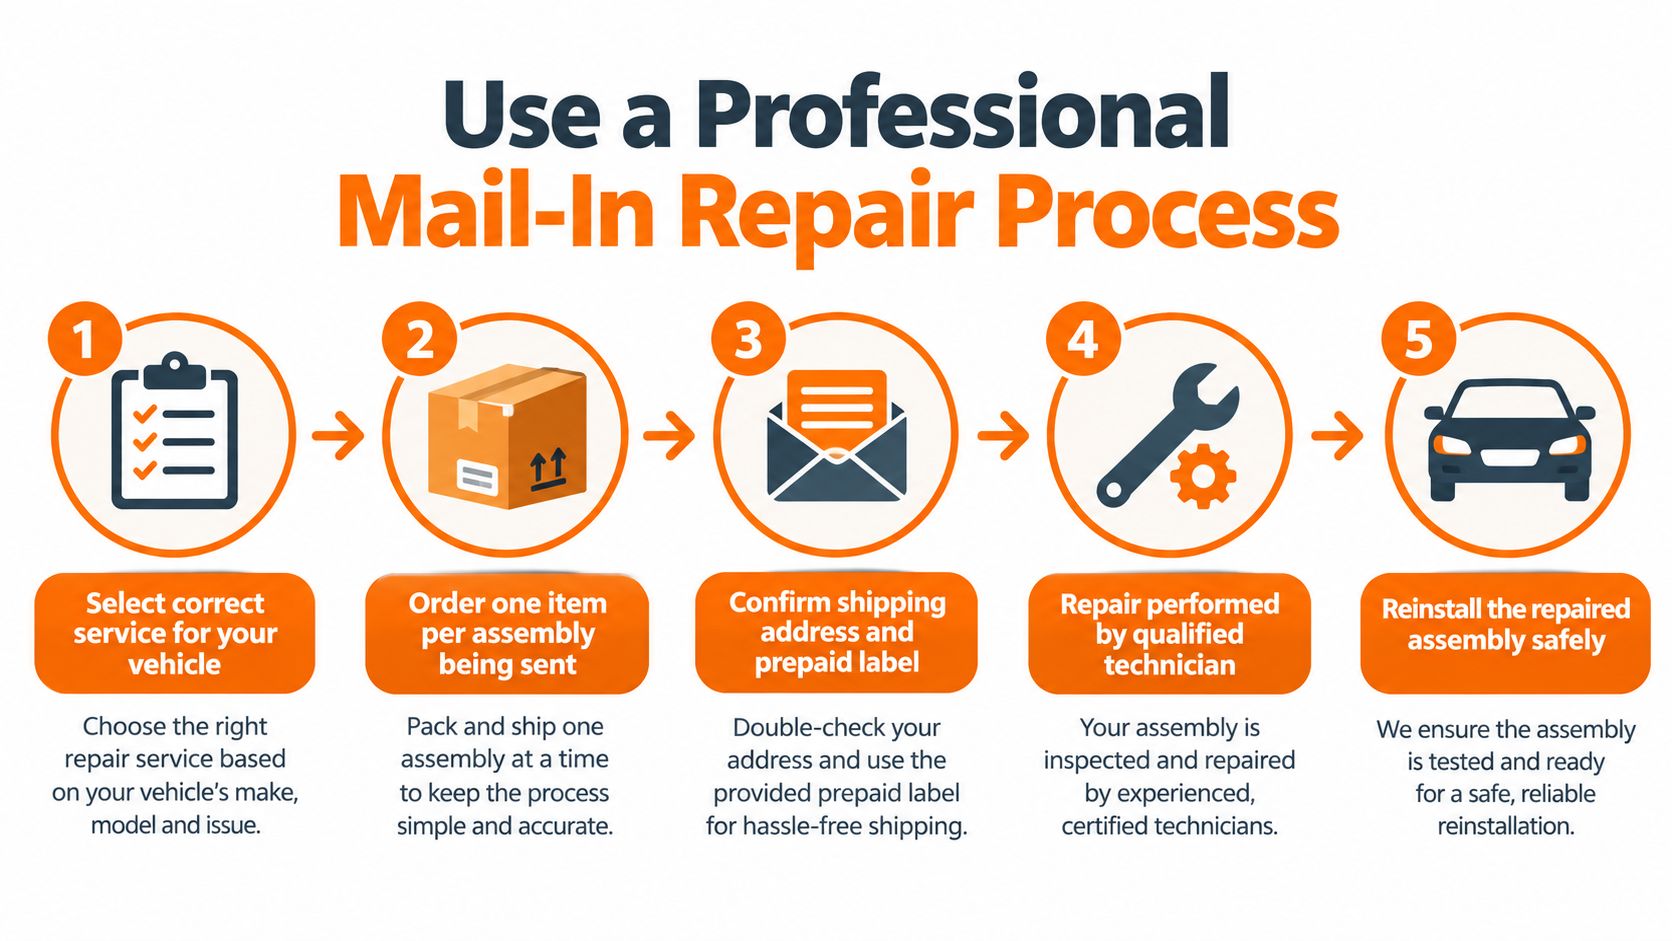
Use a Professional Mail-In Repair Process
Mail-in service exists because most general shops don't rebuild retractors or pretensioners in-house, and owners shouldn't attempt it at home. The model only works if the earlier diagnosis was honest. Sending a deployed unit in for a webbing-only service, or ordering for the wrong seat position, wastes a shipping cycle and returns a part that still won't clear the light.
Order the Service That Matches Your Finding
Start from your inspection sheet. Confirm whether you need retractor service, pretensioner service, webbing replacement, buckle pretensioner service, or an SRS module reset, and confirm the stage configuration for your unit where the provider asks for it. Order one item per assembly you're sending. Two front belts means two items, not one order with two belts in the box. If you're unsure which variant you have, send photos and ask before checkout rather than guessing.
As a concrete example of how this model is priced, Safety Restore provides mail-in seat belt and SRS airbag module services at a flat $99 per item, with a typical 24-hour turnaround and a lifetime warranty. That flat structure removes quote uncertainty, but it doesn't change eligibility. A unit your vehicle manufacturer directs you to replace as a complete system doesn't become a repair candidate because a service exists for it. Check OEM direction first, then order.
Ship It Correctly the First Time
Follow the provider's shipping instructions exactly, including any ground-shipping requirements that apply to belt assemblies. Use the packaging discipline from removal, with the reel and connectors protected and your order documentation inside the box. Note tracking details and keep your pre-removal photos until the job is fully closed. If the provider flags hazmat or signature requirements, treat them as part of the process, not optional fine print.
What Happens at the Bench
On receipt, the provider performs the service you selected, whether that's restoring internal retractor or pretensioner function, replacing damaged webbing, or resetting a module's stored crash data. The part that comes back is your original component, which preserves trim fitment and connector compatibility. That's a real advantage over a salvage-yard assembly of unknown history, where you can't know if its pretensioner fired in a previous crash.
One limit to understand before you ship. Mail-in service addresses the component you send. It doesn't inspect your anchors, torque your bolts, route your cable, or scan your car. Those steps happen in your shop or driveway after the part returns, and they're covered next because they're where otherwise good repairs fail.
Reinstall and Verify the Repaired Seat Belt
A returned assembly isn't a finished repair. It's a serviced component that still has to be installed correctly in your specific vehicle. Smooth webbing movement on the bench tells you almost nothing about connector engagement, cable routing, or bolt torque in the car. I'd rather see a careful installer with a torque specification than a fast one who trusts feel.
Installation Checks That Actually Matter
Work from your removal photos and the service procedure.
- Mounting bolts to specification: Tighten to the manufacturer's specified torque and record it. Snug isn't a specification.
- Connector engagement: Reconnect and lock pretensioner connectors, then confirm the locking tab is fully engaged.
- Cable and webbing routing: The pretensioner cable should follow its original path without pinching, and the webbing should run through the guide untwisted.
- Anchors and trim restored: Every anchor secured, every trim panel seated so it can't interfere with belt travel.
Functional Verification After Installation
With the assembly installed, confirm the belt locks, loosens, and retracts correctly. Latch the buckle and pull firmly to confirm the belt stays secured. Let excess webbing retract with the seat unoccupied. Then scan the SRS again and compare against your pre-removal code list. A belt that retracts beautifully while an SRS fault remains is an unfinished job, not a minor annoyance.
Watch for three failure patterns that show up repeatedly. A connector that felt seated but didn't fully lock will set a circuit code. A bolt tightened without a recorded specification can't be verified later during an inspection or a dispute. And a module that still holds crash data will keep the warning light on even when the belt itself was serviced correctly, which sends people chasing a belt problem that no longer exists.
Shop standard: If you can't document torque, connector lock, routing, and a post-installation scan, you haven't verified the repair. You've only installed a part.
When the vehicle procedure requires qualified personnel for any of these steps, defer to it. Knowing where your competence ends is part of doing restraint work responsibly.
Make the Repair or Replace Decision With Confidence
The common assumption is that every belt you remove should be repaired and every repaired belt should go back in. Push back on that. These systems carry decades of regulation behind them. UN Regulation No. 16 entered into force on December 1, 1970, establishing technical requirements for safety-belt design, installation, and certification, as noted in UNECE's history of seat belt regulation. You're not working on a cosmetic accessory. You're working on regulated safety equipment, and the decision standard should reflect that.
Build your call from the strongest evidence available, in this order. The manufacturer's post-collision procedure for your exact vehicle. Any applicable recall or service bulletin. Your diagnostic codes and physical findings. Then, and only then, a service provider's eligibility requirements. If those sources conflict, the manufacturer and regulatory documents win.
Final Decision Checklist
- Deployment confirmed and OEM requires full replacement: Replace the system as directed. Don't shop for a workaround.
- Mechanical fault, no deployment, inspection documented: Qualified component repair is a reasonable path.
- Webbing damaged: Use only an approved, compliant webbing process, or replace the assembly.
- Codes or connector damage unresolved: Stop. Resolve the electrical and module side before returning the car to service.
- Any step beyond your information or equipment: Hand it to a qualified technician with vehicle-specific service data.
Preserve the original component when the applicable requirements and a proper service process support reinstallation. Replace it when they don't. Either way, finish with the full mechanical, diagnostic, and installation checks before anyone buckles in and drives. That discipline, not the word repairable, is what makes the decision defensible.
If your inspection points to a serviceable retractor, pretensioner, webbing, or SRS module issue, Safety Restore offers mail-in repair for your original components at a flat rate per item with fast turnaround and warranty coverage. Send the part you've properly diagnosed, reinstall it to specification, verify it with a scan, and close the job the right way.
