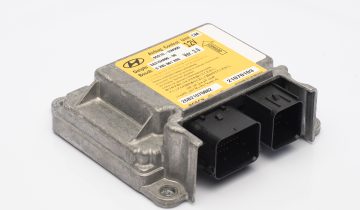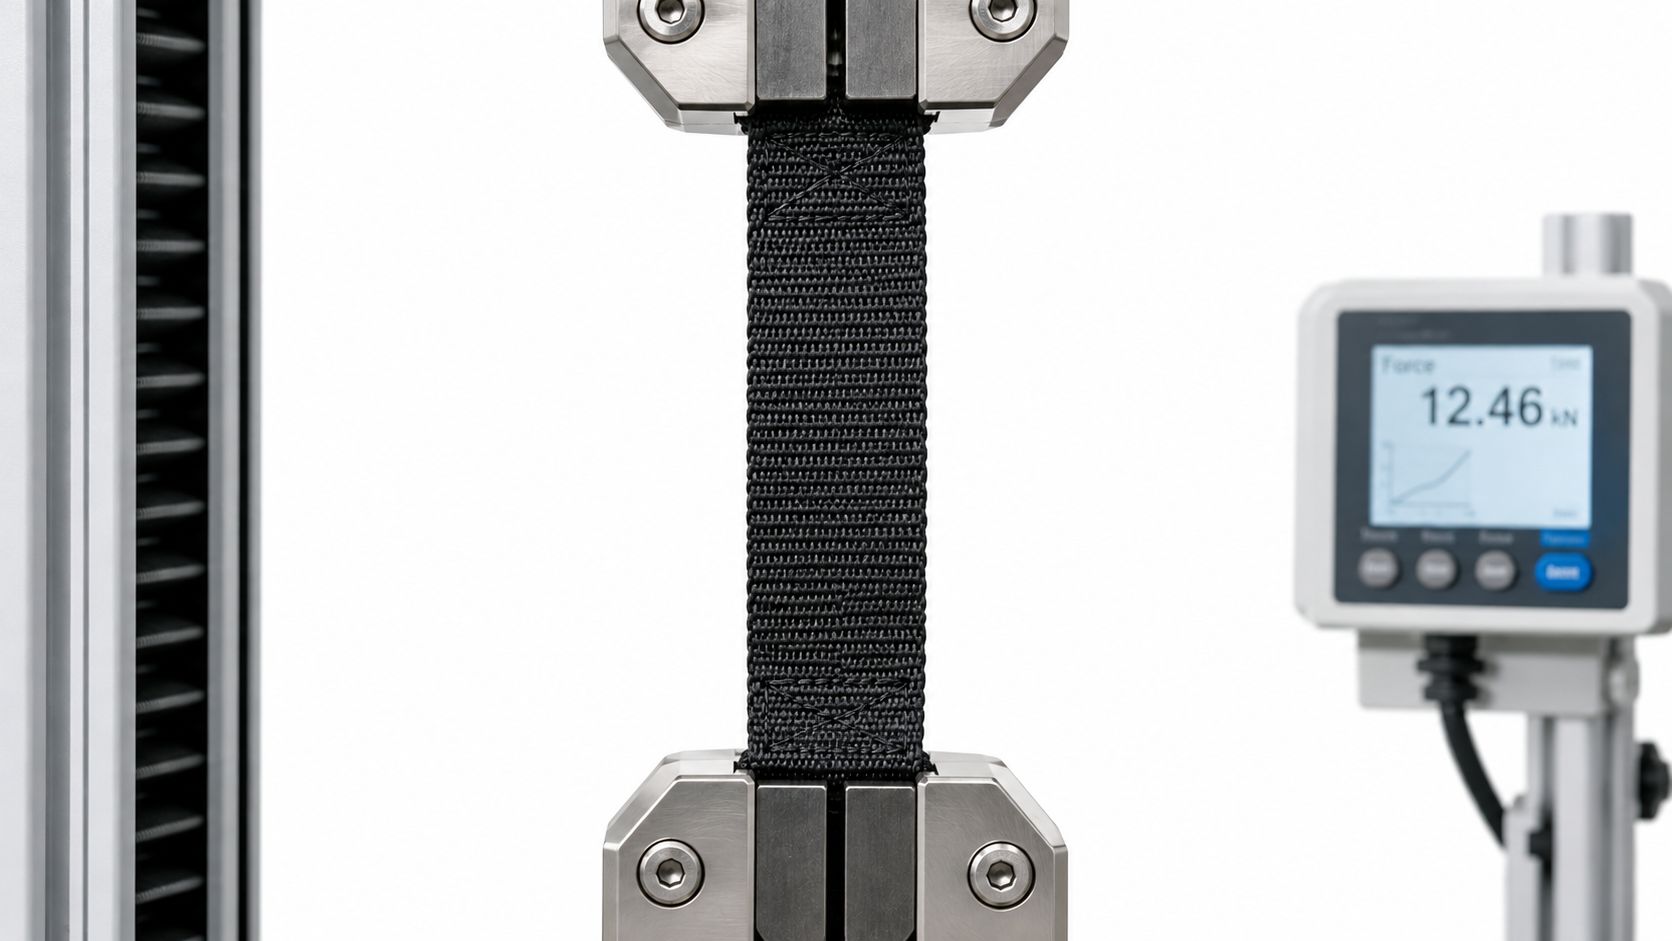
A belt can look fine on the bench and still be the wrong call in the field. I've seen a locked retractor arrive with a webbing edge chewed up from a crash load, and that combination forces a harder question than “does it latch?” The answer depends on what the webbing must still carry, how it was conditioned, and whether the rest of the restraint system can still do its job.
Table of Contents
- What a Technician Really Needs to Know About Webbing Strength
- Defining Seat Belt Webbing Strength the Right Way
- FMVSS 209 Minimum Tensile Strength by Belt Type
- How NHTSA Tests Webbing Under Controlled Conditions
- Why Nylon, Dacron, and Polyester Webbing Behave Differently
- The 75 Percent Retention Rule and What It Means in the Shop
- Field Inspection Sequence for a Used Seat Belt
- Repair, Re-Webbing, or Full Replacement
- Quick Reference for Seat Belt Webbing Strength
What a Technician Really Needs to Know About Webbing Strength
A damaged belt doesn't usually fail the shop test that matters most, it fails the judgment test. The strap may still pull out, retract, and click into the buckle, but that doesn't tell you whether the webbing can still manage crash load after a collision, sun exposure, contamination, or a bad repair. The safe decision starts with the restraint as a system, not with the strap alone.
The bench problem
A body shop often receives two clues at once, a locked retractor and a webbing surface that looks tired, glazed, or abraded. That's not a cosmetic problem. It's a sign that the belt may have lost reserve strength in the same places where force transfers through the occupant interface and into the hardware.
Practical rule: if the belt was loaded, cut, heat damaged, contaminated, or stitched in a way that doesn't match the original construction, the strap needs a much harder look than a visual pass.
For collision repair, seat belt webbing strength is not a single factory number you can check once and call it good. It's a combination of breaking load, stretch behavior, retention after abuse, and performance as part of the buckle, retractor, and anchorage system. That's why a mail-in repair workflow can restore the original mechanism, but it still has to respect the belt's original width, routing, and attachment method.
A good technician treats the webbing like a load path, not a piece of cloth. If the path is compromised, the safest answer is often replacement, not optimism.
Defining Seat Belt Webbing Strength the Right Way
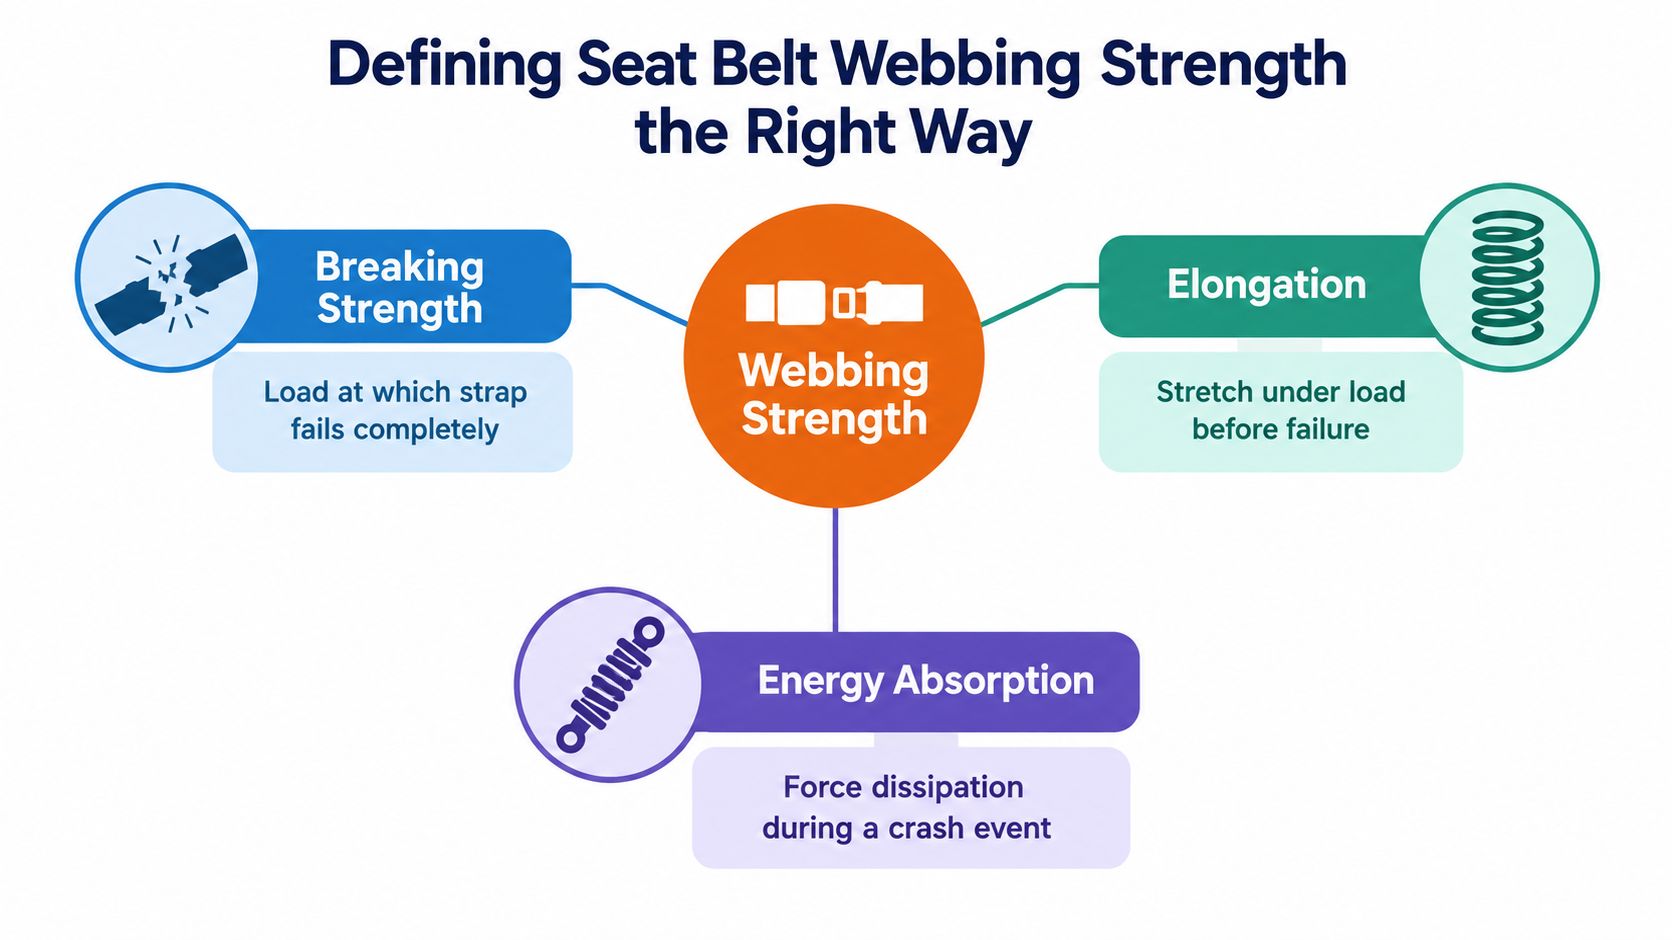
Strength in a restraint belt has three different meanings in the shop. Breaking strength is the load where the strap physically parts. Elongation is how much it stretches before it reaches that load. Assembly performance is how the webbing behaves when it's installed with the buckle, retractor, and anchorages that manage the crash force.
Why the strap alone isn't the whole answer
A supplier can quote a tensile figure for the textile, but that doesn't prove the installed belt is safe. Stitching pattern, webbing width, routing through guides, fold geometry, and the interfaces at the latch and anchor all affect how load travels through the assembly. A strap that looks strong on a spec sheet can still be wrong for the original restraint design.
FMVSS testing reflects that reality. The standard doesn't ask only whether the webbing can be pulled until it breaks. It also evaluates how the webbing behaves as part of a complete system, because the system is what protects the occupant.
A belt is only as trustworthy as the weakest part of its load path.
This is why the word strength can mislead. In the field, you need to ask whether the webbing is strong enough, whether it stretches in a controlled way, and whether the installed assembly still matches the original restraint geometry. Those are not the same question, and they don't always lead to the same answer.
FMVSS 209 Minimum Tensile Strength by Belt Type
A technician looking at a tired belt needs the FMVSS numbers, but the decision never stops there. Under FMVSS No. 209, a Type 2 three-point belt must meet 22,241 N for the pelvic portion, about 5,000 lbf, and 17,793 N for the upper-torso portion, about 4,000 lbf. A Type 1 assembly must meet 26,689 N, about 6,000 lbf (NHTSA interpretation).
Those are minimum breaking strengths for the belt type, not a green light for reuse. The same standard sets elongation limits at 11,120 N. Type 1 webbing is limited to 20%, Type 2 pelvic webbing to 30%, and Type 2 upper-torso webbing to 40% (FMVSS 209 guidance). A belt can still pull hard on a machine and be a poor candidate in the shop if it has taken on too much stretch.
Load and elongation values at a glance
| Belt Type / Segment | Min Breaking Strength (N) | Min Breaking Strength (lbf) | Max Elongation at 11,120 N |
|---|---|---|---|
| Type 1 assembly | 26,689 | 6,000 | 20% |
| Type 2 pelvic portion | 22,241 | 5,000 | 30% |
| Type 2 upper-torso portion | 17,793 | 4,000 | 40% |
FMVSS 209 also uses different test forces depending on the specimen. The component-level test force is 11,120 ± 111 N, and the assembly-loop test force is 22,241 ± 222 N. That difference matters because the belt is judged in more than one configuration, with the webbing, loops, and load path all in play.
The standard also includes a cut-webbing test. After deliberate cutting, the minimum breaking strengths drop to 15,569 N for the pelvic section and 12,455 N for the upper-torso section. That does not make damaged belts acceptable for service. It shows that the regulation accounts for degraded material, while still treating the belt as a safety component that must meet its own limits.
A passing number on the textile does not clear a used restraint. If the belt's width, construction, stitching, routing, and attachment method are no longer intact, FMVSS 209 does not support a repair call based on strength alone. FMVSS 209 evaluates the complete restraint assembly, so the numbers only clear a belt whose width, construction, stitching, routing, and attachment method remain intact.
How NHTSA Tests Webbing Under Controlled Conditions
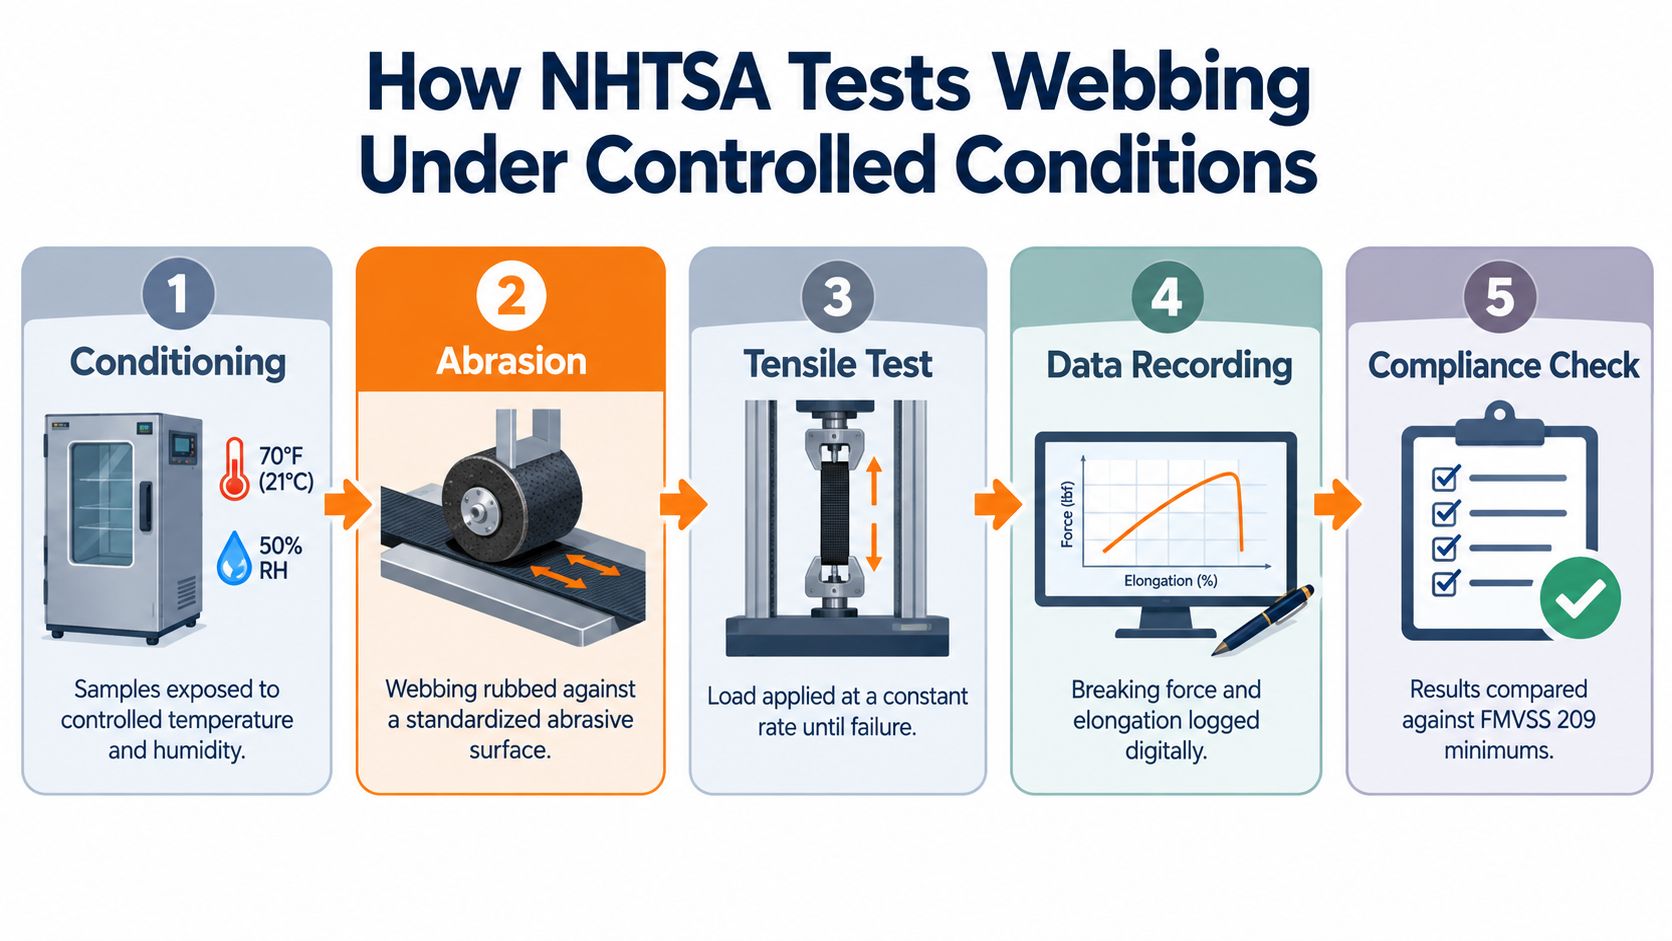
NHTSA's testing approach matters because it separates a belt that feels strong from one that has survived controlled abuse. The process includes conditioning and tensile evaluation, and the underlying logic is straightforward, a webbing sample should be challenged in a repeatable way before anyone trusts a strength claim. That's why a hand-pull in a bay doesn't establish compliance.
What the controlled test is trying to catch
The standard recognizes that webbing can change after exposure to abrasion, environmental conditions, and the way it interfaces with the rest of the restraint system. A sample that survives a clean bench pull doesn't automatically tell you how it behaves after service history, hardware contact, or altered friction through guides. Controlled conditioning exists to make those differences visible.
NHTSA's historical guidance also showed that test validity depends on material behavior, not just test force. The agency noted that older methods were developed around nylon, while later materials such as Dacron and polyester did not always respond the same way in the original procedure (NHTSA interpretation). That's a reminder that the test has to fit the material, not the other way around.
What a shop can and can't infer
A technician can look for obvious damage, but a visual pass can't prove the belt would still meet its load requirement after real use. Controlled testing is the reason a supplier's claim and a vehicle's actual restraint condition are not interchangeable. It also explains why documented material history matters so much when you're deciding whether to re-use webbing or send it for replacement.
If a belt has no credible service history and no visible damage, that still isn't a guarantee. It just means you've narrowed the problem to the part of the system that needs closer inspection.
Why Nylon, Dacron, and Polyester Webbing Behave Differently
A seat belt is not just fabric with hardware attached. Fiber chemistry changes stretch, friction at the guides, response to heat, and how the webbing holds up after aging. In 1979, NHTSA noted that manufacturers had moved from nylon to Dacron and polyester webbing, while the FMVSS No. 209 test method had originally been developed for nylon, which is why one specific test provision was not enforced for those newer materials until suitable methods were incorporated (NHTSA interpretation).
Why material compatibility matters on the vehicle
That history still matters in the shop. A webbing material can post a strong lab result and still be a poor fit if its elongation profile, friction behavior, or heat response does not match the restraint design it was built into. The belt has to work with the buckle tongue, retractor spool, and guides; a standalone pull test cannot verify that interaction.
Nylon, Dacron, and polyester can all behave differently in service even when they look similar. One may feel stiffer, another may slide differently through hardware, and another may tolerate repeated contact points better or worse. Those differences are why a generic replacement strap is not automatically a safe substitute.
Shop takeaway: if the original belt used a specific construction and stitching pattern, swapping in a “stronger” fabric does not prove the assembly still behaves correctly.
What to check before choosing replacement material
The practical question is whether the candidate webbing matches the belt's original function. Check width, weave, stitching, and the way the strap routes through the mechanism. If the replacement changes those details, the tensile number on the material itself stops being enough information.
Cosmetic similarity can mislead. Two straps can look nearly identical and still behave differently under load because the fibers, finish, or weave do not match the OEM spec. In restraint repair, “close enough” is usually the wrong standard.
The 75 Percent Retention Rule and What It Means in the Shop
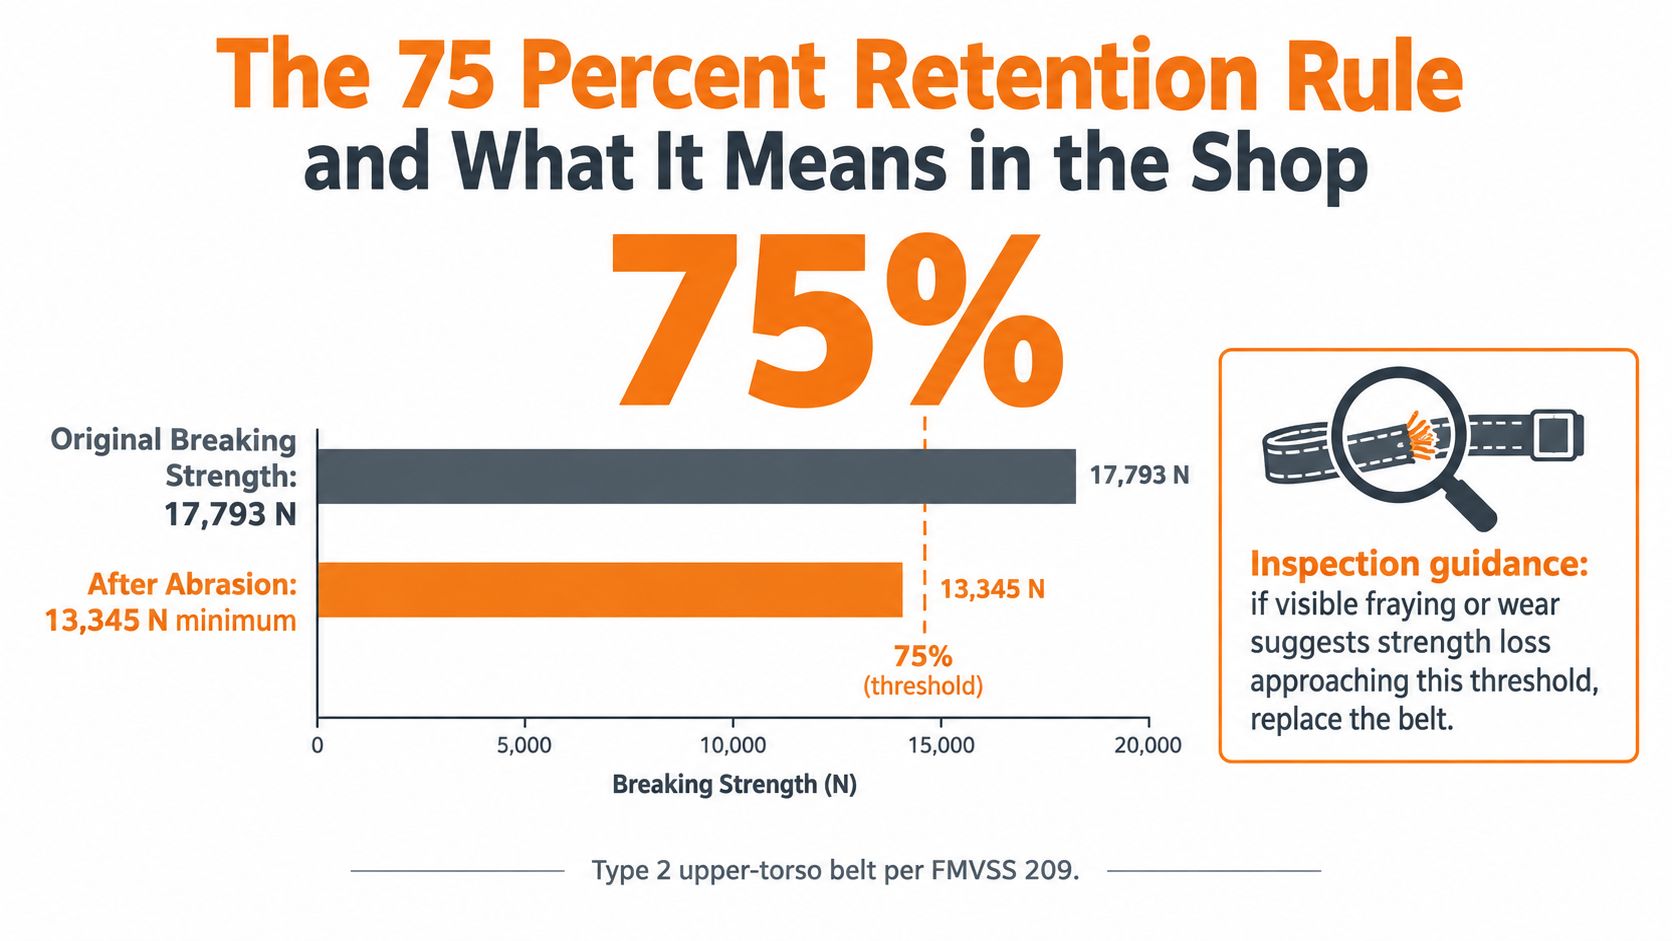
For a used belt, the number that matters is how much strength the webbing still retains after wear. The child-restraint rules that reference FMVSS No. 209 testing require abraded webbing to keep at least 75% of its unabraded breaking strength (CFR reference). In the shop, that turns visible wear into a real safety decision, not just a cosmetic one.
Reading the numbers without overreaching
A Type 2 upper-torso belt originally rated at 17,793 N would work out to about 13,345 N at that retention level. A Type 2 pelvic belt originally at 22,241 N would work out to about 16,681 N. Those figures are screening points, not a reason to keep damaged webbing in service.
Abrasion, fraying, edge wear, UV exposure, heat, chemicals, and altered stitching can cut into reserve strength long before the strap looks badly damaged. A surface that still feels usable can already be too far gone for a belt you would defend on a real vehicle.
What to look for on the bench
- Fraying at edges: lifted or separated fibers show wear in the load path.
- Cuts or nicks: any cut that reaches the load-bearing fibers is a red flag.
- Discoloration and chalking: these can point to UV aging or chemical exposure.
- Stiff or brittle sections: changes in hand-feel often track material damage.
- Contamination: oil, solvent, coolant, or other chemicals can weaken the strap in ways that are not obvious at first glance.
The CFR rule gives the shop a usable threshold. If the webbing has enough visible wear that you would question losing a quarter of its original reserve, replacement is the defensible call.
Field Inspection Sequence for a Used Seat Belt
A used belt should be handled the same way every time. Lay it flat, extend it fully, and inspect the webbing from one end to the other before you decide anything about repair. That simple sequence catches most of the failures that matter because it forces the eye and hand to follow the actual load path.
A repeatable shop-floor check
Start with a full extension on a clean surface. Look for edge fraying, cuts, burns, glazed spots, and discoloration, then run your fingers along the edges for roughness or thinning. After that, inspect every load-bearing seam and stitching point, because broken or disturbed stitches can change how the belt carries force.
Verify the width against the nominal 46 mm guideline where the occupant contacts the webbing (FMVSS 209 guidance). A width change doesn't automatically tell you the belt is bad, but it does tell you the belt may no longer match the original specification. Then check retractor lock, extraction, and buckle release so you know the mechanism isn't hiding a separate fault.
Automatic disqualifiers
- Deployment history: any belt that saw crash loading should be treated with extreme caution.
- Chemical contamination: solvent, fuel, coolant, or unknown residue is enough to reject the strap.
- Heat damage: melted, hardened, or shiny distorted sections are not serviceable.
- Broken stitching: disturbed seams mean the restraint geometry has changed.
- Cut fibers: if the cut reaches the load-bearing yarns, replacement is the only defensible call.
A belt can pass the latch test and still fail the safety test. When the webbing is suspicious, the safest move is to remove guesswork from the decision.
Repair, Re-Webbing, or Full Replacement
Not every bad belt needs the same fix. Some units need retractor or pretensioner service because the mechanism is locked or faulted while the webbing itself is still acceptable. Others need re-webbing, where the strap is replaced on the original hardware. And some need full assembly replacement because the hardware, anchor, or complete restraint path is no longer trustworthy.
Choosing the least risky path
If the webbing passes inspection but the retractor is locked or the internal mechanism has failed, mechanism service can restore OEM function without changing the strap. If the webbing is damaged but the hardware is structurally sound, re-webbing can preserve the original width, routing, and attachment design while replacing the textile. If the buckle, anchorage, or hardware integrity is in doubt, a complete assembly replacement is the safer route.
That's the core trade-off. Re-webbing keeps the original restraint architecture intact, but the new material still has to match the intended specification. Mechanism repair keeps the original webbing in place, which means the strap itself has to earn its way back into service through inspection. Full replacement removes more variables, which is why it's the right answer when hardware damage is part of the story.
Defensible decision rule: repair the mechanism only when the webbing is clean, intact, and dimensionally consistent. Replace the webbing when damage or deployment loading is present. Replace the full assembly when hardware or anchorage concerns remain.
Safety Restore is one option for mail-in seat belt webbing replacement and restraint mechanism repair when a technician needs the original part restored rather than replaced wholesale. The key is still the same, the completed assembly has to preserve the belt's original design, not just its outward appearance.
Quick Reference for Seat Belt Webbing Strength
A technician usually starts here when a belt comes off the vehicle and the question is simple: can this webbing stay in service, or is replacement the defensible call? The numbers below set the baseline, but the decision still depends on visible damage, contamination, and crash history.
| Reference Item | Value or Trigger | Practical Use |
|---|---|---|
| Type 2 pelvic minimum breaking strength | 22,241 N | Baseline for pelvic webbing strength |
| Type 2 upper-torso minimum breaking strength | 17,793 N | Baseline for shoulder webbing strength |
| Type 1 minimum breaking strength | 26,689 N | Higher threshold for Type 1 assemblies |
| Elongation cap at 11,120 N | 20%, 30%, 40% by type and segment | Check deformation, not just breaking load |
| Abrasion retention benchmark | 75% minimum retained strength | Screen worn or abraded webbing |
| Nominal width | 46 mm | Confirm the belt still matches the original application |
| Disqualifiers | Cuts, fraying, heat damage, contamination, broken stitching, deployment loading | Send the belt out of service, do not test and hope |
Use the table as a triage tool, not a shortcut. If the strap shows visible damage, chemical contamination, heat exposure, or an unknown crash history, the belt belongs in the replace category before anyone argues over the test numbers.
Sources: NHTSA interpretation 003059-bts; FMVSS 209 test guidance TP-209-08; 49 CFR 571.213.
If you're dealing with a locked retractor, a damaged belt, or webbing that does not pass the bench test, get the restraint system handled before the vehicle goes back out. Visit Safety Restore to review mail-in seat belt repair and webbing replacement options that restore the original part rather than forcing a generic substitute.