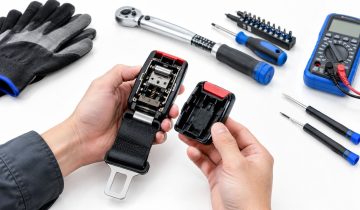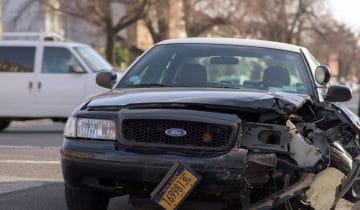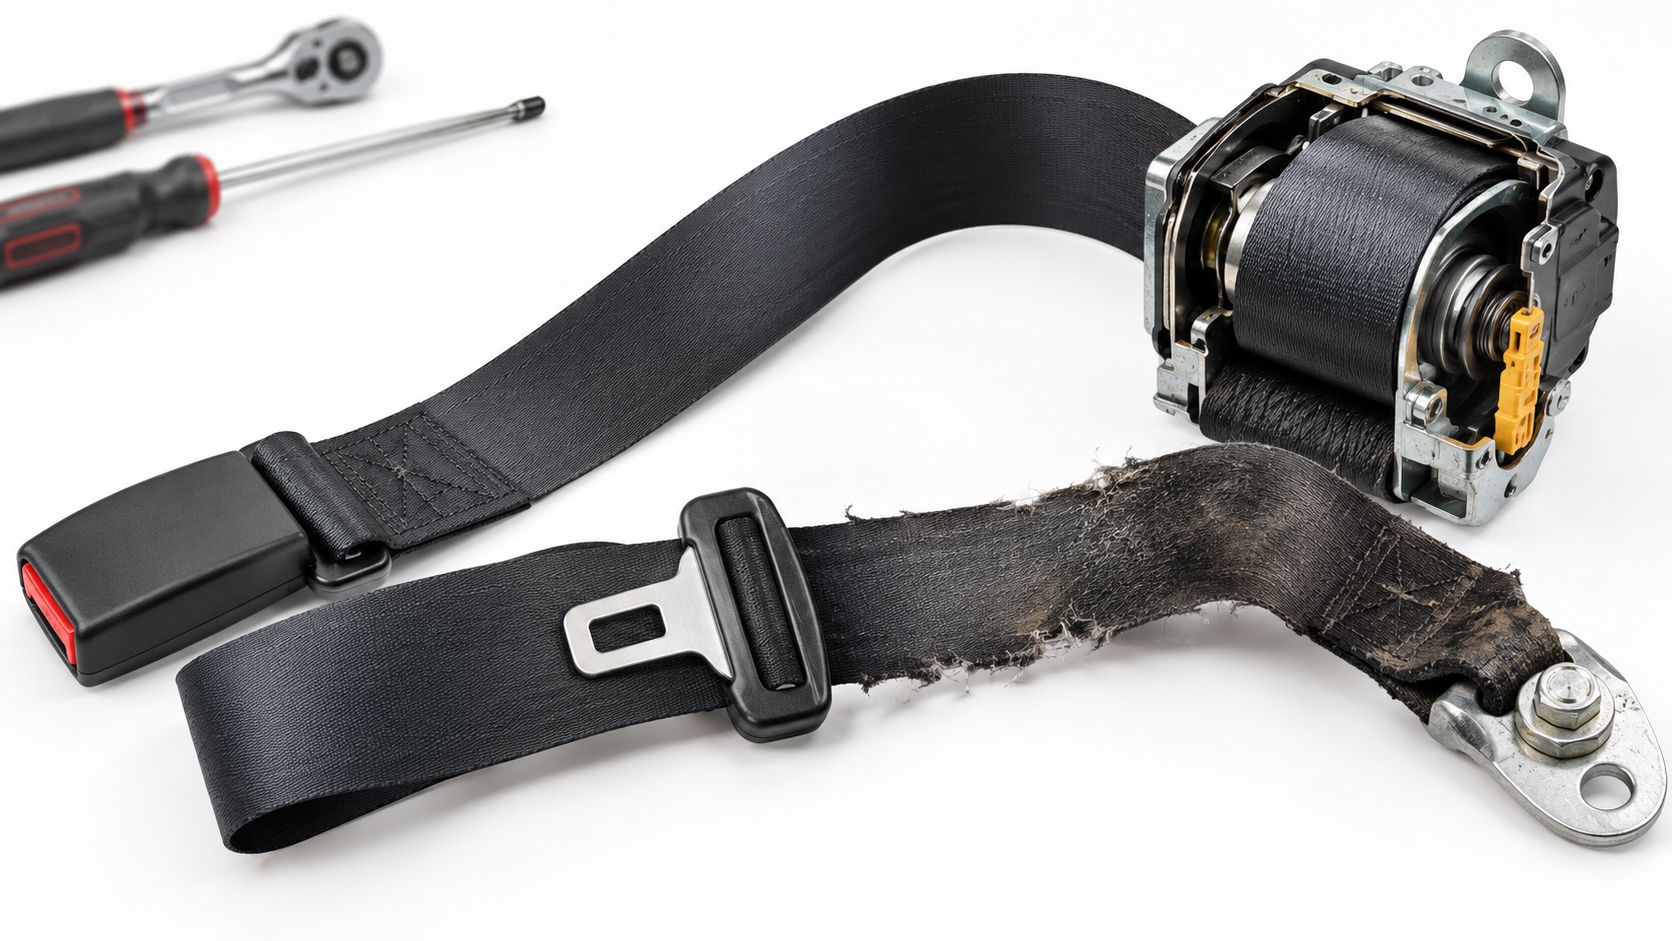
You're looking at a shoulder lap belt that won't retract, a buckle that no longer feels right, or a restraint that locked after a crash. The strap may appear undamaged, which makes the repair decision harder. A seat belt assembly can still contain a deployed pretensioner, a locked retractor, damaged stitching, or stored SRS faults even when the belt latches normally.
The right answer depends on which part failed. A twisted belt may need correct routing. A frayed belt needs webbing replacement. A locked or deployed mechanism needs professional diagnosis and repair or replacement. Treating every problem as cosmetic can leave the restraint unable to control the occupant when it matters.
Table of Contents
- What a Shoulder Lap Belt Is
- Anatomy of a Modern Three-Point Belt
- How Pretensioners and Load Limiters Change the Crash
- Common Failure Modes You Can Spot
- Inspection and Repair Considerations
- Repair, Replacement, and Cosmetic Webbing Options
- Decision Checklist for Shops and Owners
What a Shoulder Lap Belt Is
You notice belt fit first in ordinary driving. A short driver slides the seat forward for pedal reach, then the shoulder strap starts rubbing the side of the neck. Another driver lets the belt sit under the arm because it feels less annoying. Both belts are buckled, but the restraint geometry is already off.
A shoulder lap belt, also called a three-point or lap-and-shoulder belt, uses one webbing path to manage two jobs at once. The lower portion is meant to load the pelvis. The diagonal portion controls the chest and shoulder. The buckle connects the system to the vehicle structure, while the upper anchor and retractor set the belt path and let the webbing pay out and return in a controlled way.
The layout became a major automotive safety step in 1959, when Volvo introduced Nils Bohlin's three-point belt as standard equipment in selected vehicles, as documented by NHTSA's seat-belt safety history. In the United States, restraint requirements developed in stages, beginning with lap belts in 1964, shoulder belts in 1968, and integrated lap-and-shoulder belts in 1974. That progression matters because the modern design holds the pelvis and upper torso together instead of letting them move on different paths.
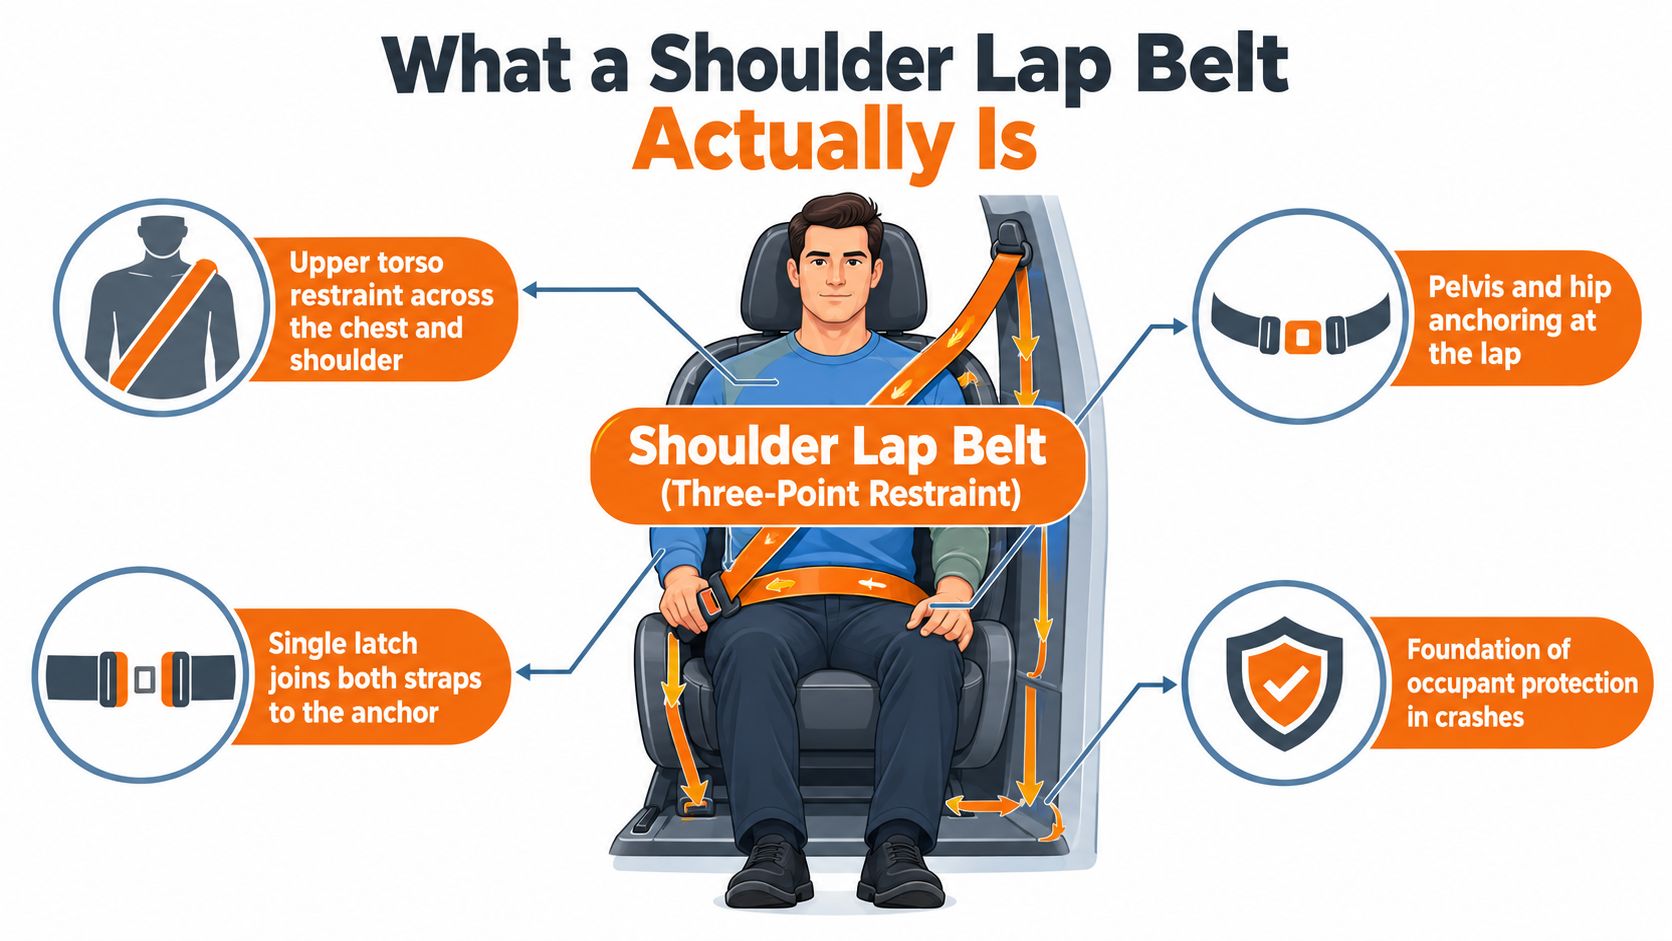
Why the geometry matters
A lap-only belt can hold the lower body, but the torso can still pitch forward. A three-point belt spreads crash loads across stronger parts of the body and helps keep the occupant aligned with the seat and the vehicle's protective structure.
The lap portion belongs low across the pelvis, not over the abdomen. The shoulder portion belongs across the center of the chest and mid-shoulder, not against the neck, under the arm, or behind the back. IIHS belt-fit guidance explains why that fit changes body motion and where force goes in a crash. In the shop, a common example is a driver who moved the seat and belt position enough that the webbing cuts into the neck. That is a fit problem to correct, not a reason to reroute the belt under the arm.
Practical rule: A belt that feels comfortable in the wrong position isn't doing its job correctly.
The webbing is only the part you can see. Inside the assembly are the pieces that decide whether a $99 component-level repair is realistic or whether a full replacement is the safer call. A clean-looking belt may still have a locked retractor or a fired pretensioner. A belt with a sound mechanism may only need webbing service. Good repair decisions start with the failed component, not the appearance of the full assembly.
Anatomy of a Modern Three-Point Belt
Start at the retractor. This is the spool housing that stores the webbing and maintains light tension during normal driving. You pull the belt out slowly, it follows your movement, and the spring winds excess material back into the housing when you release it.
The retractor also contains an emergency locking mechanism. A sudden pull, rapid vehicle deceleration, or change in the retractor's position can engage the lock. That behavior prevents the webbing from continuing to pay out during a collision. A retractor that remains locked after a crash may need component-level service or replacement rather than forceful manipulation.
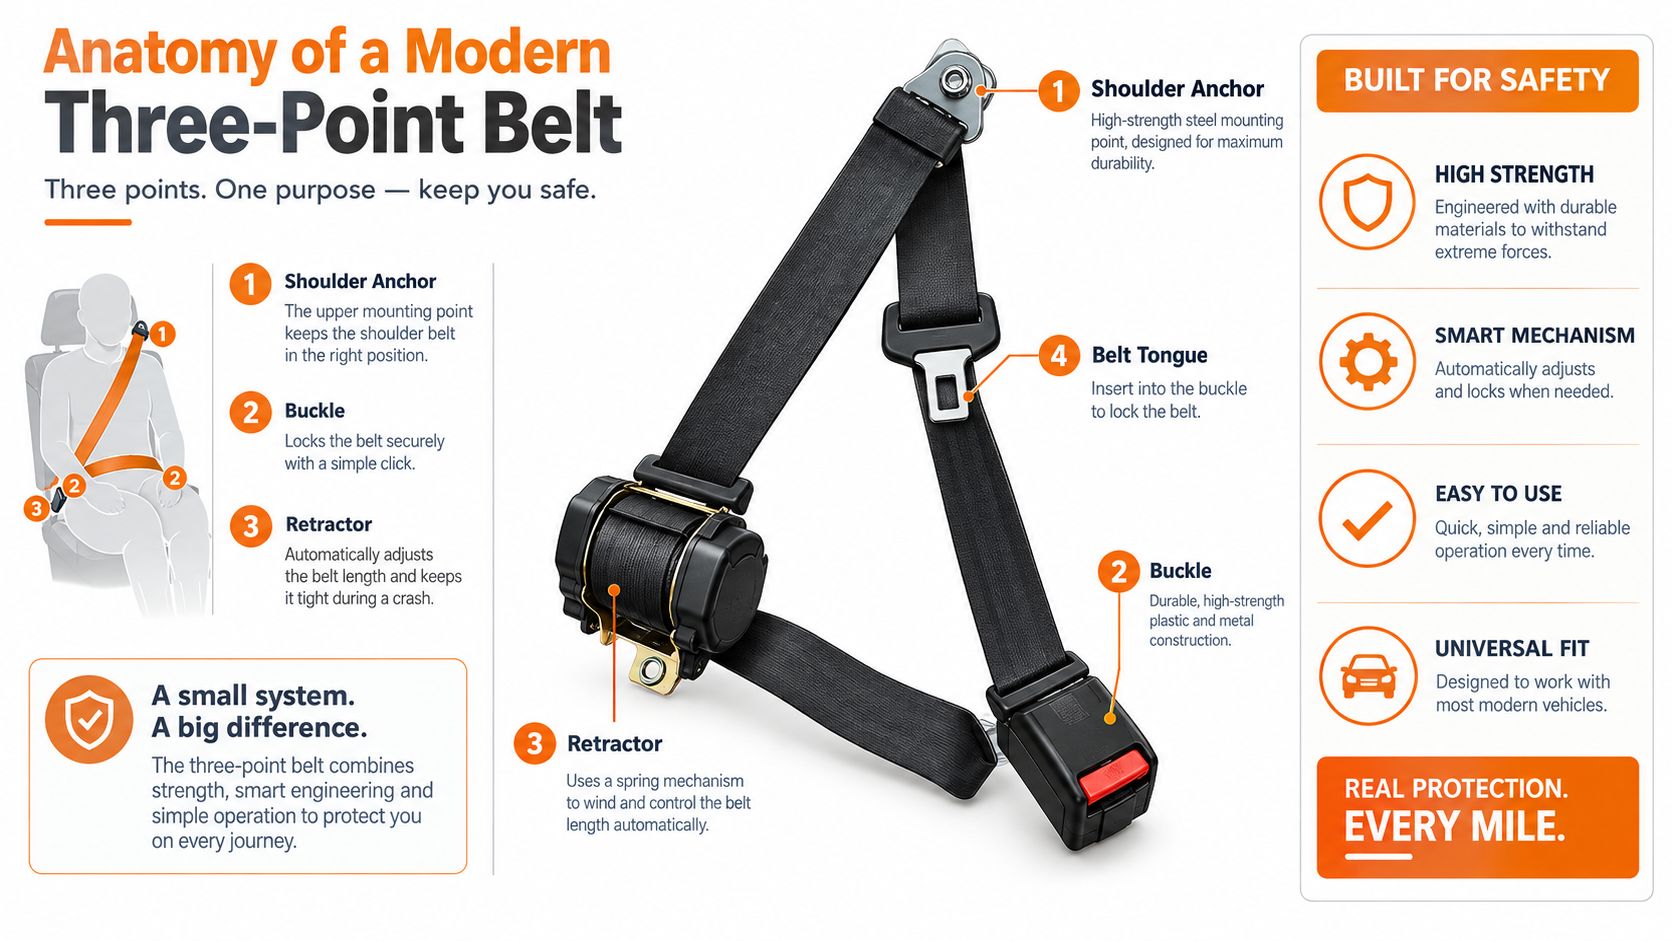
The parts that control occupant movement
The pretensioner is a crash-activated device that removes slack from the belt. Depending on the vehicle, it may be integrated into the retractor, buckle, or another part of the restraint assembly. Once activated, it generally isn't a normal user-reset function.
The load limiter manages belt force after the initial restraint phase. It can allow controlled webbing movement under high loading, helping manage the force transmitted to the chest. This component works as part of the vehicle's broader restraint calibration, so replacing a belt with an incompatible assembly can create a fit or deployment problem even if the buckle appears similar.
The buckle and tongue provide the latching connection. The lower and upper anchor points hold the belt path in the correct position, while the webbing supplies the load-bearing connection between the occupant and the vehicle structure.
A useful mental picture is a controlled loop:
- The retractor stores and tensions the webbing.
- The buckle joins the belt to the lower restraint point.
- The anchors preserve the intended path across the body.
- The pretensioner removes slack during a crash.
- The load limiter manages later belt loading.
NHTSA describes a shoulder lap belt as a Type 2 restraint, with the lap portion controlling pelvic motion and the shoulder portion restraining the upper torso. Its guidance also addresses webbing width, strength, elongation, anchorage, and the way the upper-torso restraint must limit upward pelvic movement and excessive loading through the shoulders and spine. Those requirements explain why casual splicing, sewing, or hardware substitution isn't an acceptable repair.
How Pretensioners and Load Limiters Change the Crash
A crash that looks moderate from the outside can still change a seat belt assembly in ways you cannot see. The belt may pull out, latch, and even retract well enough to seem usable, while the pretensioner has already fired or the retractor has taken a hit that changes how the system responds in the next event.
That is why pretensioners and load limiters matter so much during an actual crash sequence. They do different jobs, and a correct repair decision depends on knowing which part changed.
The pretensioner acts early. Once the restraint control module sees a qualifying impact, it triggers the device to remove belt slack before the occupant moves far forward. The retractor lock handles a different part of the event. It limits further webbing payout. In the shop, those functions can fail together or separately, which is why a belt can be locked, pretensioner-fired, or both after a collision.
What happens after the initial restraint
After that first tightening phase, the load limiter can allow controlled webbing movement under heavy load. That small, calibrated release is part of the design. It helps manage the force passed into the chest while the belt, airbag, and vehicle structure work as one restraint system. Uncontrolled slack is different. Slack delays restraint timing and increases occupant movement, which is exactly what the system is built to reduce.
A belt that still extends isn't automatically a belt that's ready for service.
That distinction affects repair versus replacement. If the webbing is intact and the concern is inside the pretensioner or retractor, the decision is no longer just "does it look damaged?" It becomes "which component changed, can it be restored at the component level, and does that make more sense than replacing the full assembly?" In some cases, a $99 mail-in repair is the more sensible path. In others, especially where webbing damage, stitching damage, housing distortion, or incompatible replacement parts are in play, full assembly replacement is the safer call.
An airbag warning light adds another layer. It can point to a pretensioner fault, wiring damage, or a stored SRS fault after impact. Clearing the light does not rebuild a fired mechanism, and an electrical reset does not replace mechanical inspection. A proper decision includes an SRS scan, connector inspection, and confirmation that the belt assembly still matches the vehicle's restraint calibration.
Common Failure Modes You Can Spot
Some failures appear during ordinary use. Others become obvious only after a collision. The first task is to identify the symptom without assuming that the visible strap tells the whole story.
Problems at the belt and buckle
A locked retractor is common after a crash or sharp deceleration. If the webbing won't extend, don't pull harder or dismantle the housing in the vehicle. The lock may reflect crash activation, internal damage, or a retractor that has shifted from its intended mounting position.
A deployed pretensioner can leave the belt with unusual slack, poor retraction, or signs of activation around the device. The strap might still latch, but that doesn't mean the pretensioner remains functional. Professional diagnosis is appropriate before reuse.
Look closely at the webbing itself:
- Frayed edges: Exposed fibers weaken the load path and aren't corrected by trimming the damaged area.
- Cuts or tears: A cut strap requires webbing replacement or complete assembly replacement, depending on the unit and service path.
- Burns or contamination: Heat, chemicals, oil, and embedded debris can alter the webbing's behavior.
- Twists: A twisted belt can place the strap against the wrong body area and change how it loads.
- Pulled stitching: Damaged sewn loops or attachment points are structural defects, not cosmetic flaws.
A buckle that won't latch, releases unexpectedly, or fails to release smoothly also needs service. Don't spray lubricant into the buckle or rely on a click that you can't confirm with a proper engagement check.
Failures that need more than visual judgment
Slow retraction often points to a weak spring, contamination, misalignment, damaged webbing, or a spool problem. A belt that retracts only when guided by hand isn't operating normally. If the shoulder portion falls off the shoulder, rubs the neck, or leaves excess slack, check seating position and anchor adjustment first, then have the fit assessed rather than moving the belt under the arm.
For broader injury context after a collision, owners may also want to find DFox Law's car accident insights. That resource can help explain why restraint positioning and post-crash inspection matter beyond the visible condition of the car.
Inspection and Repair Considerations
A shoulder belt can look acceptable at a glance and still be unfit for service. I see that most often after a crash, when the buckle still clicks and the webbing still feeds, but the retractor has locked internally, the pretensioner has fired, or the belt path is no longer true. A useful inspection starts with the hardware you can touch and ends with the restraint electronics that decide whether the system is ready for the next impact.
Start with the belt installed in the vehicle and the car parked. Any work around pretensioners or SRS connectors needs the manufacturer's service information, because the mechanical side and the electrical side are tied together on many late-model assemblies.
A practical inspection sequence
Check the complete belt path. Follow the webbing from anchor to anchor. Look for twists, cuts, fraying, pulled stitching, burns, contamination, and hard folds that suggest the belt was pinched or loaded oddly. Confirm the lap section sits low across the hips and the shoulder section tracks across the center of the chest and shoulder.
Test normal movement. Pull the webbing out slowly, then let it retract under spring tension. It should feed and return smoothly. If it hangs up, retracts only when guided, or bunches near the D-ring, inspect for contamination, spool problems, weak spring force, or misrouting.
Check the emergency lock. Use a firm, controlled pull to verify locking. One clean test is enough. Repeated yanking can mask the underlying fault and tells you little about why the mechanism is acting up.
Operate the buckle. Insert the tongue fully, confirm engagement, and release it. A buckle that sticks, unlatches unexpectedly, or needs excess force is a repair issue, not a quirk to ignore.
Inspect the pretensioner and wiring. Check for deployment signs, damaged connectors, disturbed wiring, and an SRS warning light. Do not probe deployment circuits with the wrong test equipment.
Verify the anchors. Make sure the mounting points are tight, undistorted, and routed correctly. Small shifts here can change belt geometry and occupant loading.
Scan the SRS system. Read stored faults and identify whether the problem is in the belt assembly, buckle switch, pretensioner circuit, wiring, or control module. Clear codes only after the cause is fixed.
Some faults can be corrected in place. A simple twist or routing error usually can. A locked retractor, fired pretensioner, damaged webbing, or altered stitching calls for component-level repair or full assembly replacement, not improvisation.
After a crash, remove and inspect the affected assembly instead of relying on a successful buckle test. If the hardware is structurally sound and the failure is isolated to the retractor or pretensioner, a mail-in repair can make sense. If the webbing, anchors, or housing are compromised, replace the matched assembly.
Repair, Replacement, and Cosmetic Webbing Options
A shoulder belt decision usually gets made at the bench, with the trim off, the part number in hand, and a simple question in front of you. Is this assembly still a sound OEM core that can be repaired, or has the damage moved far enough that the whole unit needs to go?
Full assembly replacement is the safer path when the belt has severe structural damage, mixed or incompatible components, an unknown crash history, or damage that cannot be verified after disassembly. It also makes sense when a shop needs a complete, vehicle-specific unit with documented fitment and does not want to separate the retractor, pretensioner, buckle side, and webbing as individual repair decisions. The trade-off is cost, sourcing time, and the risk of ordering the wrong variant if the part number is not checked carefully.
Component-level repair makes sense when the original hardware still matches the vehicle and the failure is isolated to the mechanism. That usually means a locked retractor, a fired pretensioner, or another contained fault, while the housing, anchor points, and webbing remain suitable for service. According to Safety Restore's service information, the company offers a flat $99-per-item model for seat belt retractor and pretensioner repair, with typical 24-hour turnaround, a lifetime warranty, OEM-quality parts and methods, and coverage across the United States for vehicles of any year, make, and model. In practice, this route is often strongest when keeping the original fit and geometry matters more than replacing the whole assembly.
Webbing-only replacement is a separate decision. It fits cases where the mechanism passes inspection but the belt material is cut, frayed, aged, stained, or being changed for appearance. The webbing still has to match the assembly's load path, stitch pattern, width, routing, and hardware compatibility. A fresh color does not correct a lazy retractor or a deployed pretensioner.
| Option | Typical cost | Turnaround | Best for |
|---|---|---|---|
| Full assembly replacement | Varies by vehicle and part availability | Depends on sourcing | Severe damage, uncertain history, or incompatible hardware |
| Component-level repair | Stated once above for this service model | Typically fast when the original unit is serviceable | Locked retractors or pretensioner-related faults with otherwise suitable original hardware |
| Webbing replacement | Varies by webbing and service scope | Depends on the provider and material | Cut, frayed, aged, or cosmetic webbing when the mechanism has already passed inspection |
The deciding factor is verification. Check the exact part number before ordering anything. Then confirm deployment status, webbing condition, SRS faults, and warranty terms. A cheaper path is only the right path when the original assembly is still the right foundation.
Decision Checklist for Shops and Owners
Use this sequence before reinstalling any shoulder lap belt:
- Record the symptom. Is the belt locked, slow to retract, frayed, twisted, contaminated, unable to latch, or affected by an SRS warning?
- Inspect the webbing. Any cut, tear, burn, damaged stitching, or abnormal stretch moves the decision beyond a simple adjustment.
- Run an SRS scan. Separate belt, pretensioner, wiring, and control-module faults before choosing parts.
- Confirm the mechanism. Determine whether the retractor and pretensioner are original, locked, deployed, or otherwise damaged.
- Choose the repair path. Use a correctly matched full assembly for severe or uncertain damage. Consider component-level repair when the original hardware is suitable. Select webbing replacement only when the mechanism has passed inspection.
- Verify the final fit. The lap belt must sit low across the hips, and the shoulder belt must cross the chest and mid-shoulder without twists or excessive slack.
For a mail-in repair, place the order with the provider, remove the identified component according to the vehicle's service procedure, package it securely, and include accurate vehicle and part information. The shop should document the fault and confirm that the returned unit is tested before installation. Independent repair businesses can also review benjiads for auto shops when they need practical marketing support for communicating inspection and repair services to local customers.
If the belt has deployed, locked, or sustained webbing damage, don't return it to service because it still clicks into the buckle. Match the solution to the failed component, then complete the SRS and fit checks before handing the vehicle back.
Safety Restore repairs locked or deployed seat belt retractors and pretensioners, and it also offers webbing replacement for damaged assemblies through a mail-in process. Review the service options and start the repair order through Safety Restore when the original component is suitable for professional service.